DE5457P
11
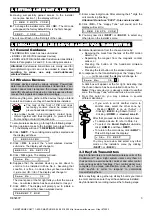
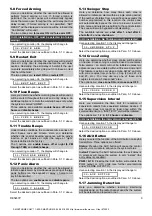
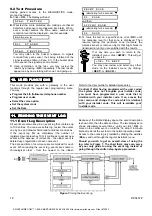
Upon selecting Location 25, the display will change to:
2 5 : P I E Z O S I R E N
Select the desired option as outlined in Para. 5.1 C above.
Having thus completed a full cycle of all 25 panel attributes,
you may now continue by programming the communication
parameters (see Section 6), or you may select any other
item on the installer’s menu (see opposite column).
If at this point you wish to return to the
installer’s menu, click <
AWAY
>. This will get
you back to:
< O K > T O E X I T
You may now review and select any other
mode on the installer’s menu (by clicking
<
NEXT
> or <
BACK
>).
6
66
6. DEFINING COMMUNICATION PARAMETERS
. DEFINING COMMUNICATION PARAMETERS
. DEFINING COMMUNICATION PARAMETERS
. DEFINING COMMUNICATION PARAMETERS
6.1 Preliminary Guidance
A. Mode description
This mode allows you to adapt the telephone communi-
cation parameters to the local requirements.
There are two kinds of memory locations in this sub-mode,
each of which requires a different programming method:
&
Multiple Choice Locations:
these memory locations
allow you to choose one of several options (see C
below for programming procedure)
&
&
&
&
Numerical Data Locations:
these memory locations
accept a sequence of digits (phone number, account
number etc - see D below for programming procedure).
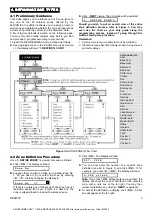
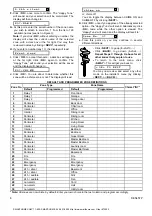
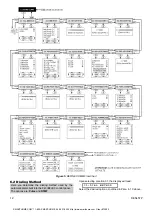
Should you wish to get an overall view of the entire
process, refer to the programming chart in Figure 5.
You may even use the chart as your only guide along
the programming process, instead of going through
the written step-by-step procedure.
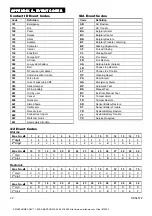
B. Accessing the “Define Comm” Memory Locations
&
&
&
&
Upon gaining access to the installer menu (see Section
1), the display will read “
1. NEW INSTL CODE
”.
&
&
&
&
Click <
NEXT
> until the 5th mode is displayed:
5 . D E F I N E C O M M .
&
&
&
&
Click <
OK
>. The first memory location will be selected
and displayed:
0 1 : D I A L M E T H O D
&
&
&
&
Click <
NEXT
> or <
BACK
> until you reach the memory
location you wish to access (see rectangles
01
to
23
in
Figure 5).
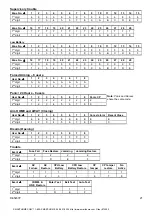
C. Programming Multiple Choice Locations
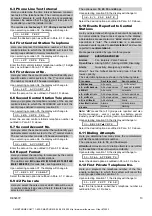
When a multiple choice location is selected, its number
and name will be displayed as shown in this example:
0 7 : R E P O R T F O R M A T
When you click <
OK
>, the currently saved option will be
displayed with a
dark selection box
at the far right:
S I A
If you approve of this option, click <
OK
>. The “Happy
Tune” will sound and the number and name of the present
memory location will be re-displayed.
If you do not approve, review the other options by clicking
<
NEXT
> or <
BACK
> repeatedly. Options that are not
saved will have a clear space at the far right, as shown:
c o n t a c t I D
To select an option that is not the currently saved one,
click <
OK
>. A dark box will appear at the far right. Clicking
<
OK
> once more will cause your selection to be saved -
the “Happy tune” will sound and the number and name of
the present memory location will be re-displayed.
D. Programming Numerical Data Locations
When a numeric data location is selected, its number and
name will be displayed as shown in this example:
0 3 : 1 S T
C N T R T E L
When you click <
OK
>, the currently saved number will be
displayed, with a blinking cursor under the leftmost digit (if
there is no number programmed, the display will be blank).
0
7 3 8 4 9 2 0 4
If you approve of the saved number, click <
OK
>. The
“Happy Tune” will sound and the number as well as the
name of the present memory location will be re-displayed.
If you do not approve, enter the new number (up to 16
digits). To erase undesired digits to the right of the cursor,
click <
OFF
>.
With the correct number on display and the blinking cursor
to the right of the last digit, click <
OK
>. The cursor will
disappear.
Click <
OK
> once more. The new number will be saved -
the “Happy tune” will sound and the name of the
present memory location will be re-displayed.
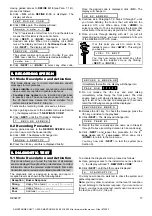
When entering a series of digits, the
following keys are useful:
<Numeric keypad>
- to enter the number
- moves the cursor from left to right
- moves the cursor from right to left
- deletes everything after the cursor (to
the right).
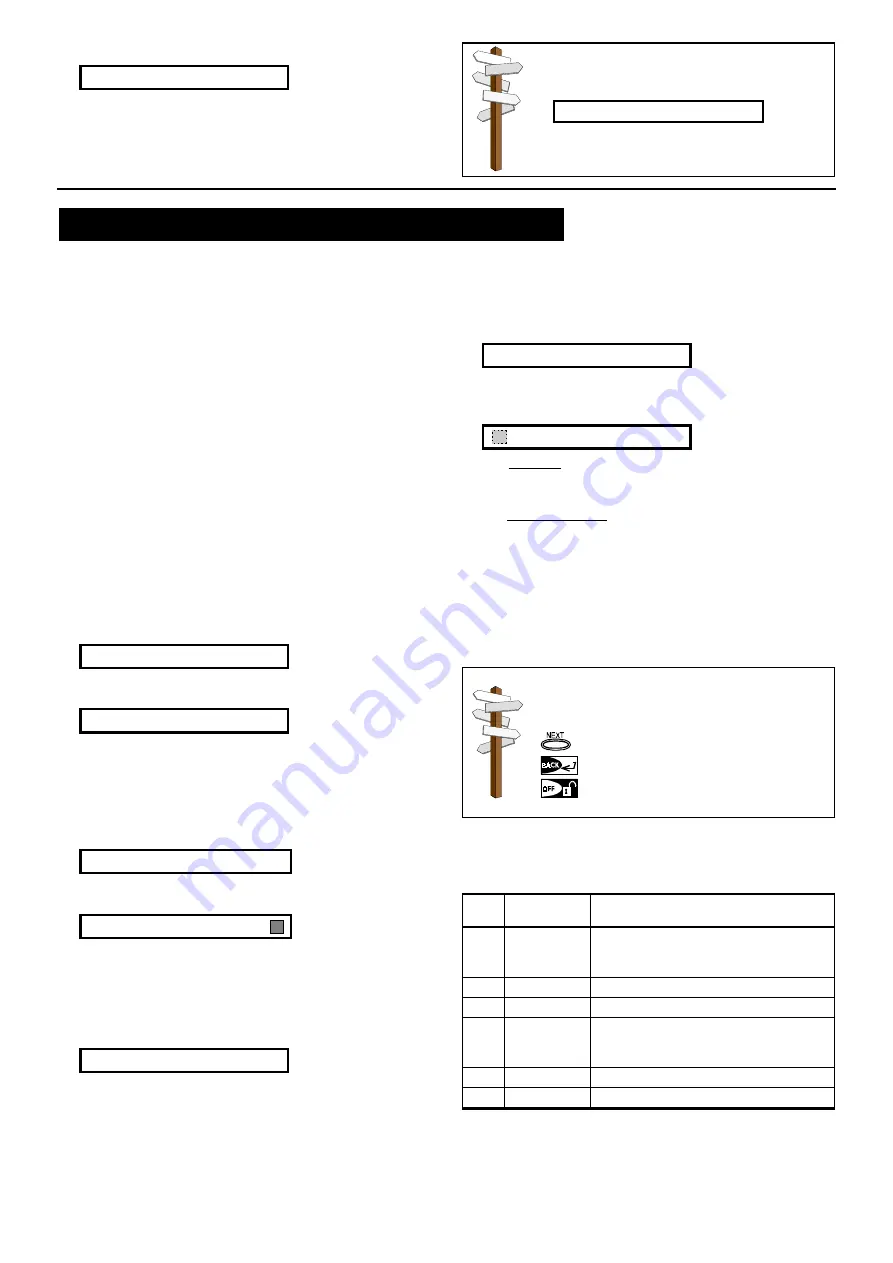
IMPORTANT:
In telephone / pager number locations and
account number locations, you may be required to enter
hexadecimal digits. In telephone number locations, these
digits are used as codes to control the dialer:
Hex.
Digit
Keying
Sequence
Code
Significance
A
<#>
⇒
<0>
Dialer waits 5 seconds or waits for
dial tone, whichever comes first and
then dials.
B
<#>
⇒
<1>
Inserts an asterisk (
✶
)
C
<#>
⇒
<2>
Inserts a pound sign (#)
D
<#>
⇒
<3>
Dialer waits 5 seconds for dial tone
and goes on hook if none is
received.
E
<#>
⇒
<4>
Not applicable in phone numbers
F
<#>
⇒
<5>
Not applicable in phone numbers
SMARTHOME.COM™ 1-800-SMART-HOME 949-221-9200 http://www.smarthome.com Order #73902


