


SMARTRG INC. PROPRIETARY AND CONFIDENTIAL. ALL RIGHTS RESERVED. COPYRIGHT © 2016
16
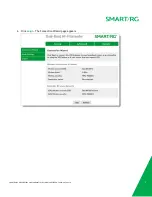
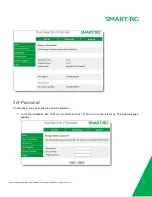
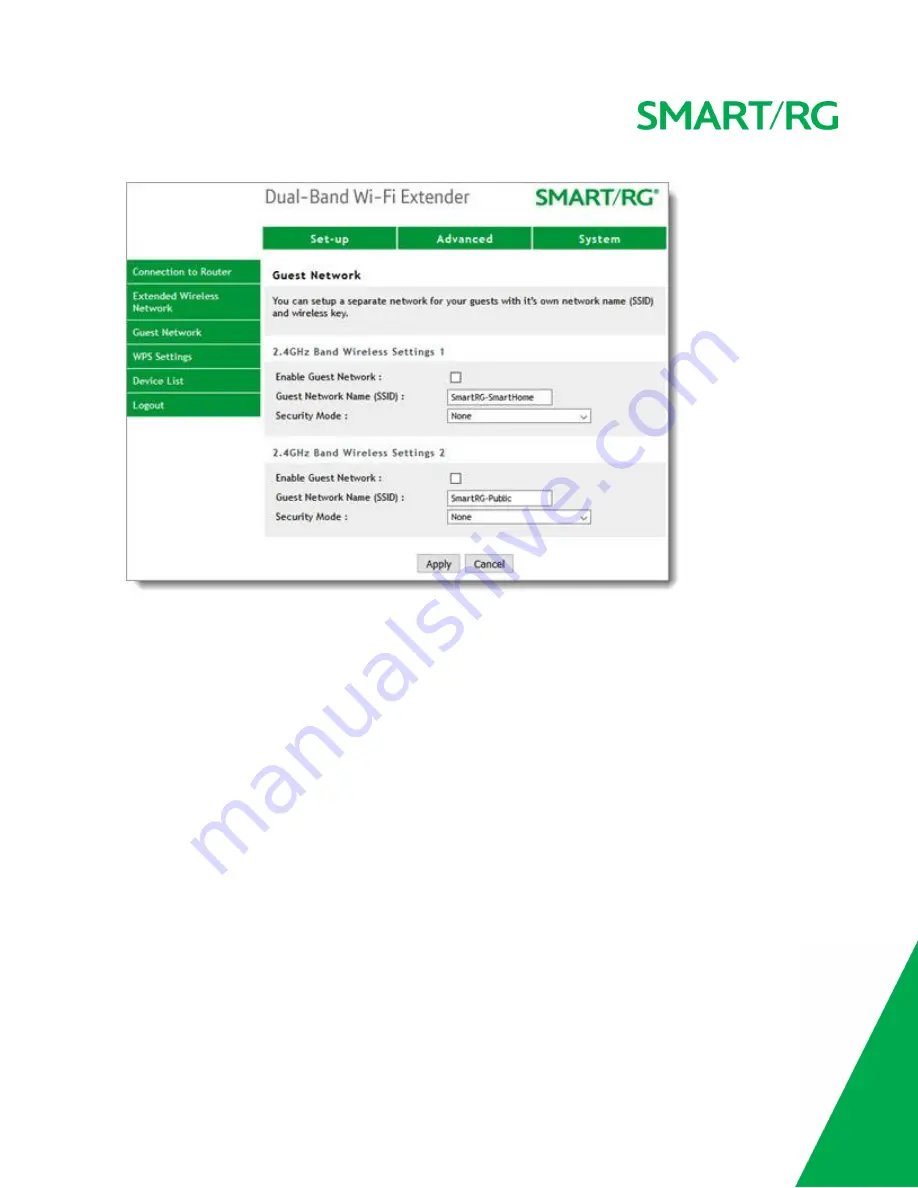
2. In the
Guest Network Name (SSID)
field, enter a name for this network that your guests can easily
identify.
3. In the
Security Mode
field, select the type of network authentication that you want applied. The default
is None, but using this option is not recommended. Options are
WPA-PSK (TKIP)
,
WPA2-PSK (AES)
, and
WPA-PSK (TKIP) + WPA2-PSK (AES)
.
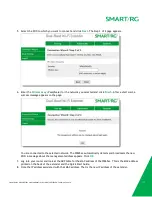
4. To configure the second guest network, repeat Steps 2 and 3.
5. To activate a network. click the
Enable Guest Network
check box above its
SSID
field.
6. Click
Apply
to save your changes.
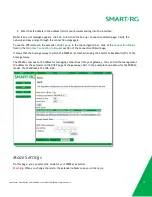
WPS Settings
On this page, you can enable or disable WPS. WPS is enabled by default.
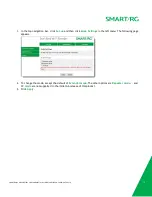
1. In the top navigation bar, click
Advanced
and then click
WPS Settings
in the left menu. The WPS Settings
page appears.