background image

Longo programmable controller LPC-2.DI6

3.2 Mounting instructions

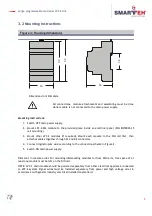
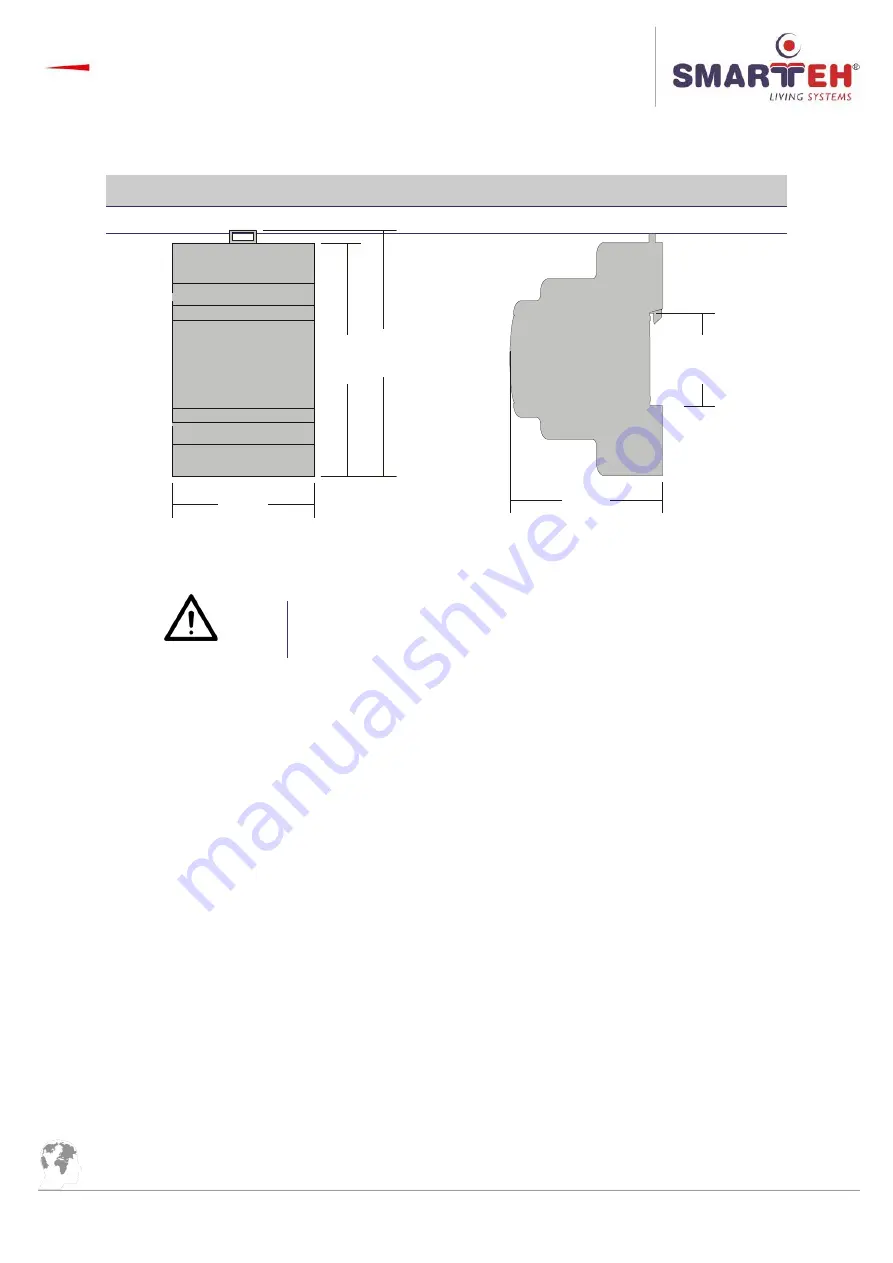
Figure 3: Housing dimensions

Dimensions in millimeters.

All connections, module  attachments and  assembling  must be done
while module is not connected to the main power supply.

Mounting instructions:

1. Switch OFF main power supply.

2. Mount LPC-2.DI6 module to the provided place inside an electrical panel  (DIN EN50022-35

rail mounting).

3. Mount other LPC-2 modules


(if required). Mount each module to the DIN rail first, then

attach modules together through K1 and K2 connectors.

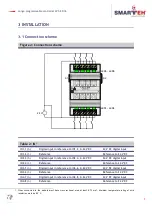
4. Connect digital inputs' wires according to the connection scheme in Figure 2.

5. Switch ON main power supply.

Dismount in reverse order. For mounting/dismounting modules to/from DIN rail a free space of at
least one module must be left on the DIN rail.

NOTE: LPC-2 main module should be powered separately from other electrical appliance connected
to LPC-2 system. Signal wires must be installed separately from power and high voltage wires in
accordance with general industry electrical installation standard.

5

53 

90


95


3

6


60 

Summary of Contents for LPC-2.DI6

Page 1: ...USER MANUAL Longo programmable controller LPC 2 DI6 Digital Input module Version 5 SMARTEH d o o Poljubinj 114 5220 Tolmin Slovenia Tel 386 0 388 44 00 e mail info smarteh si www smarteh si...

Page 2: ...Longo programmable controller LPC 2 DI6 Written by SMARTEH d o o Copyright 2012 SMARTEH d o o User Manual Document Version 005 July 1 2012 i...

Page 3: ...ot include damage due to transport or because of unconsidered corresponding regulations of the country where the module is installed This device must be connected properly by the provided connection s...

Page 4: ...er LPC 2 DI6 Longo programmable controller LPC 2 DI6 1 DESCRIPTION 1 2 FEATURES 2 3 INSTALLATION 3 3 1 Connection scheme 3 3 2 Mounting instructions 5 3 3 Module labeling 6 4 TECHNICAL SPECIFICATIONS...

Page 5: ...f the LPC 2 system It can be used in a wide range of operation where sensors and devices connected to the LPC 2 DI6 module provide 24 V DC signals required for inputs activation LEDs indicate active s...

Page 6: ...controller LPC 2 DI6 2 FEATURES Figure 1 LPC 2 DI6 module Table 1 Technical data Eight external 24 V DC digital inputs galvanic isolated Flexible input for wide use of operation Standard DIN EN50022...

Page 7: ...0 24 V DC 24 V DC digital input IN2 4 I Reference Reference to 24 V DC IN3 5 I Digital input in reference to IN3 6 0 24 V DC 24 V DC digital input IN3 6 I Reference Reference to 24 V DC IN4 7 I Digit...

Page 8: ...ference to IN8 16 0 24 V DC 24 V DC digital input IN8 16 I Reference Reference to 24 V DC Table 3 Digital input specification IN1 1 IN8 15 Digital input reference to IN1 2 up to IN8 16 0 24 V DC Rin 3...

Page 9: ...equired Mount each module to the DIN rail first then attach modules together through K1 and K2 connectors 4 Connect digital inputs wires according to the connection scheme in Figure 2 5 Switch ON main...

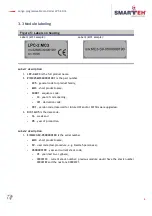
Page 10: ...e code 04 year of code opening 001 derivation code 001 version code reserved for future HW and or SW firmware upgrades 3 D C 16 05 is the date code 16 week and 05 year of production Label 2 descriptio...

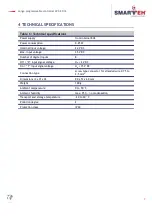
Page 11: ...oltage 35 V DC Number of digital inputs 8 Off 0 input signal voltage Uin 2 V DC On 1 input signal voltage Uin 15 V DC Connection type screw type connector for stranded wire 0 75 to 2 5 mm2 Dimensions...

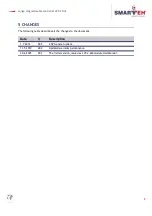
Page 12: ...5 CHANGES The following table describes all the changes to the document Date V Description 1 7 2012 005 CGP General update 11 5 2010 004 Updated warranty permanence 30 6 2005 003 The initial version...

Page 13: ...Longo programmable controller LPC 2 DI6 6 NOTES 9...

Reviews: