background image

16

HOW TO OPERATE THE LOW TEMPERATURE 
COMPARTMENT

HOW TO DEFROST AND CLEAN THE LOW 
TEMPERATURE COMPARTMENT

If installed, the 

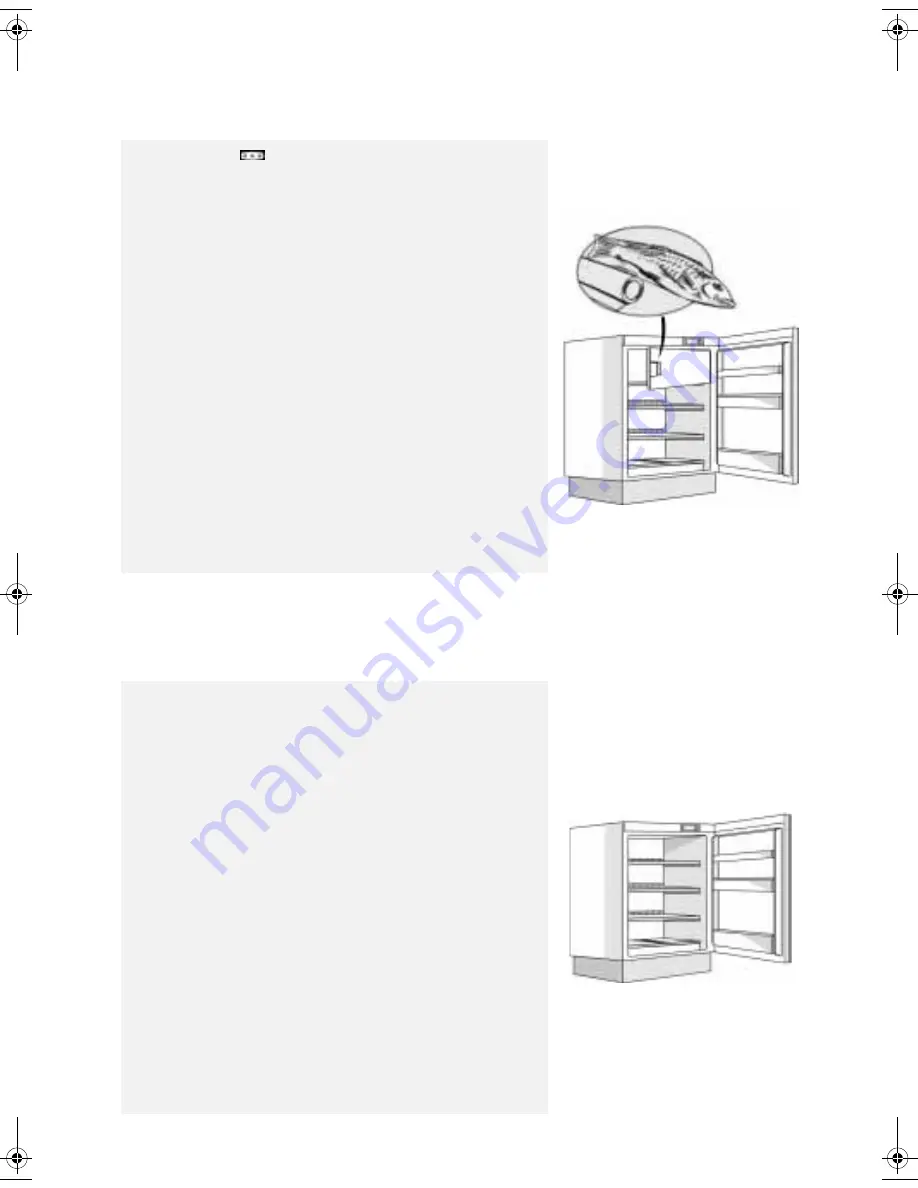
 star low temperature compartment 

may be used to store frozen products for the time indicated 
on the packaging.
When purchasing frozen food products:
• 
Ensure that the packaging is not damaged (frozen food in 

damaged packaging may have deteriorated). If the package is 
swollen or has damp patches, it may not have been stored under 
optimal conditions and defrosting may have already begun.

• When shopping, leave frozen food purchases until last and 

transport the products in a thermally insulated cool bag.

• Place the items in the low temperature compartment as soon as 

you get home.

• If food has defrosted even partially, do not re-freeze it. 

Consume within 24 hours.

• Avoid, or reduce temperature variations to the minimum. 

Respect the best-before date on the package.

• Always observe the storage information on the package.

Making ice cubes

• Fill the ice-tray 3/4 full of water and place it in the bottom of the 

low temperaturecompartment.
If the ice-tray sticks to the bottom, do not use pointed or 
sharp instruments to detach it.

For optimum performance, we recommend to defrost the 
low temperature compartment twice a year, or when the 
ice on the walls reaches a thickness of about 3 mm
If possible, defrost the freezer when it is nearly empty.
1. 
Remove the food from the freezer, wrap in newspaper and 

group together in a cool place or in a portable cooler.

2. Disconnect the appliance from the mains power supply. 
3. Leave the door open to allow the frost/ice to melt.
4. Remove the defrost water with a sponge.
5. Clean the freezer compartment using a sponge dampened in a 

solution of warm water and neutral detergent. Do not use 
abrasive products.

6. Rinse and dry carefully.
• Note: Do not use sharp or pointed metal instruments to 

scrape off ice; do not heat the low temperature 
compartment artificially.

60833048GB.fm  Page 16  Thursday, March 24, 2005  9:10 AM

Summary of Contents for FR148A1

Page 1: ...L RECOMMENDATIONS HOW TO OPERATE THE REFRIGERATOR COMPARTMENT HOW TO OPERATE THE LOW TEMPERATURE COMPARTMENT HOW TO DEFROST AND CLEAN THE LOW TEMPERATURE COMPARTMENT HOW TO CLEAN THE REFRIGERATOR COMPARTMENT ENERGY SAVING TIPS TROUBLESHOOTING GUIDE AFTER SALES SERVICE INSTALLATION ELECTRICAL CONNECTION ...

Page 2: ...s product The symbol on the product or on the documents accompanying the product indicates that this appliance may not be treated as household waste Instead it shall be handed over to the applicable collection point for the recycling of electrical and electronic equipment Before scrapping make the appliance unusable by cutting off the power cable and removing the doors and shelves so that children...

Page 3: ...and level the appliance on a floor strong enough to take its weight and in an area suitable for its size and use Install the appliance in a dry and well ventilated place The appliance is set for operation at specific ambient temperature ranges according to the climatic class indicated on the data plate The appliance may not work properly if it is left for a long period at a temperature above or be...

Page 4: ...3 4 for the COLDEST compartment temperature Thermostat set to position no operation no light Note Ambient temperature the frequency with which the doors are opened and closed and the position of the appliance can affect the temperature inside the two compartments These factors must be taken into account when setting the thermostat How to use the refrigerator compartment Position the food as illust...

Page 5: ... before date on the package Always observe the storage information on the package Making ice cubes Fill the ice tray 3 4 full of water and place it in the bottom of the low temperaturecompartment If the ice tray sticks to the bottom do not use pointed or sharp instruments to detach it For optimum performance we recommend to defrost the low temperature compartment twice a year or when the ice on th...

Page 6: ...c automatic defrost cycle is in progress The defrost water is automatically routed to a drain outlet and into a container from which it evaporates Clean the defrost water drain outlet regularly using the tool supplied with the appliance in order to ensure defrost water is removed correctly Before carrying out any cleaning operations unplug the appliance Use a sponge dampened in lukewarm water and ...

Page 7: ...he thermostat setting correct 4 Water collects at the bottom of the refrigerator compartment Is the defrost water drain blocked 5 The inside light is not working Perform the checks for problem 4 and then Disconnect the appliance from the mains power supply To inspect the bulb refer to the instructions and illustration on the attached product description sheet Check the bulb and if necessary replac...

Page 8: ...ION Install the appliance away from heat sources minimum distances 30 cm from coal and paraffin stoves 3 cm from electric ovens and hobs Install the appliance in a dry well ventilated place Do not obstruct the air vents Clean the appliance interior see relevant chapters Fit the accessories supplied Electrical connection Electrical connections must be made in accordance with local regulations Volta...

Page 9: ...s fitted Correct replacement are identified by the colour insert or the colour embossed in words on the base of the plug Replacement fuse covers are available from your local electrical store 2 For the Republic of Ireland only The information given in respect of Great Britain will frequently apply but a third type of plug and socket is also used the 2 pin side earth type 3 Socket outlet plug valid...

Page 10: ...k 7 Removable bottle restraint 8 Rating plate at the side of crisper drawer 9 Ice cube tray 10 Low Temperature compartment door B Low temperature compartment if supplied Notes The number of shelves and type of accessories may vary depending on the model All shelves door trays and racks are removable Important Refrigerator accessories must not be washed in a dishwasher Important Close the appliance...

Page 11: ...Thermostat control reference Thermostat set to no refrigeration no light Thermostat set to 1 least cold internal temperature Thermostat set to 4 coldest internal temperature The average recommended thermostat setting is 2 3 Removing the light diffuser 1 Push the tab towards the left 2 Remove the cover ...

Reviews: