13
Instructions for the user
7.4
Operating modes
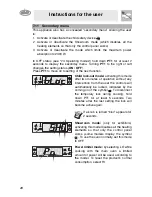
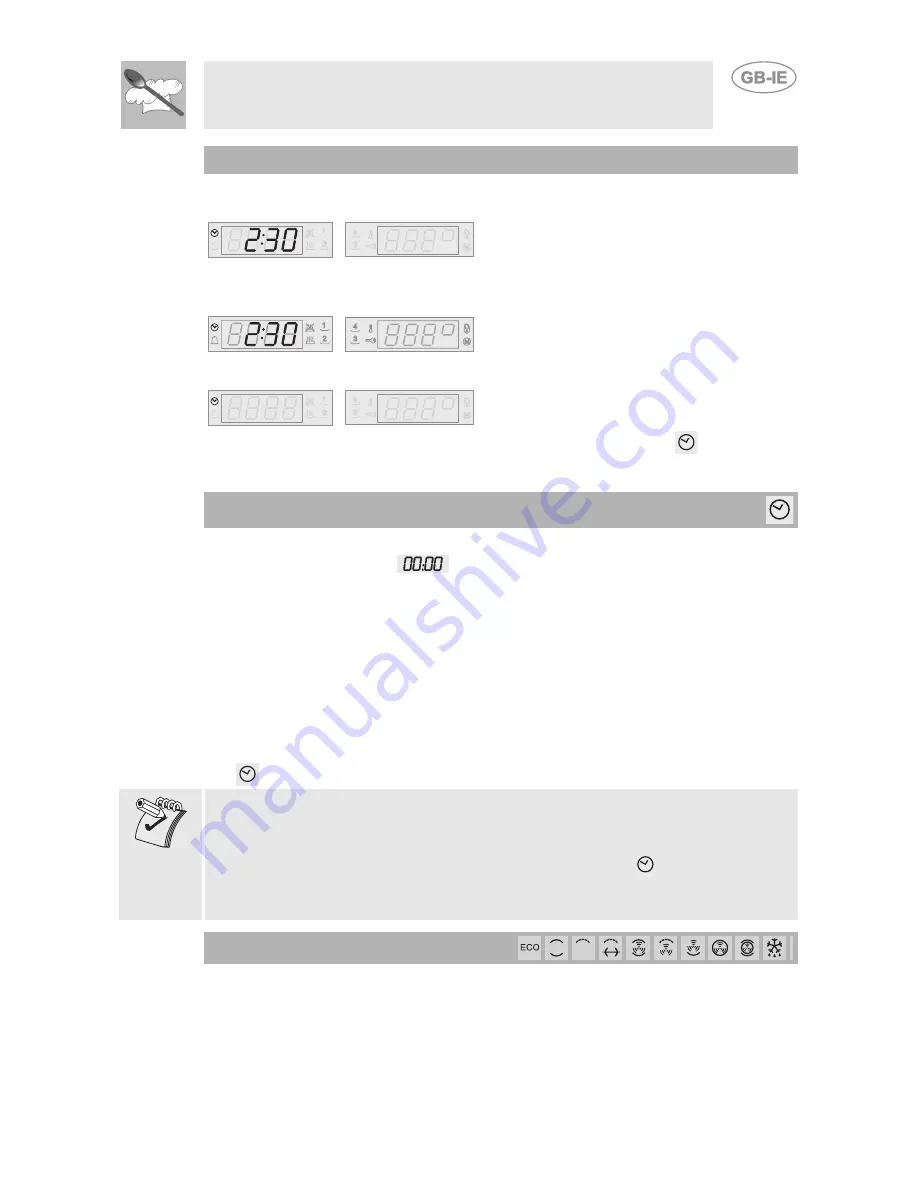
This appliance is programmed to provide 3 operating settings, which can
be modified by pressing PT2.
STAND-BY setting:
with DSP1 on and
showing the current time (activated as
soon as the current time has been
confirmed).
ON setting:
from the stand-by setting,
press PT2 once. All the displays and
knobs light up.
OFF setting:
from the ON position,
keep PT2 pressed down until it
switches off. Only the
symbol on
DSP1 remains on.
7.5
First use
At first use, or after a power failure, the oven's left hand-display, DSP1, will
show a flashing symbol
. To start any cooking operation, the current
time must be set.
7.5.1
Setting the current time
Adjusting the current time
• turn PT1 to the right and left to increase or decrease the hours. (
If the
knob is held in one direction the time changes faster).
• when PT1 is released, after a few seconds the display will stabilise and
only the two dots that separate the hours from the minutes will flash,
indicating it is working properly. (
The display will also show the symbol
).
It might become necessary to change the current time, for example at the
switch from summer to winter time. Starting from the stand-by setting, (see
paragraph "7.4 Operating modes"):
• hold down PT1 for a few seconds until the symbol
stops flashing.
• repeat the operations described in paragraph “7.5.1 Setting the current
time”.
7.6
Selecting a function
In the ON state only, a cooking function can be selected by simply turning
PT2 to the right or left. The function selected will change colour to red on
the display. After the selection, the preset cooking temperature will be
displayed on DSP2.


