Conversion Kit
9
11)
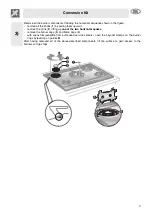
Replace the components on the burner and turn the knobs on the gas tap pins.
Light the burner and set it at minimum .
Remove the knob and turn the regulation screw inside or next to the gas tap pin
(depending on the model) until you obtain a suitable minimum flame.
Replace the knob and check flame stability by rapidly turning the knob from
maximum to minimum. The flame should not go out.
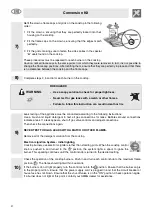
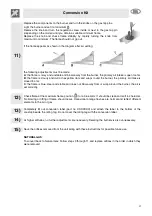
If the flame appears as shown in the diagram after air setting:
the following adjustments must be made:
A: the flame is noisy and unstable and blows away from the burner, the primary air intake is open too far.
B: the flame is cloudy and dull or has yellow dots and wraps round the burner, the primary air intake is
closed too far.
C: the flame is blue, clear and stable and does not blow away from or wrap around the burner, the air is
set correctly.
12)
Check flame at the maximum flame position (
) for a blue color. It should be clean and soft in character.
No blowing or lifting of flame should occur. Occasional orange flashes are normal and reflect different
elements in the air or gas.
13)
Completely fill out conversion label (part no. XXXXXXX) and attach the label to the bottom of the
cooktop beside the rating tag. Do not cover the rating tag with the conversion label.
14)
At higher altitudes, no further adjustments are necessary. Derating the burners is also unnecessary.
15)
Save the orifices removed from the unit along with these instructions for possible future use.
NATURAL GAS:
To convert back to Natural Gas: Follow steps 3 through 11 and replace orifices in the order in which they
were removed.


