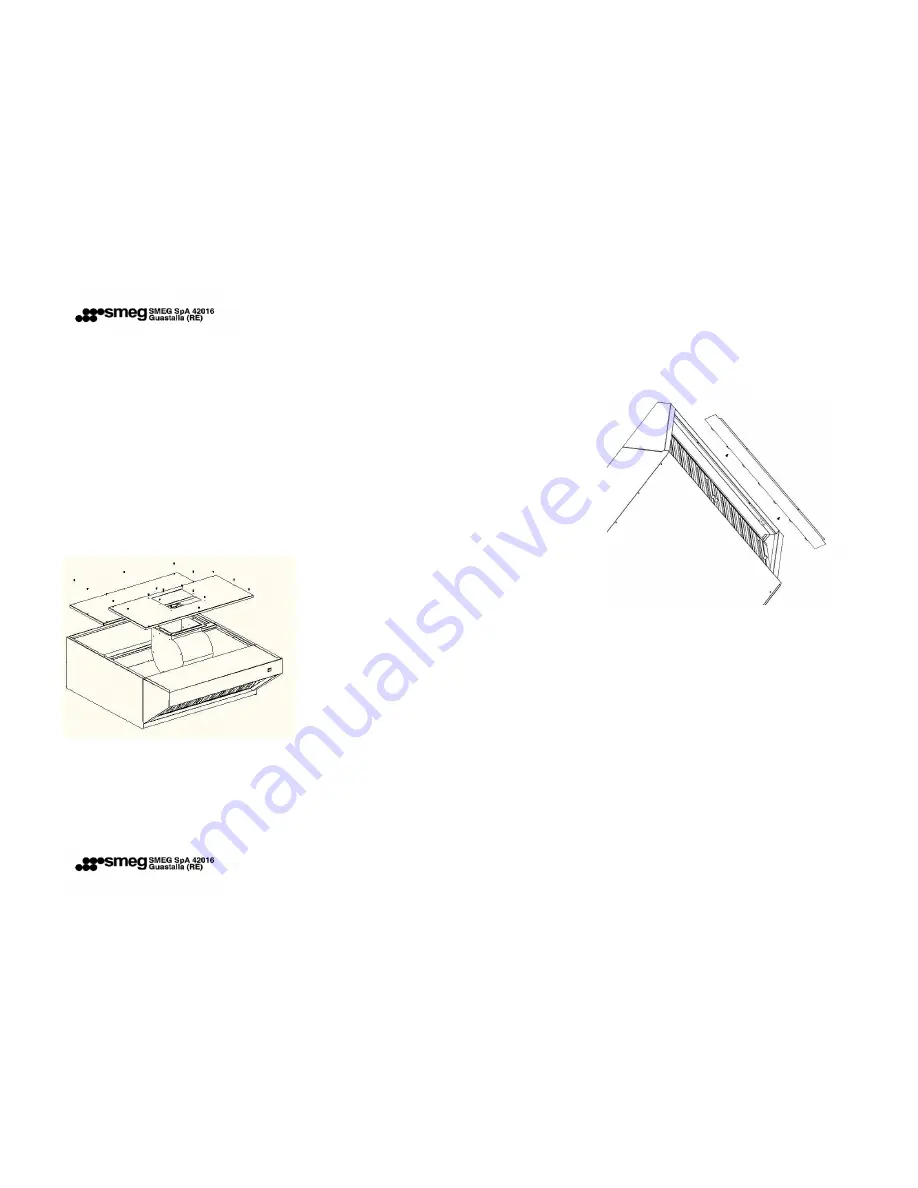
cover or the front one. To remove the front
cover unscrew the perimetric
screws (Fig. 3) and take care not to damage the
electric cables when
lifting the cover. To remove the rear cover
unscrew the perimetric screws
and lift the cover completely, taking care not to
disconnect the electric
cables.
Fig.3
Attention!!! – When removing the panels,
handle them with great
attention by using gloves to protect hands
from possible cuts.
3.1 – Disassembling labyrinth filters
To disassemble the filters, grab and slide them
upwards so that they
slip out of the lower guide. Rotate the lower
wall slightly to release the
filter completely. To reassemble the filters,
follow the procedure
reversely.
3.2 – Disassembling the fan
The fan is removed by removing the front cover
and disconnecting
the same from the cable. After removing the
front cover to which is
attached the fan you can proceed to remove
the screws that fixed the
fan to the front cover.
3.3 – Disassembling the switch ON OFF
Before removing the switch must be removed
the cover panel
mounted on the oven hood, fixed by screws
(Fig. 4).
fig.4
Attention!!! – Before closing back the
connections, make sure that the
electronic card has been replaced without
inverting the order of the
temperature feelers.
3.5 Spare parts
It is possible to use original or authorized spare
parts only. Do not
repair or replace any components of the oven
hood that have not been
recommended by this manual. All the other
interventions must be carried


