Page 6
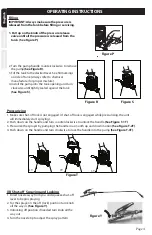
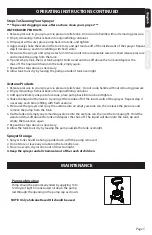
Pump Disassembly & Reassembly
NOTE: Remove pump from tank prior to disassembly.
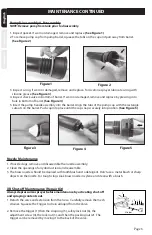
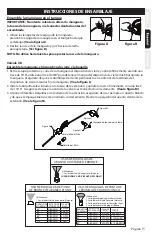
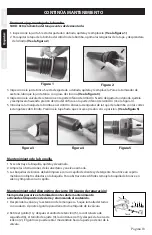
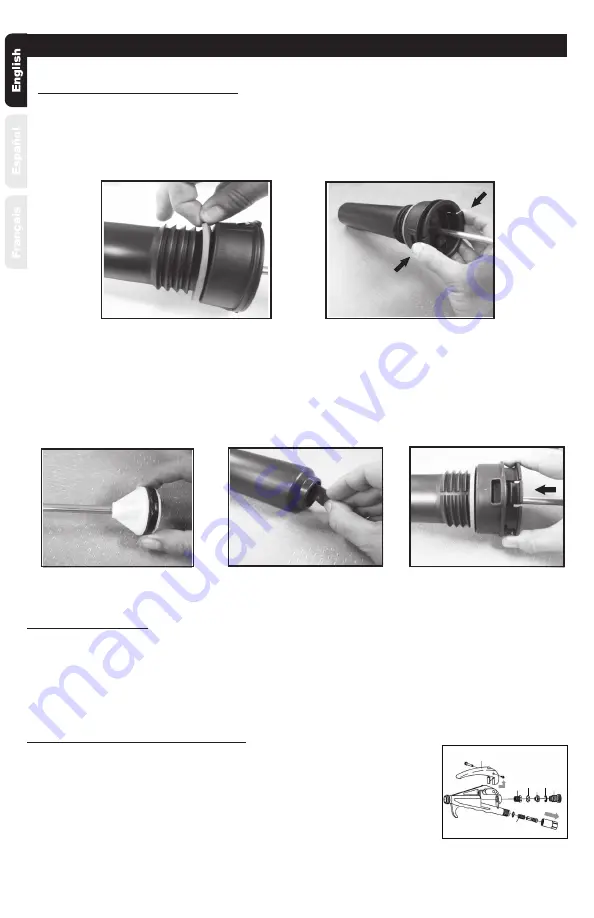
1. Inspect gasket. If worn or damaged, remove and replace.
(See Figure 1)
2. To remove pump cap from pump barrel, squeeze the tabs on the cap and pull away from barrel.
(See Figure 2)
3. Inspect o-ring. If worn or damaged, remove and replace. For Acetone sprayer lubricate o-ring with
silicone grease.
(See Figure 3)
4. Inspect check valve in bottom of barrel. If worn or damaged, remove and replace by pressing into
hole in bottom of barrel.
(See Figure 4)
5. Insert the pump handle assembly into the barrel. Align the tabs of the pump cap with the rectangle
cutouts on the barrel. Push cap into place until the cap snaps securely into position.
(See Figure 5)
Figure 2
Figure 1
Figure 3
Figure 4
Figure 5
MAINTENANCE CONTINUED
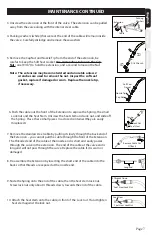
Nozzle Maintenance
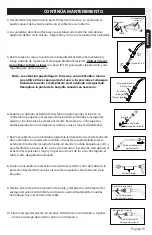
1. If nozzle clogs, remove and disassemble the nozzle assembly.
2. Clean the openings of any obstructions and reassemble.
3. The brass nozzles should be cleaned with toothbrush and a detergent. Don’t use a metal brush or sharp
objects on the nozzle. For tough clogs soak brass nozzle in xylene and clean with a brush.
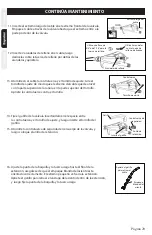
6
5
4
3
2
1
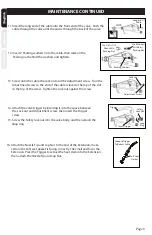
1. Detach the valve and extension from the hose. Carefully remove the mesh
strainer. Squeeze the Trigger to drain all liquid from the Valve.
XB Shut-off Maintenance (Repair Kit)
Always depressurize sprayer before maintenance by activating shut-off
and spraying contents out.
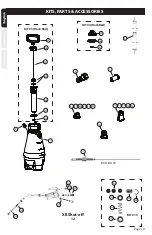
2. Remove the trigger (1) then the snap ring (5), safety lock nut (6), the
adjustment screw (4), the lock nut (3), and then the packing nut (2). The
trigger can be removed by moving it to the back of the valve.
Strainer

