5
Ser
vice
MAINTENANCE
AIR CLEANER
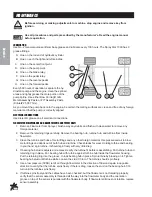
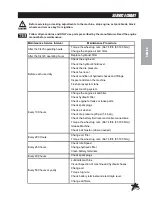
1. Loosen cover retaining knob and remove cover.
2. Remove pre-cleaner from paper element.
3. Check paper element. Replace element as necessary.
4. Wash pre-cleaner in warm water with detergent. Rinse pre-cleaner thoroughly until all traces of deter-
gent are eliminated. Squeeze out excess water (do not wring). Allow pre-cleaner to air dry.
5. Saturate pre-cleaner with new engine oil. Squeeze out all excess oil.
6. Reinstall pre-cleaner over paper element.
7. Reinstall air cleaner cover. Secure cover with cover retaining knob.
ENGINE OIL
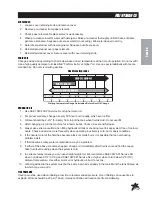
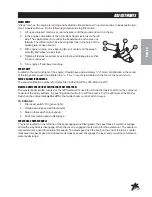
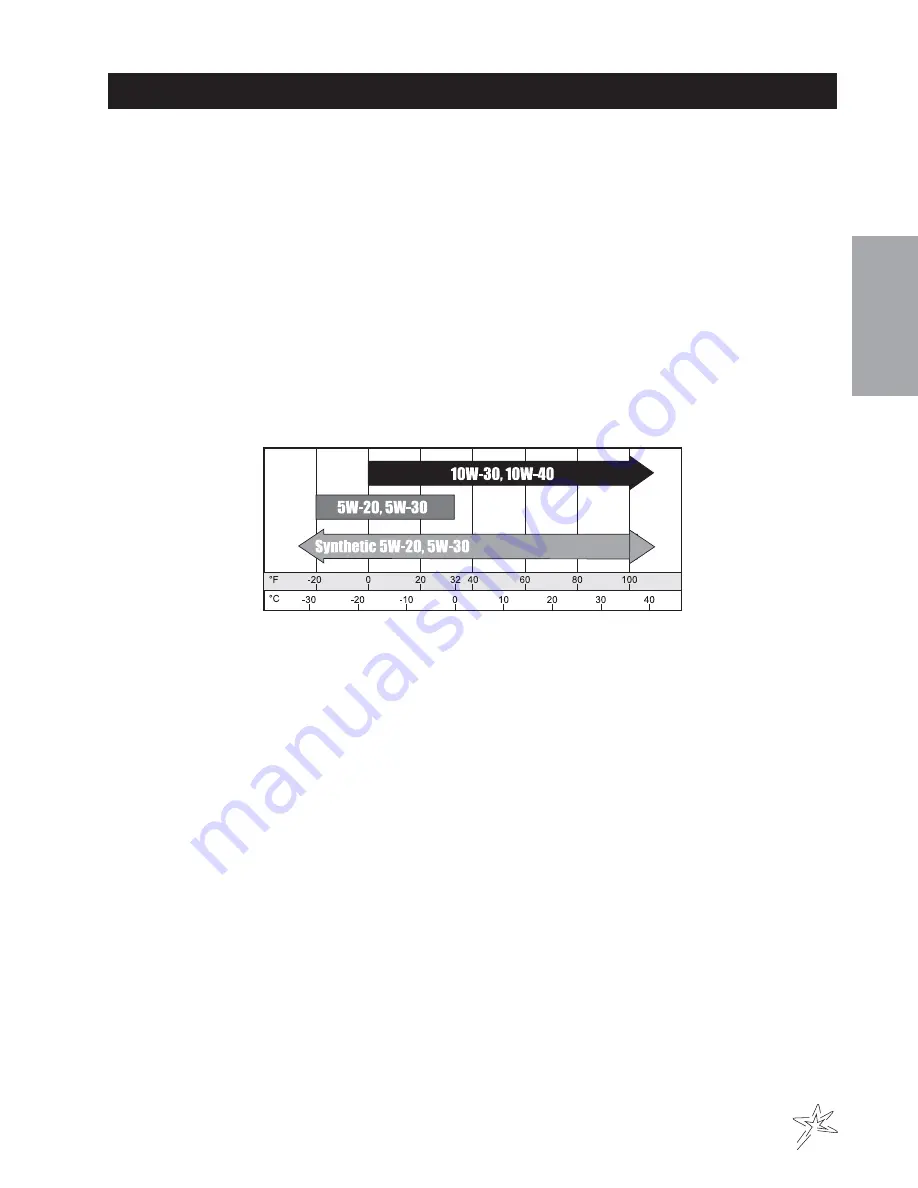
Change and add oil according to chart below based on air temperature at the time of operation. Do not overfill.
Use a high quality detergent oil classified "For Service SJ or higher" oil. Use no special additives with recom-
mended oils. Do not mix oil with gasoline.
SAE Viscosity Grades
Starting Temperature Range Anticipated Before Next Oil Change
HYDRAULIC OIL
1. Use SAE 10W-40 API Service SJ or higher motor oil.
2. For proper warranty, change oil every 500 hours or annually, which ever is first.
3. Oil level should be 2-2½" (5-6.4cm) from top of the tank when fluid is cold. Do not overfill.
4. After changing oil, run the machine for a few minutes. Check oil level and for leaks.
5. Always use extreme caution when filling hydraulic oil tank or checking level to keep system free of contami-
nants. Check and service more frequently when operating in extremely cold, hot or dusty conditions.
6. If the natural color of the fluid has become black or smells burnt, it is possible that an overheating
problem exists.
7. If fluid becomes milky, water contamination may be a problem.
8. If either of the above conditions happen, change oil immediately after fluid is cool and find the cause.
Take fluid level readings when the system is cold.
9. In extreme temperatures you can use straight weight oil. We recommend SAE 30W API Service SG
when hot (above 90°F (33°C)) and SAE 10W API Service SJ or higher when cold (below 32°F (0°C)
ambient temperature. Use either motor oil or hydraulic oil, but do not mix.
10. Oil being added to the system must be the same as what is already in the tank. Mark the tank fill area as
to which type you put in.
TIRE PRESSURE
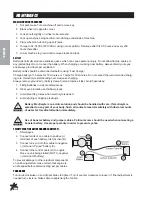
Caution must be used when inflating a low tire to recommended pressure. Over inflating can cause tires to
explode. All tires should be 20 psi (1.4bar). Improper inflation will reduce tire life considerably.
Summary of Contents for 10-100-C
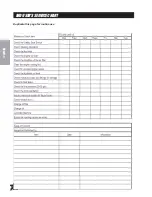
Page 10: ...8 Service END USER S SERVICE CHART Duplicate this page for routine use...
Page 13: ...NOTES...
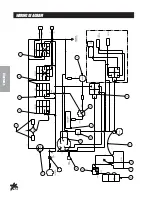
Page 14: ...12 Diagrams WIRING DIAGRAM...
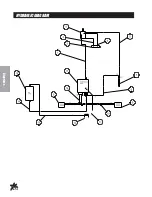
Page 16: ...14 Diagrams HYDRAULIC DIAGRAM...
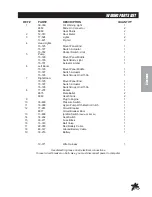
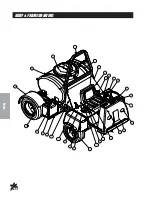
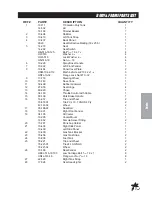
Page 18: ...16 Parts BODY FRAME DRAWING...
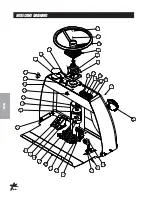
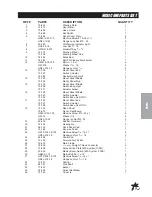
Page 20: ...18 Parts NOSECONEDRAWING...
Page 22: ...20 Parts FRONTAXLEDRAWING...
Page 24: ...22 Parts SEATCONSOLEANDROPSDRAWING...
Page 26: ...24 Parts FUELTANKDRAWING...
Page 28: ...26 Parts OILTANK OILFILTER OILCOOLERDRAWING...
Page 30: ...28 Parts FOOTPEDALLINKAGE DRAWING...
Page 32: ...30 Parts ENGINE PUMPSANDEXHAUSTDRAWING...
Page 34: ...32 Parts PARKBRAKEANDREARAXLEDRAWING...
Page 36: ...34 Parts TANKDRAWING TURBO QUADAGITATORDRAWING...
Page 38: ...36 Parts 15 301ORBITROLDRAWING...
Page 40: ...38 Parts 10 117 HYDRAULIC PUMP DRAWING...
Page 42: ...40 Parts 16 998HYPROPUMPDRAWING...
Page 44: ...42 Parts 10 116WHEELMOTOR 14 0 CI DRAWING...
Page 50: ...48 Accessories 16 524 MOTORIZEDCONTROLVALVEDRAWING 15 737STRAINER...
Page 52: ...50 Accessories 17 575 SMITHCOSUPERBOOM...
Page 56: ...54 Accessories 16 906ELECTRICHOSEREELDRAWING...
Page 58: ...56 Accessories 16 129MANUALHOSEREELDRAWING...
Page 60: ...58 Accessories 10 422HOSEREELMOUNT FOR17 525 17 550BOOMS...
Page 62: ...60 Accessories 1008 RAVEN 440 HOSE REEL PLUMBING DRAWING...
Page 66: ...64 Accessories 10 378FOAMMARKERFOR1000DRAWING WIRINGDRAWING...
Page 68: ...66 Accessories 10 378FOAMMARKER DRAWING...
Page 70: ...68 Accessories FOAMER NOZZLEMOUNT HOSEGUARDMOUNTDRAWING...
Page 78: ...76 Accessories 15 620CHEMICALCLEANLOAD DRAWING...

