6
Ser
vice
MAINTENANCE
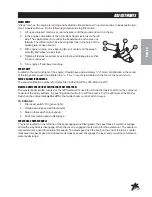
WHEEL MOUNTING PROCEDURE
1. Set park brake. Turn machine off and remove key.
2. Block wheel on opposite corner.
3. Loosen nuts slightly on wheel to be removed.
4. Jack up machine being careful not to damage underside of machine.
5. Place wheel on hub lining up bolt holes.
6. Torque to 64-74 ft/lb (87-100Nm) using a cross pattern. Retorque after first 10 hours and every 200
hours thereafter.
7. Lower machine to ground and remove blocks and jack.
BATTERY
Batteries normally produce explosive gases which can cause personal injury. Do not allow flames, sparks or
any ignited object to come near the battery. When charging or working near battery, always shield your eyes
and always provide proper ventilation.
Battery cable should be disconnected before using “Fast Charge”.
Charge battery at 15 amps for 10 minutes or 7 amps for 30 minutes. Do not exceed the recommended charg-
ing rate. If electrolyte starts boiling over, decrease charging.
Always remove grounded (-) battery clamp first and replace it last. Avoid hazards by:
1. Filling batteries in well-ventilated areas.
2. Wear eye protection and rubber gloves.
3. Avoid breathing fumes when electrolyte is added.
4. Avoid spilling or dripping electrolyte.
Battery Electrolyte is an acidic solution and should be handled with care. If electrolyte is
splashed on any part of your body, flush all contact areas immediately with liberal amounts
of water. Get medical attention immediately.
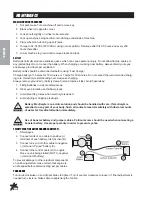
Use of booster battery and jumper cables. Particular care should be used when connecting a
booster battery. Use proper polarity in order to prevent sparks.
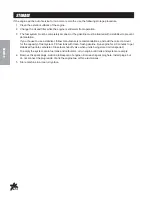
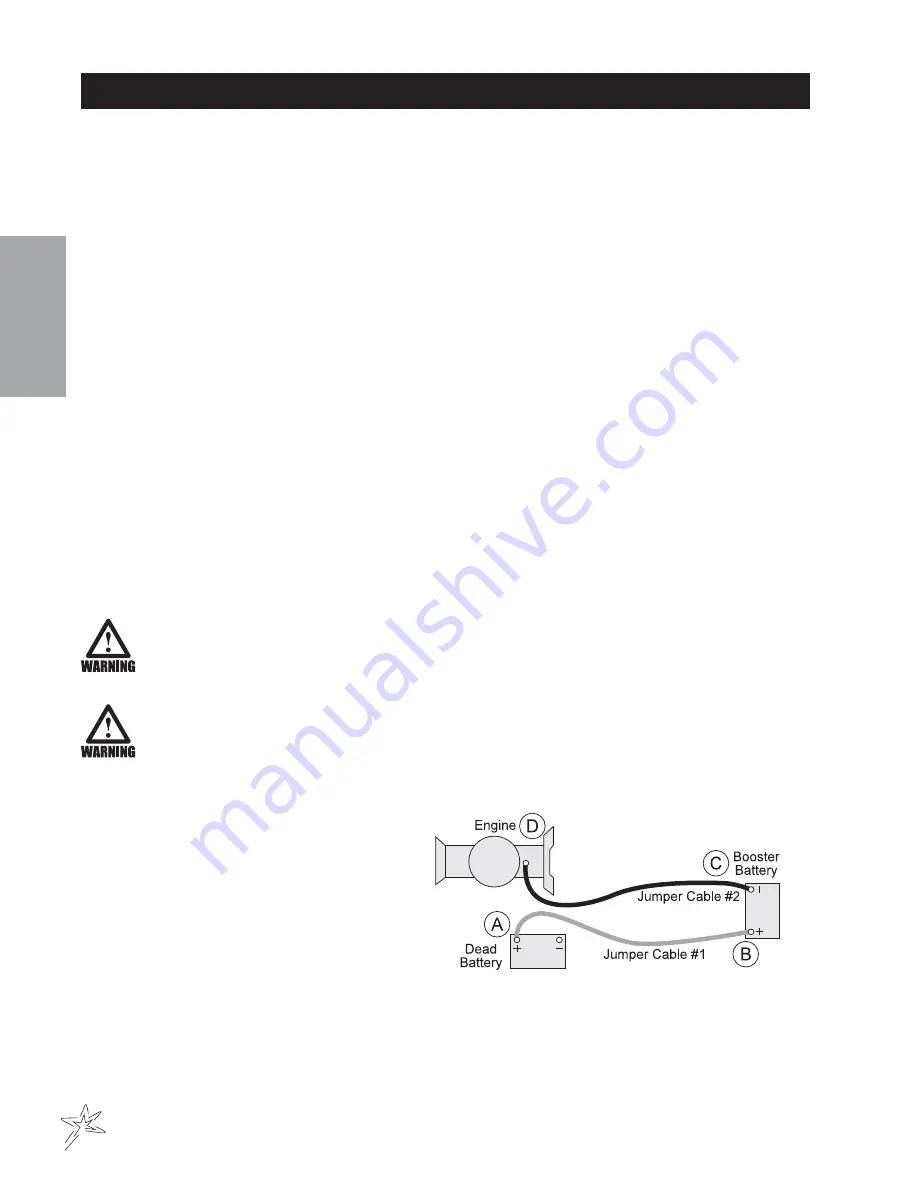
TO JUMP START (NEGATIVE GROUNDED BATTERY):
1. Shield eyes.
2. Connect ends of one cable to positive (+)
terminals of each battery, first (A) then (B).
3. Connect one end of other cable to negative
(-) terminal of "good" battery (C).
4. Connect other end of cable (D) to engine
block on unit being started (NOT to negative
(-) terminal of battery)
To prevent damage to other electrical components
on unit being started, make certain that engine is
at idle speed before disconnecting jumper cables.
PARK BRAKE
Turn knob clockwise on end of park brake to tighten. Turn it counter clockwise to loosen. If finer adjustment is
needed turn clevis on brake cable to adjust length of cable.
Summary of Contents for 10-100-C
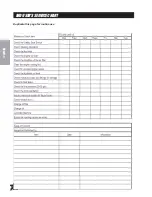
Page 10: ...8 Service END USER S SERVICE CHART Duplicate this page for routine use...
Page 13: ...NOTES...
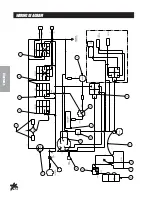
Page 14: ...12 Diagrams WIRING DIAGRAM...
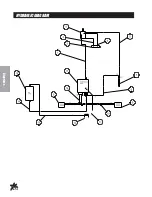
Page 16: ...14 Diagrams HYDRAULIC DIAGRAM...
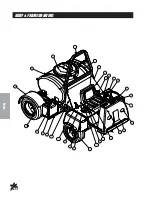
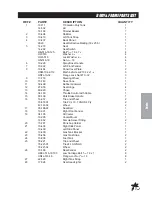
Page 18: ...16 Parts BODY FRAME DRAWING...
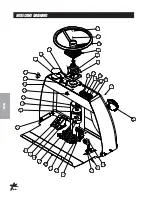
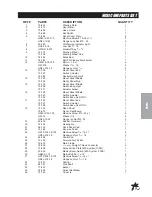
Page 20: ...18 Parts NOSECONEDRAWING...
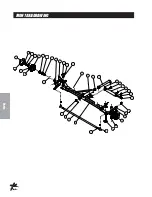
Page 22: ...20 Parts FRONTAXLEDRAWING...
Page 24: ...22 Parts SEATCONSOLEANDROPSDRAWING...
Page 26: ...24 Parts FUELTANKDRAWING...
Page 28: ...26 Parts OILTANK OILFILTER OILCOOLERDRAWING...
Page 30: ...28 Parts FOOTPEDALLINKAGE DRAWING...
Page 32: ...30 Parts ENGINE PUMPSANDEXHAUSTDRAWING...
Page 34: ...32 Parts PARKBRAKEANDREARAXLEDRAWING...
Page 36: ...34 Parts TANKDRAWING TURBO QUADAGITATORDRAWING...
Page 38: ...36 Parts 15 301ORBITROLDRAWING...
Page 40: ...38 Parts 10 117 HYDRAULIC PUMP DRAWING...
Page 42: ...40 Parts 16 998HYPROPUMPDRAWING...
Page 44: ...42 Parts 10 116WHEELMOTOR 14 0 CI DRAWING...
Page 50: ...48 Accessories 16 524 MOTORIZEDCONTROLVALVEDRAWING 15 737STRAINER...
Page 52: ...50 Accessories 17 575 SMITHCOSUPERBOOM...
Page 56: ...54 Accessories 16 906ELECTRICHOSEREELDRAWING...
Page 58: ...56 Accessories 16 129MANUALHOSEREELDRAWING...
Page 60: ...58 Accessories 10 422HOSEREELMOUNT FOR17 525 17 550BOOMS...
Page 62: ...60 Accessories 1008 RAVEN 440 HOSE REEL PLUMBING DRAWING...
Page 66: ...64 Accessories 10 378FOAMMARKERFOR1000DRAWING WIRINGDRAWING...
Page 68: ...66 Accessories 10 378FOAMMARKER DRAWING...
Page 70: ...68 Accessories FOAMER NOZZLEMOUNT HOSEGUARDMOUNTDRAWING...
Page 78: ...76 Accessories 15 620CHEMICALCLEANLOAD DRAWING...

