3
“
H
ARDWARE
I
DENTIFICATION
C
HART
”
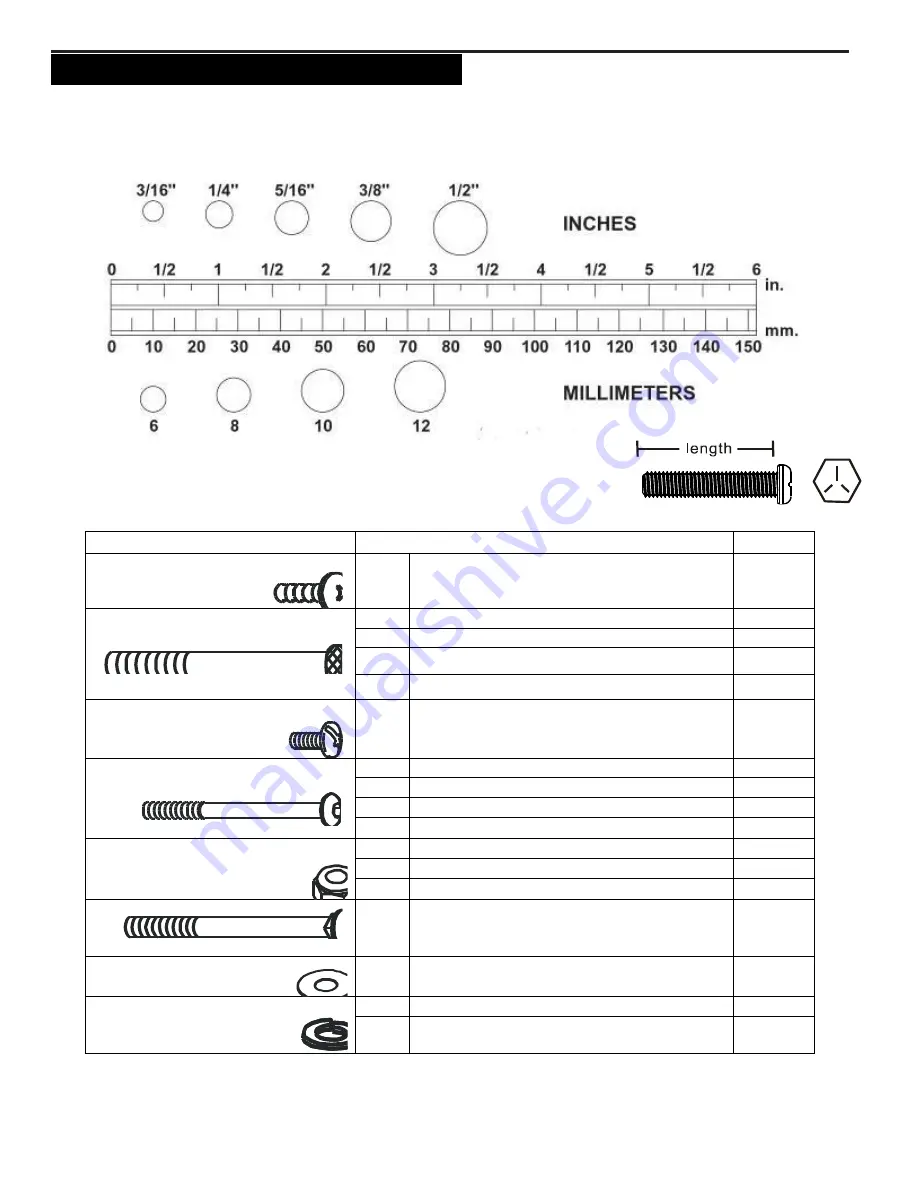
Unpack the box in a clear area. Use the
List of Hardware
below to check the contents of the hardware kit. This chart is
provided to help identify the hardware used in the assembly process. Place the washers, the end of bolts, or screws on
the circles to check for the correct diameter. Use the ruler to check the length of the bolts and screws.
NOTICE:
The length of all bolts and screws, except those with flat heads, are
measured from below the head to the end of the bolt or screw. Flat head
bolts and screws are measured from the top of the head to the end of the
bolt or screw
Part No. and Description
Q’TY
86
Bolt, Round Head (M5x12mm)
2
90
Bolt, Socket Head (M6x35mm)
4
92
Bolt, Socket Head (M8x25mm)
4
94
Bolt, Socket Head (M8x90mm)
2
113
Bolt, Socket Head (M8x50mm)
2
97
Bolt, Round Head (M8x16mm)
4
100
Bolt, Button Head (M8x90mm)
2
101
Bolt, Button Head (M10x85mm)
2
114
Bolt, Button Head (M6x12mm)
2
115
Bolt, Button Head (M8x20mm)
4
102
Nylock Nut (M6)
4
105
Nylock Nut (M8)
4
106
Nylock Nut (M10)
2
104
Carriage Bolt (M8x85mm)
2
110
Washer (M10)
2
108
Lock Washer (M8)
12
117
Lock Washer (M6)
2
Summary of Contents for CE-3.0DS
Page 37: ...36 PRODUCT PARTS DRAWING...


