O
OP
PE
ER
RA
AT
TIIO
ON
N IIN
N S
SIIN
NG
GL
LE
E S
SE
EQ
QU
UE
EN
NT
TIIA
AL
L A
AC
CT
TU
UA
AT
TIIO
ON
N M
MO
OD
DE
E
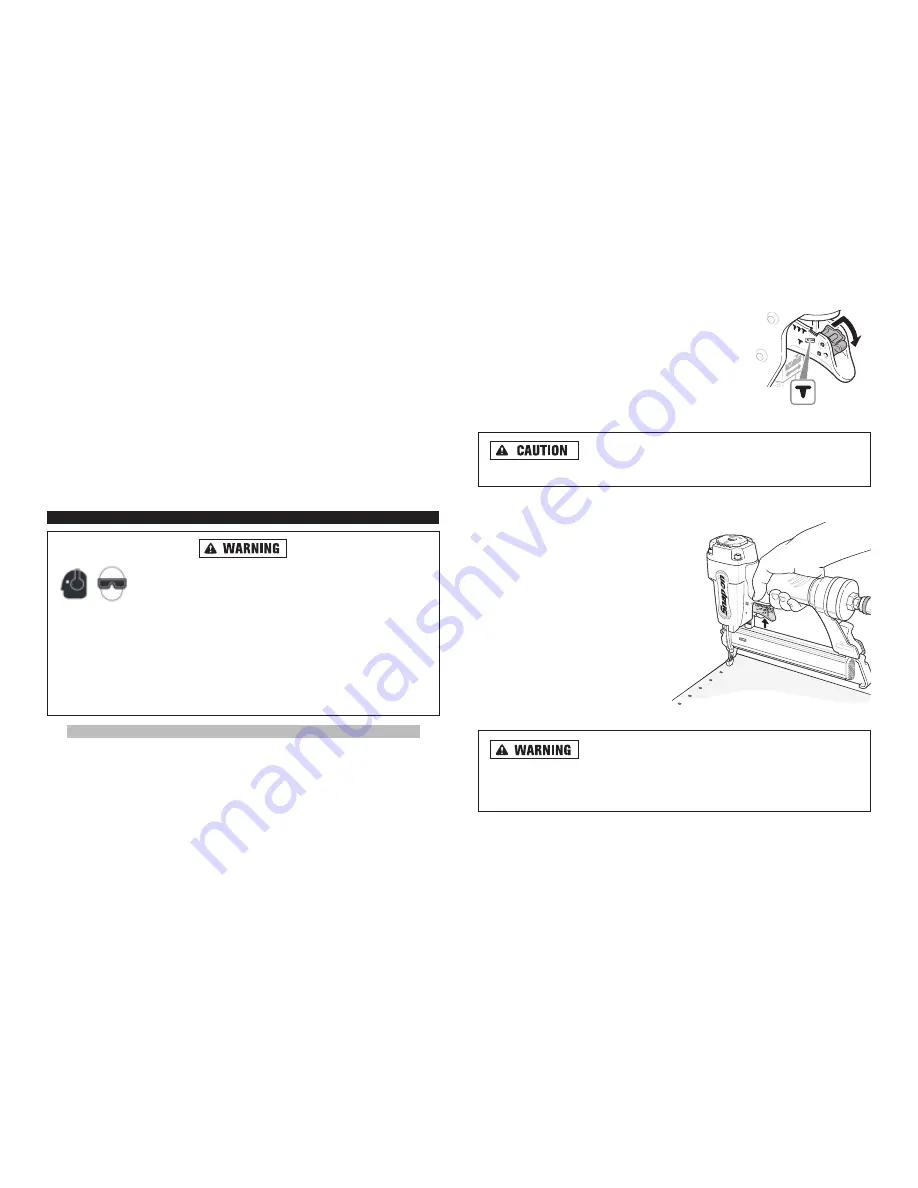
To select the Single Sequential Actuation Mode (see
Figure 1):
1. Press and hold the red Actuation Selector embedded
in the trigger.
2. Rotate Actuation Selector down to the Single
Sequential Actuation (T).
3. Release Actuation Selector, ensuring locking tab is
fully seated in the slot.
E
En
nssu
urre
e sse
elle
ecctto
orr h
ha
ass llo
occkke
ed
d iin
ntto
o p
po
ossiittiio
on
n.. E
En
nssu
urre
e
a
accttu
ua
attiio
on
n p
prro
occe
essss iiss ffu
ullllyy u
un
nd
de
errsstto
oo
od
d b
be
effo
orre
e a
atttte
em
mp
pttiin
ng
g tto
o u
usse
e b
brra
ad
d n
na
aiille
err..
T
TO
O U
US
SE
E T
TH
HE
E B
BR
RA
AD
D N
NA
AIIL
LE
ER
R IIN
N S
SIIN
NG
GL
LE
E S
SE
EQ
QU
UE
EN
NT
TIIA
AL
L
A
AC
CT
TU
UA
AT
TIIO
ON
N M
MO
OD
DE
E::
1. Firmly grip brad nailer handle.
2. Position brad nailer work piece con-
tact on work piece surface.
3. Push brad nailer against work piece
compressing work piece contact.
4. Pull trigger on brad nailer to drive
nail. The brad nailer will recoil away
from the work piece as nail is driven.
5. Remove finger from trigger and lift
brad nailer away from surface of work
piece.
O
OP
PE
ER
RA
AT
TIIO
ON
N IIN
N C
CO
ON
NT
TA
AC
CT
T A
AC
CT
TU
UA
AT
TIIO
ON
N M
MO
OD
DE
E
W
Wh
he
en
n u
ussiin
ng
g cco
on
ntta
acctt a
accttu
ua
attiio
on
n m
mo
od
de
e,, b
be
e cca
arre
effu
ull o
off u
un
niin
n--
tte
en
nttiio
on
na
all d
do
ou
ub
blle
e ffiirre
ess rre
essu
ullttiin
ng
g ffrro
om
m tto
oo
oll rre
ecco
oiill.. U
Un
nw
wa
an
ntte
ed
d ffa
asstte
en
ne
errss m
ma
ayy b
be
e
d
drriivve
en
n iiff tth
he
e w
wo
orrkk p
piie
ecce
e cco
on
ntta
acctt iiss a
allllo
ow
we
ed
d tto
o a
acccciid
de
en
ntta
allllyy rre
e--cco
on
ntta
acctt tth
he
e w
wo
orrkk
p
piie
ecce
e..
9
10
To improve the connection between the quick disconnect and air nailer, and to help
prevent oxidation, apply PTFE tape or joint compound to the connector threads
before insertion.
3. Snap the air hose onto the quick disconnect on the air nailer. Check for air
leaks.
L
LU
UB
BR
RIIC
CA
AT
TIIO
ON
N
To ensure maximum performance, it is recommended to install an air set (oiler, reg-
ulator, and air filter) as close as possible to the air nailer. Adjust the oiler so that
approximately one drop of oil will be released for every 50 nails.
If an air set is not used or is unavailable, oil the tool using pneumatic tool oil by plac-
ing 2 or 3 drops into the air inlet. This should be done before and after use. For
proper lubrication, the tool must be fired several times after the oil is introduced to
the filter.
OPERATING THE BRAD NAILER
A
Allw
wa
ayyss u
usse
e h
he
ea
arriin
ng
g p
prro
otte
eccttiio
on
n tto
o p
prro
otte
ecctt yyo
ou
urr e
ea
arrss a
ag
ga
aiin
nsstt
h
he
ea
arriin
ng
g llo
ossss d
du
ue
e tto
o e
exxh
ha
au
usstt n
no
oiisse
e.. A
Allw
wa
ayyss w
we
ea
arr p
prro
op
pe
err ssa
affe
e--
ttyy g
glla
asssse
ess tto
o p
prre
evve
en
ntt iin
njju
urriie
ess tto
o tth
he
e e
eyye
ess ffrro
om
m ffrra
ag
gm
me
en
nttss o
off
tth
he
e w
wo
orrkk p
piie
ecce
e,, d
de
effe
eccttiivve
e n
na
aiillss o
orr o
otth
he
err d
de
eb
brriiss cca
au
usse
ed
d b
byy u
ussiin
ng
g tth
he
e b
brra
ad
d n
na
aiill--
e
err.. All safety glasses must have side shields and should conform to the require-
ments of the American National Standards Institute (ANSI) z87.1. Failure to
comply with this warning could lead to serious or permanent damage to the
ears as well as serious damage or permanent blindness in the eyes.
A
Allw
wa
ayyss d
diisscco
on
nn
ne
ecctt tth
he
e a
aiirr h
ho
osse
e b
be
effo
orre
e m
ma
akkiin
ng
g a
ad
djju
ussttm
me
en
nttss o
orr cch
he
ecckkiin
ng
g tth
he
e
ffu
un
nccttiio
on
na
alliittyy o
off tth
he
e a
aiirr n
na
aiille
err..
SELECT TRIGGER ACTUATION MODE
The brad nailer is equipped with a selectable trigger. This allows the selection of
S
Siin
ng
glle
e S
Se
eq
qu
ue
en
nttiia
all A
Accttu
ua
attiio
on
n M
Mo
od
de
e or C
Co
on
ntta
acctt A
Accttu
ua
attiio
on
n M
Mo
od
de
e.
Figure 1


