18
Getting Started
Connecting to a Vehicle
3.3.1 Home Screen Buttons
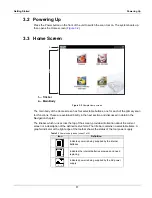
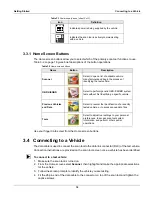
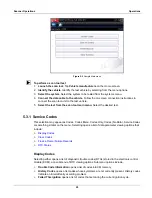
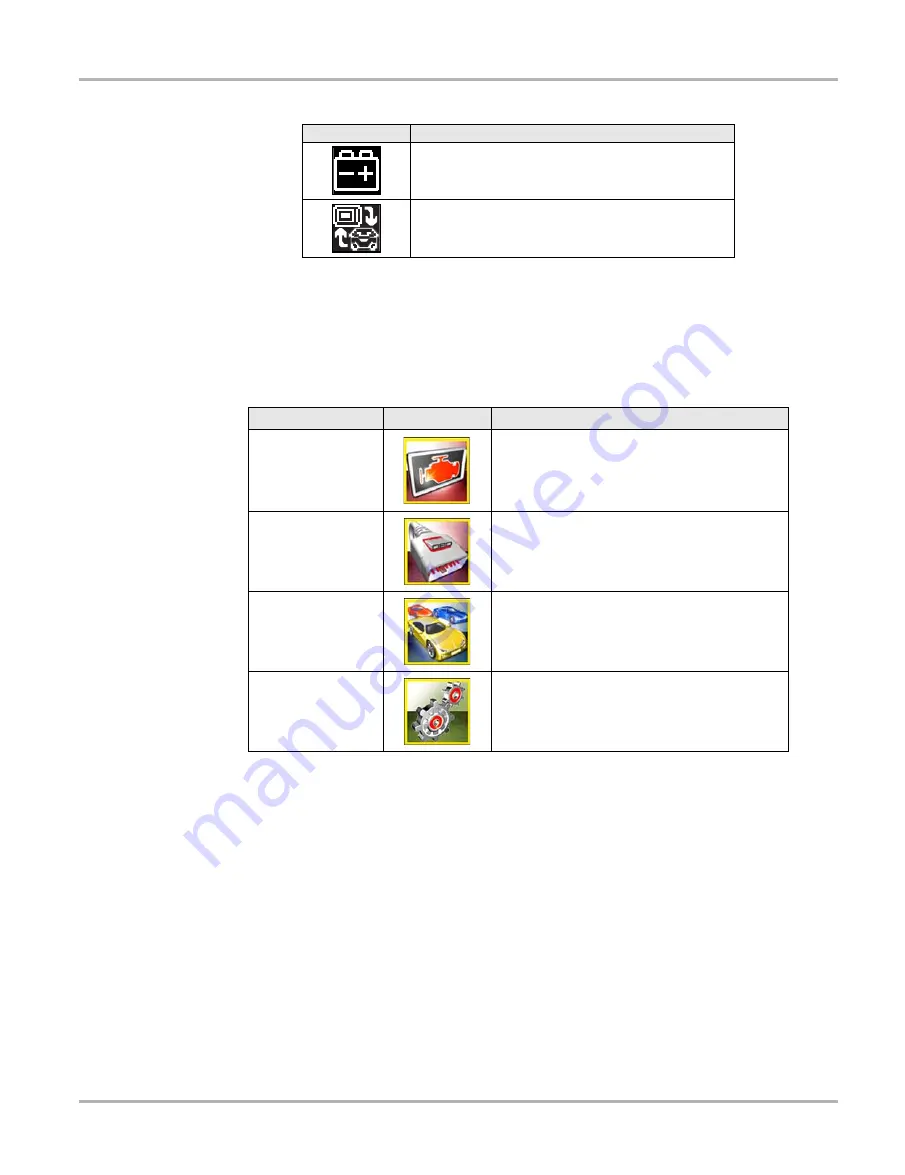
The Home screen buttons allow you to select which of the primary scan tool functions to use.
Table 3-2 on page 18 gives brief descriptions of the button operations.
Use your finger tip to select from the Home screen buttons.
3.4 Connecting to a Vehicle
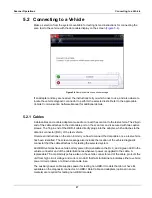
The data cable is used to connect the scan tool to the data link connector (DLC) of the test vehicle.
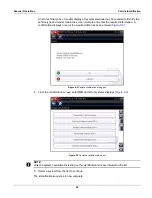
Connection instructions are provided on the scan tool screen once a vehicle has been identified.
z
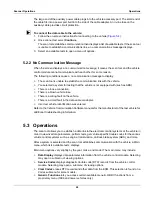
To connect to a test vehicle:
1. Make sure the scan tool is turned on.
2. From the Home screen select
Scanner
, then highlight and make the appropriate selections
for the vehicle.
3. Follow the screen prompts to identify the vehicle you are testing.
4. Fit the 26-pin end of the data cable to the connector on top of the scan tool and tighten the
captive screws.
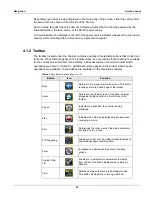
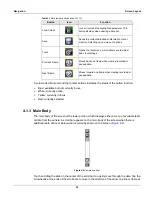
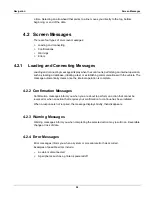
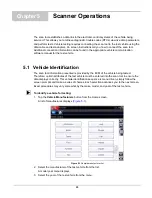
Indicates power is being supplied by the vehicle
Indicates the scan tool is actively communicating
with a vehicle
Table 3-1
Power supply icons (sheet 2 of 2)
Icon
Definition
Table 3-2
Home screen buttons
Name
Button
Description
Scanner
Select to open a list of available vehicle
manufacturers and begin the process of
identifying the test vehicle.
OBD-II/EOBD
Select to perform generic OBD-II/EOBD system
tests without first identifying a specific vehicle.
Previous Vehicles
and Data
Select to reenter the Identification of a recently
tested vehicle, or to access saved data files.
Tools
Select to adjust tool settings to your personal
preferences, to access scan tool system
information, and perform other special
operations.


