19
Getting Started
The Demonstration Program
5. Connect the 16-pin end of the data cable to the DLC of the vehicle.
6. Switch the vehicle ignition on.
7. Select the menu option you wish to investigate.
3.5 The Demonstration Program
The demonstration program allows you to become familiar with many of the test capabilities of the
tool without connecting to a vehicle.
z
To start the demonstration program:
1. Tap
Scanner
on the Home screen.
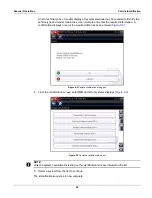
The manufacturer menu, which lists all of the makes available for testing, displays. The list
also includes a Demonstration button.
2. Tap the
Demonstration
button to select it.
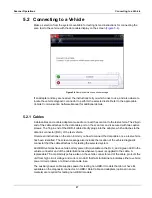
A confirmation message displays.
3. Select
OK
to on the confirmation screen to load the selected database.
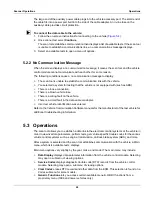
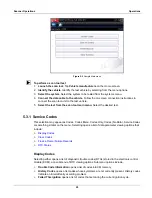
4. Follow the on-screen instructions and select as needed until the Systems menu displays.
5. Select from any of the systems listed, then select from the submenus.
IMPORTANT:
Do not connect a vehicle to the scan tool while in the Demonstration mode.
There is also a demonstration program for OBDII/EOBD vehicles. To access the demonstration,
select Training Mode from the OBD-II/EOBD main menu.
3.6 Powering Down
Use the
Power
button to turn the scan tool off.
Holding the
Power
button down for 4 seconds forces the unit to shut down in the event that it
becomes nonresponsive.
IMPORTANT:
Vehicle communication must be terminated before shutting down the scan tool. A warning
message displays if a shut down is attempted while the scan tool is communicating with the
vehicle. Forcing a shut down while communicating may lead to ECM problems on some vehicles.
Always exit vehicle communications before powering down.
z
To power off the unit:
1. Press the
Home
button on the toolbar, or press
N/X
until you reach the Home screen.
A stopping communication message appears briefly before the Home screen displays.
2. Disconnect the test adapter from the vehicle connector.
3. Press the
Power
button.
The Turn off dialog box displays.
4. Press
Y/
a
to turn the power off, or press
N/X
to cancel and test a different vehicle.


