13
Chapter 3
Getting Started
The following steps get you started using the scan tool:
1.
Familiarize yourself with SOLUS controls and connections. Refer to “Control Buttons” on
page 8 for details
2.
Supply power to the scan tool
3.
Press the
Power
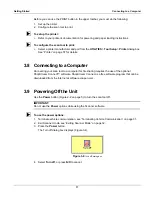
button to turn the scan tool on
3.1 Supplying Power
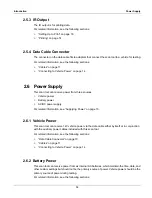
There are three ways to supply power to the scan tool:
•
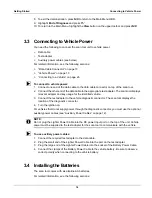
Connect to vehicle power
•
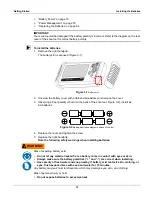
Install batteries
•
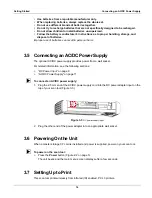
Connect to an AC adapter
For related information, see “Power Supply” on page 10.
NOTE:
i
To conserve batteries, we recommend always powering the unit from vehicle power or from the
AC adapter. The internal battteries are not intended to be used as the primary power source. The
batteries are intended to maintain the time, date, and custom settings. They also power the unit
during the vehicle identification process.
3.2 Demonstration Mode
The scan tool contains programs to demonstrate scan tool test capabilities without actually
connecting to a vehicle. A sample vehicle with mock test results is provided to help you become
familiar with menus, navigation, and basic operations.
z
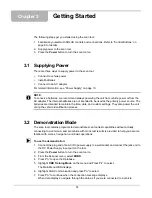
To use the demonstration:
1.
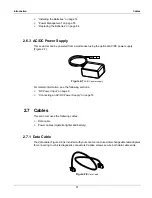
Connect the plug end of an AC/DC power supply to a wall socket and connect the jack end to
the DC Power Supply Input port on the tool
2.
Press the
Power
button to turn the scan tool on.
3.
From the Scanner menu, select
EOBD
.
4.
Press
Y/
a
to open the Database.
5.
Highlight
OBD Training Mode
on the menu and Press
Y/
a
to select.
The Main Menu OBD displays.
6.
Highlight Start Communication and press
Y/
a
to select.
7.
Press
Y/
a
to continue when the connection message displays.
When data displays, navigate through the data as if you were connected to a vehicle.
Summary of Contents for Solus
Page 1: ...User Manual August 2009 EAZ0007E76F Rev A ...
Page 87: ...80 Index ...


