17
Getting Started
Connecting to a Computer
Before you can use the PRINT button in the upper toolbar, you must do the following:
1.
Set up the printer.
2.
Configure the scan tool to print.
z
To set up the printer:
•
Refer to your printer’s documentation for powering and paper loading instructions.
z
To configure the scan tool to print:
•
Select a printer manufacturer and port from the
UTILITIES
>
Tool Setup
>
Printer
dialog box.
See “Printer” on page 57 for details.
3.8 Connecting to a Computer
Connecting your scan tool to a computer for file sharing requires the use of the optional
ShopStream Connect™ software. ShopStream Connect is a free software program that can be
downloaded from the Internet at
software.snapon.com
.
3.9 Powering Off the Unit
Use the
Power
button (Figure 2-2 on page 5) to turn the scan tool off.
IMPORTANT:
Do not use the
Power
options while using the Scanner software.
z
To use the power options:
1.
Terminate vehicle communication, see “Terminating Vehicle Communication” on page 31.
2.
Exit Scanner mode, see “Exiting Scanner Mode” on page 32.
3.
Press the
Power
button.
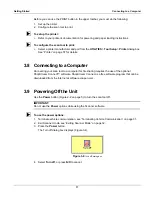
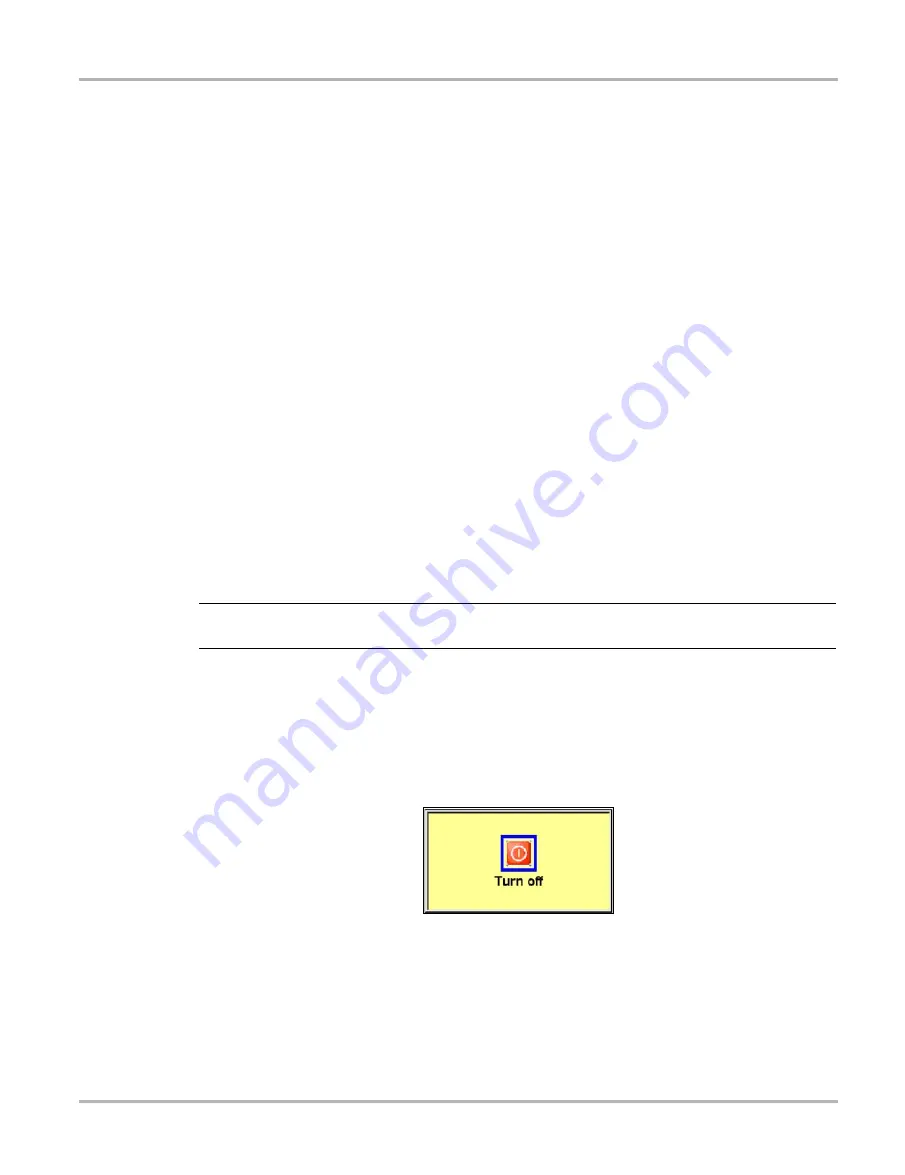
The Turn off dialog box displays (Figure 3-4).
Figure 3-4
Turn off dialog box
4.
Select
Turn off
, or press
N/X
to cancel.
Summary of Contents for Solus
Page 1: ...User Manual August 2009 EAZ0007E76F Rev A ...
Page 87: ...80 Index ...


