


ELECTRICAL REQUIREMENTS
1. The electrical ratings are listed on the equipment’s Data Tag located on the back of this equipment.
2. Model: SSX19P115 is rated 120 Volts, 1400 Watts, 15 Amps and has a NEMA 5-15P plug and grounded cord.
PREPARATION
NOTE: MAKE SURE UNIT IS UNPLUGGED.
1. Remove all packing pieces and lift unit out of the box.
2. Remove any outside packaging.
3. Set unit on a flat surface. Refer to SAFETY INSTRUCTIONS on previous page.
4. Position unit near a power outlet. Avoid the use of extension cords. Do not run cord under
carpeting or cover with runners. Arrange cord where it will not be tripped over.
5. This appliance has hot and live electrical parts inside. Do not use it in areas where gasoline,
paint or flammable liquids are used or stored.
6. Remove any white plastic coating that may be affixed to stainless steel surfaces.
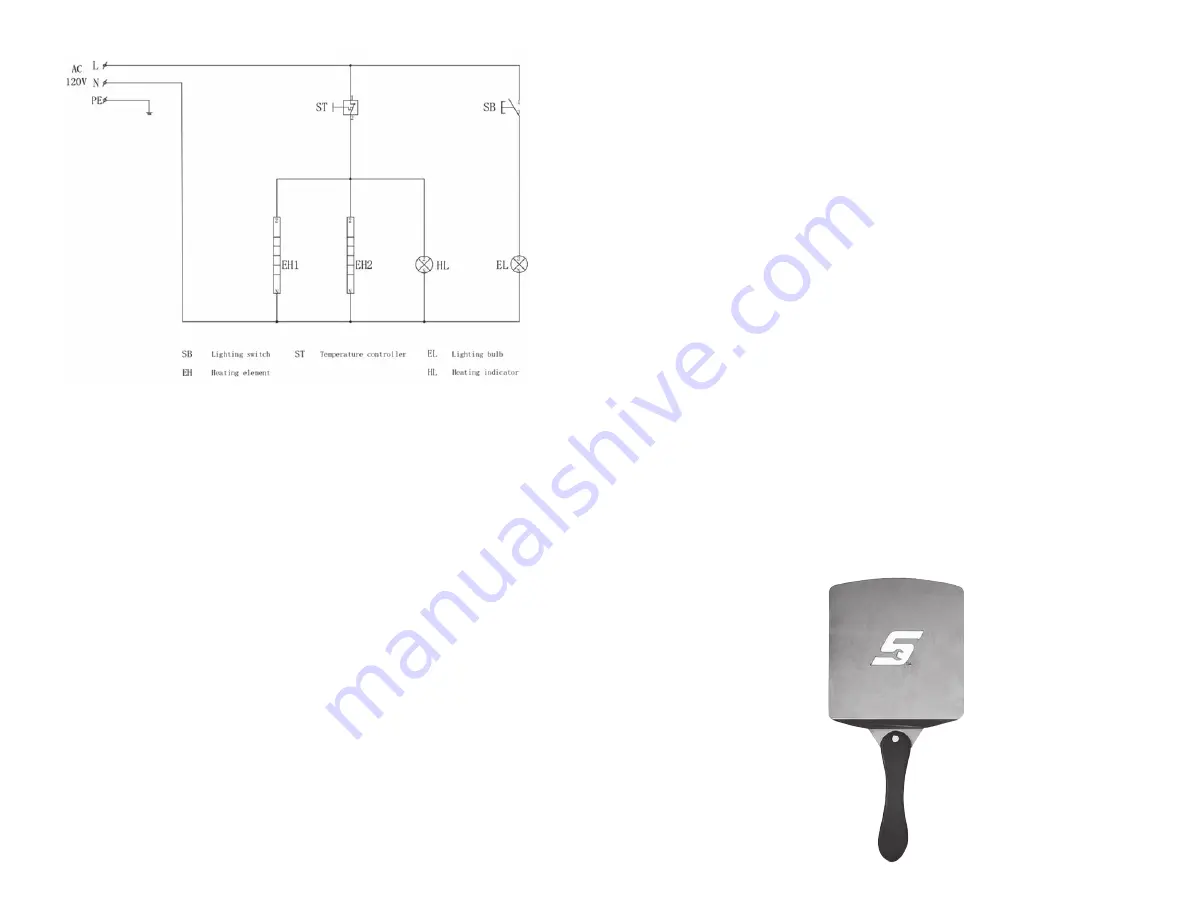
7. Remove Pizza Peel from packaging. Align wood handle onto stainless peel and tighten provided
thumb nut.
8. Remove all packaging from inside of oven. Remove light cover and light bulb from package.
Install light bulb into oven light socket (located inside oven right side panel). Then screw
light cover into socket.
CONDITIONING OF BAKING STONES
1. To minimize warping and maximize the life of the Baking Stone, it must be pre-dried.
2.
Please refer to the “BAKING STONE INSTALLATION AND CONDITIONING INSTRUCTIONS” section
for complete Baking Stone preparation instructions.
PIZZA PEEL INCLUDED
PREPARATION
1. Unwrap Baking Stone.
2. Wipe both sides of Baking Stone using a clean damp cloth.
NEVER USE SOAP.
3. Install stone inside of oven.
CONDITIONING OF BAKING STONE
1. Check to ensure Baking Stone is properly installed and level.
2. Take note that there is no need to oil or grease the Baking Stone.
3. Plug in power cord, turn on power switch and preheat the Baking Stone to 500° F.
4. The temperature indicator light will turn off when it reaches 500° F.
5. Continue to let the Baking Stone bake for an additional 30 minutes to complete the process.
BURNING SMELL IS NORMAL FOR FIRST-TIME USE.
6. Turn power switch off and allow the unit to cool or to cook pizza please proceed to the Operating
Procedure of Custom Pizza Oven.
CLEANING BAKING STONE
1. Baking Stone is porous and will become more seasoned and effective over time.
2.
NEVER USE SOAP OR FULLY SUBMERGE IN WATER.
3. Use plastic spatula to remove burnt chunks.
4. Scrub dark areas using a damp scouring pad.
5. Allow Baking Stone to air dry before use.
SERVICE INSTRUCTIONS
If there are any questions, contact 4J Customer Service toll free at 1-262-656-1956.


