9
8.
Timely recharging of the battery will help prolong the
battery's life. You must recharge the battery pack when
you notice a drop in the equipment's power.
IMPORTANT! Never allow the battery pack to become fully
discharged as this will cause irreversible damage to the
battery.
Charging a Hot or Cold Battery Pack
The green indicator light on the charger base indicates that the
battery pack temperature is outside the charging range.
Once the pack is within the acceptable range, normal charging
will take place and the red light will be continuous. Hot or cold
battery packs may take longer to charge.
Assembly
m
WARNING!
Always remove battery pack from the tool
when you are assembling parts, making adjustments, cleaning,
or when not in use. Removing battery pack will prevent
accidental starting that could cause serious personal injury.
m
WARNING!
Do not use any attachments or accessories
not recommended by the manufacturer of this product.
The use of attachments or accessories not recommended can
result in serious personal injury.
Applications
You may use this drill/driver for the purposes listed below:
• Drilling in all types of wood products (lumber, plywood,
paneling, composition board, and hard board), ceramics,
plastics, fiberglass, laminates, and metals; driving screws
into wood and drywall with screwdriver bits.
Operation
Inst Removing Drill Bits
The arrows on the keyless chuck indicate which direction to
rotate the chuck sleeve to tighten or release the drill bit.
Do not use a wrench to tighten or loosen the chuck jaws.
1.
To install bits, set the direction of rotation selector in the
LOCK (center lock) position to lock the switch trigger
(Fig. 5).
2. Rotate the chuck sleeve counterclockwise to open the
chuck jaws until the opening is slightly larger than the bit
size you intend to use (Fig. 6).
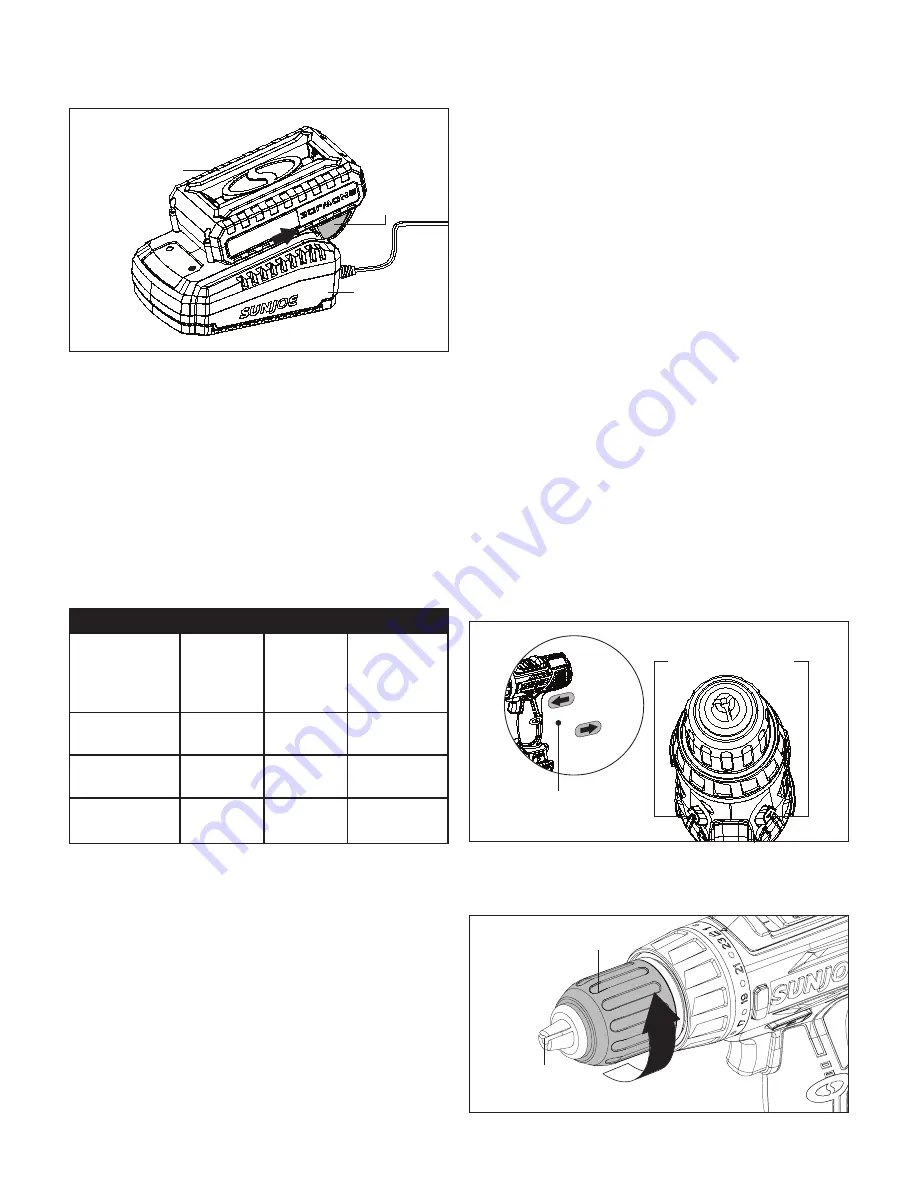
Fig. 4
Battery pack
Charger
Push lock
button
Lithium-Ion Charging Status
Battery
Pack
Temperature
Charger
Base
Indicator
Light
Battery
Pack
Indicator
Light
Charging
Status
Too hot
Green
Flashing
together
Not charging
Normal range
Red
Flashing
one by one
Normal
charging
Too cold
Green
Flashing
together
Not charging
Fig. 5
Direction of
rotation selector
Forward
Reverse
Lock
Center
"LOCK"
position
Fig. 6
Chuck sleeve
Chuck jaws
opening


