


1-
3
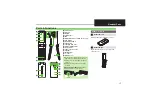
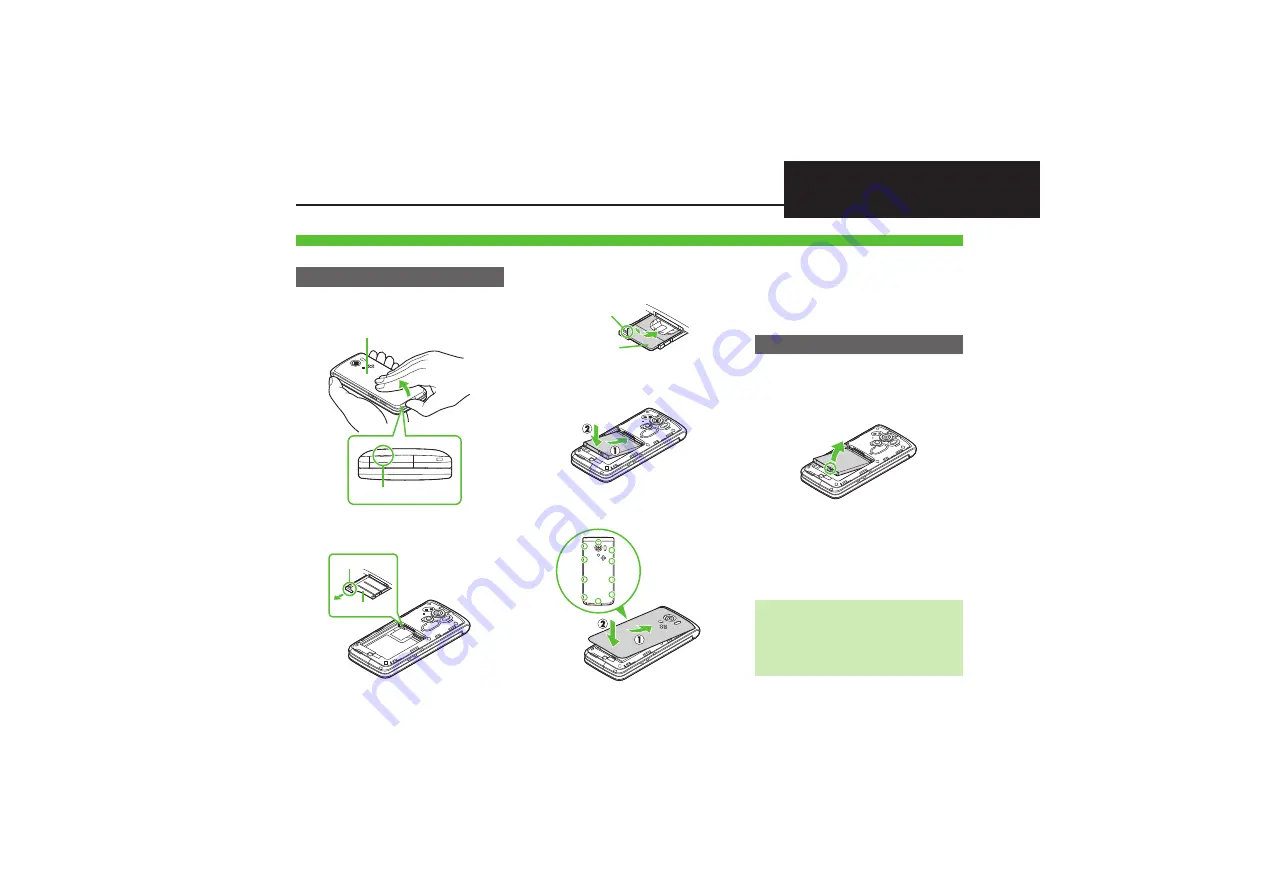
Battery & USIM Card
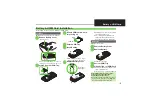
Do not apply excessive force to Battery or USIM Card.
USIM Card must be inserted to use handset.
1
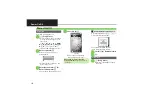
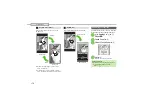
Remove Battery Cover
.
Use notch to lift Battery Cover. Push up
Battery Cover along edges to remove it.
2
Use tab to pull out USIM Tray
3
Slide in USIM Card with IC
chip facing up
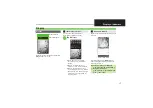
4
Secure USIM Tray
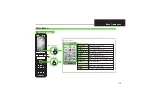
5
Insert Battery
.
With logo side facing up, align
Battery terminals with contacts.
6
Replace Battery Cover
.
Fit Battery Cover into slot, then firmly
press down along edges.
.
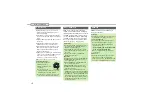
Close Battery Cover firmly. Debris
trapped between gasket and base
may expose handset to liquid/dust.
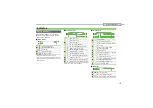
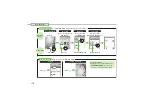
Always power off first.
1
Remove Battery Cover
2
Remove Battery
.
Lift Battery as shown.
3
Pull out USIM Tray
4
Lift and slide out USIM Card
.
Secure USIM Tray, insert Battery and
replace Battery Cover.
.
Take care not to lose removed USIM Card.
Battery & USIM Card Installation
Inserting
Notch
Battery Co
v
er
Ta
b
USIM Tray
Notch
USIM Card
Press firmly
along edges
Removing
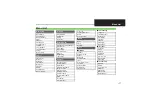
After USIM Card Removal (Contract
Termination, Handset Upgrade/
Replacement, Repairs, Etc.)
.
Some files on handset and Memory Card may
be inaccessible. Inserting another USIM Card
may disable S! Appli and BookSurfing
®
.


