14
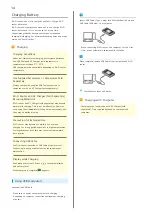
Charging Battery
Wi-Fi router is not fully charged by default. Charge Wi-Fi
router before use.
Wi-Fi router discharges even when not in use. Charge Wi-Fi
router before use if it is not in use for a long time.
Usage times gradually become shorter due to repeated
charging/discharging. For estimated charging times and usage
times, see "
."
Charging
Charging Conditions
Under low temperatures charging, performance decreases.
Use USB Cable and AC Charger (sold separately) in
temperatures between 5°C - 35°C.
USB charging may be unavailable depending on Wi-Fi router
temperature.
Use Supplied Accessories or Accessories Sold
Separately
Always charge with supplied USB Cable connected to
computer or with an AC Charger (sold separately).
Wi-Fi Router and AC Charger (Sold Separately)
Becoming Warm/Hot
Wi-Fi router and AC Charger (sold separately) may become
warm while charging. This is not a malfunction. However,
stop using them immediately if they become extremely hot;
they may be malfunctioning.
Precaution for Extended Use
Wi-Fi router may become hot while in use or while
charging for a long period, especially in high temperatures.
Prolonged contact with skin may cause low-temperature
burn injuries.
Connecting USB Cable
Confirm that orientation of USB Cable plugs is correct.
Connecting in wrong orientation may cause damage or
malfunction.
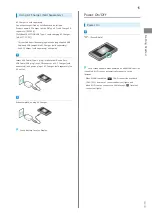
Display while Charging
Even when power is off, Press
to show animation
and battery level.
When charging is complete,
appears.
Using USB (Computer)
Use supplied USB Cable.
・Make sure to power on computer before charging.
・Depending on computer connection environment, charging
may fail.
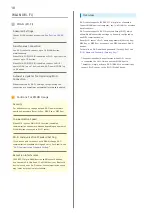
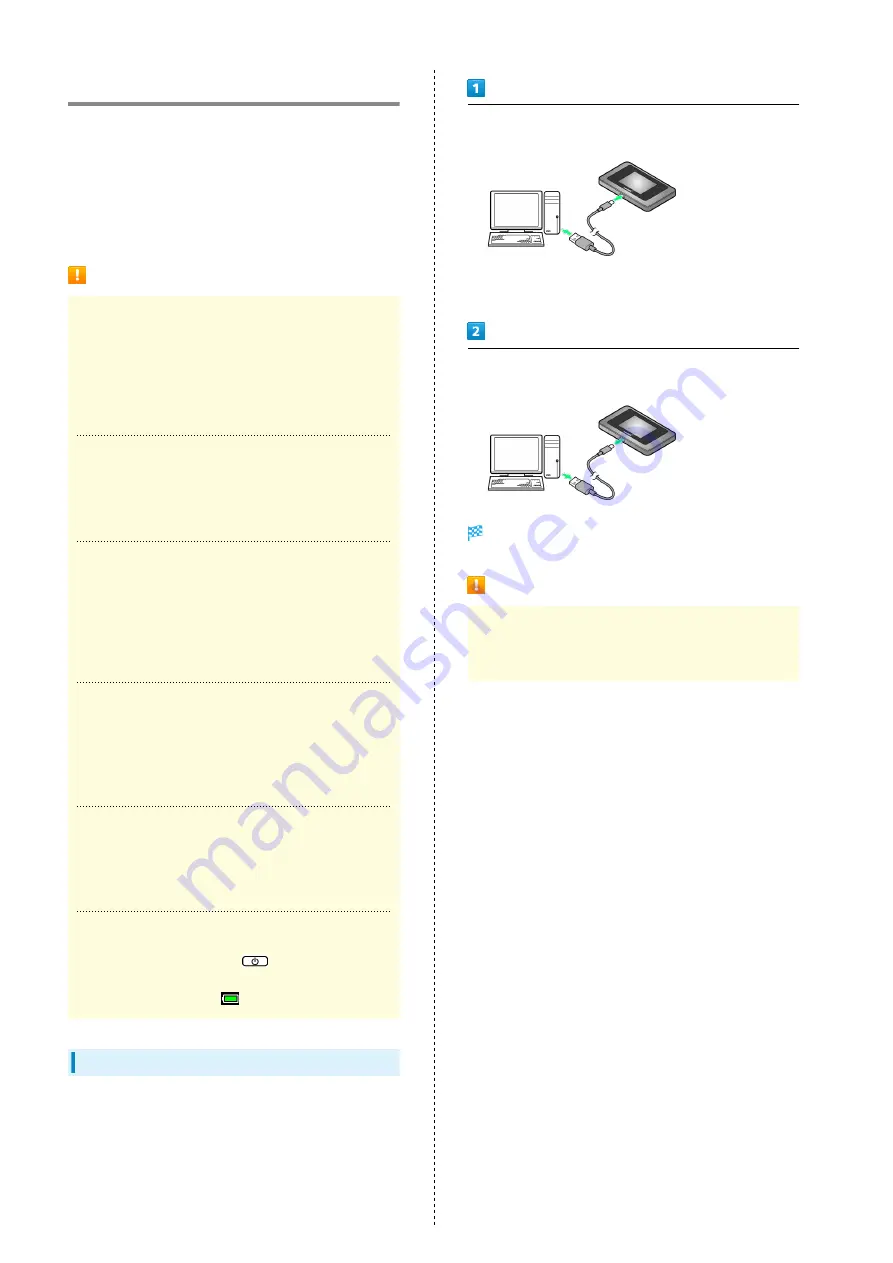
Insert USB Cable (Type-C plug) into External Device Port and
USB Cable (USB plug) to a computer
・When connecting Wi-Fi router to a computer for the first
time, driver software is automatically installed.
When complete, remove USB Cable from computer and Wi-Fi
router
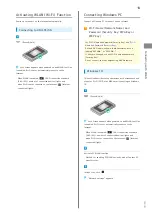
Check battery level on Display.
Charging with Computer
Charging takes longer than with AC Charger (sold
separately). Time required depends on the connected
computer.
Summary of Contents for 602HW
Page 1: ...602HW User Guide...
Page 2: ......
Page 32: ...30...
Page 40: ...38...
Page 82: ...80 Set each item Apply LAN Wi Fi basic settings for Wi Fi name SSID A are made...
Page 87: ...85 Settings Using WEB UI 602HW Set each item Apply LAN Wi Fi advanced settings are made...
Page 91: ...89 Settings Using WEB UI 602HW OK MAC Address Filtering is canceled...
Page 93: ...91 Settings Using WEB UI 602HW Set each item Apply DHCP is set...
Page 95: ...93 Settings Using WEB UI 602HW Apply Network mode is set...
Page 97: ...95 Settings Using WEB UI 602HW Select the network OK Network search is set...
Page 100: ...98 New profile Set each item Apply Created profile appears for profile name...
Page 102: ...100 Enter each item Apply Edited information appears...
Page 117: ...115 Settings Using WEB UI 602HW Set each item Apply Firewall is set...
Page 119: ...117 Settings Using WEB UI 602HW In Filter mode Blacklist Whitelist Add...
Page 122: ...120 Delete OK Apply IP address filtering settings are canceled...
Page 125: ...123 Settings Using WEB UI 602HW Apply Domain Name Filter is set...
Page 127: ...125 Settings Using WEB UI 602HW Delete OK Apply...
Page 128: ...126 OK Domain name filtering settings are canceled...
Page 131: ...129 Settings Using WEB UI 602HW Apply Portmapping is set...
Page 132: ...130 Canceling Portmapping In Menu List Router Setting Portmapping Delete...
Page 133: ...131 Settings Using WEB UI 602HW OK Apply Portmapping settings are canceled...
Page 135: ...133 Settings Using WEB UI 602HW Add Enter each item OK...
Page 136: ...134 Apply Special application settings are added...
Page 138: ...136 OK Apply Special application settings are canceled...
Page 140: ...138 Set each item Apply DMZ host settings are applied...
Page 142: ...140 Set each item Apply SIP ALG settings are applied...
Page 144: ...142 Enable Disable Apply UPnP settings are applied...
Page 146: ...144 Cone Symmetric Enter each item Apply NAT settings are applied...
Page 154: ...152 OK Wi Fi router reboots to its default settings...
Page 155: ...153 Settings Using WEB UI 602HW Rebooting Wi Fi Router In Menu List System Reboot Reboot...
Page 156: ...154 OK Wi Fi router is rebooted...
Page 162: ...160 Resetting Data Traffic In Main Menu Data Traffic Reset...
Page 163: ...161 Settings Using WEB UI 602HW Yes Data traffic volume is reset...
Page 166: ...164 Delete OK Information is deleted after pop up screen is shown...
Page 168: ...166 Delete OK Information is deleted after pop up screen is shown...
Page 177: ...175 Settings Using WEB UI 602HW Enter Login password Login Settings open LAN Wi Fi...
Page 180: ...178 Enter Login password Login Settings open LAN Wi Fi...
Page 183: ...181 Settings Using WEB UI 602HW Enter Login password Login Settings open LAN Wi Fi...
Page 185: ...183 Settings Using WEB UI 602HW OK LAN Wi Fi basic settings for Wi Fi name SSID B are made...
Page 198: ...196 Data Usage Reset...
Page 199: ...197 Settings Using WEB UI 602HW Yes Data volume is reset...
Page 204: ...202 Delete YES Information is deleted after pop up screen is shown...
Page 206: ...204 Enter Login password Login Settings open Device Information Information is shown...
Page 208: ...206 Connected Devices Information of connected devices is shown...
Page 209: ...Appendix Troubleshooting 208 Specifications 211 Warranty Service 213 Customer Service 213...
Page 216: ...214...
Page 231: ......


