

2-14
2
Basic H
a
n
d
set
Op
er
atio
ns
C
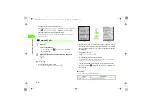
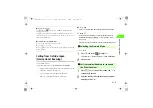
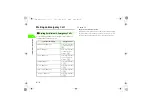
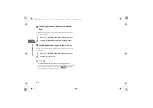
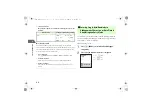
Confirm the phone number and press
n
Tip
• To use
Prefix
a
Enter the phone number
b
Press
M
(OPTIONS) and select
Prefix
c
Select the country code or prefix to use, confirm the phone number and
press
n
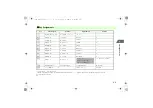
• Up to five country codes/prefix can be saved. It is convenient to save
frequently-used country codes/prefix (
z
p.14-5).
Intern. Call(Japan)
and
Intern. Call(Oversea)
are saved at the time of purchase. Select
Intern. Call(Oversea)
when placing calls to Japan within the country
you are in, or placing calls to SoftBank 3G subscribed in Japan
regardless of the country the recipient is in.
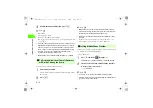
• When placing a call to a landline in Italy, the initial "0" is required.
Enter the recipient's telephone number normally.
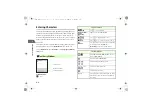
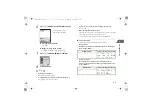
A
Enter a phone number
Always enter the entire phone number. If calling a landline, include
the area code.
B
Press
n
Tip
• When using
Prefix
, save the country code/prefix for the country to
call. Up to five country codes/prefix can be stored. It is useful to store
the frequently-used country codes/prefix (
z
p.14-5).
• Placing calls to SoftBank 3G subscribed in Japan within the country
you are in
Regardless of the country the recipient is in, follow the steps under "Calls to
Landline/Handsets in Japan and the Other Countries" (
z
p.2-13).
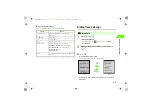
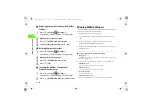
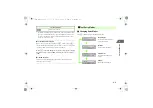
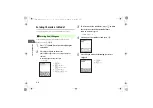
Change your mobile phone provider depending on the country where you
are. Providers can be automatically changed.
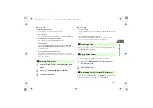
A
Press
c
and select
(Settings)
→
Connectivity
→
Network Setup
→
Select Network
B
Select
Manual
and then a mobile phone provider
To automatically select a provider
Select
Automatic
Tip
• If
Select a Network
appears in the window, reselect a provider.
• Usually, it is not necessary to change the setting. Set a provider when
you connect to a specific network.
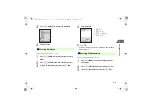
■
Calls to Landline/Local Carrier's Handsets
within the Country You Are in
■
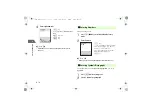
Setting Mobile Phone Provider
[Default]
■
Automatic
_706N_manual_E.book 14 ページ 2007年2月23日 金曜日 午後5時21分
Summary of Contents for 706N
Page 33: ...Getting Started _706N_manual_E book 1...
Page 62: ...Basic Handset Operations _706N_manual_E book 1...
Page 80: ...Entering Characters _706N_manual_E book 1...
Page 100: ...Phone Book _706N_manual_E book 1...
Page 111: ...Video Call _706N_manual_E book 1...
Page 117: ...Camera _706N_manual_E book 1...
Page 126: ...Display Lighting _706N_manual_E book 1...
Page 135: ...Sounds _706N_manual_E book 1...
Page 141: ...Entertainment _706N_manual_E book 1...
Page 159: ...Data Management _706N_manual_E book 1...
Page 171: ...External Connection _706N_manual_E book 1...
Page 180: ...Handset Security _706N_manual_E book 1...
Page 190: ...Organiser Tools _706N_manual_E book 1...
Page 206: ...Advanced Settings _706N_manual_E book 1...
Page 212: ...Optional Services _706N_manual_E book 1...
Page 224: ...Messaging _706N_manual_E book 1...
Page 256: ...Web _706N_manual_E book 1...
Page 273: ...S Appli _706N_manual_E book 1...
Page 281: ...Appendix _706N_manual_E book 1...
Page 308: ...19 28 19 Appendix _706N_manual_E book 28...
Page 311: ...19 19 31 Appendix Enter Emoticon Enter Emoticon Enter Emoticon _706N_manual_E book 31...


