8-15
8
Mana
g
in
g
Files (Data Folder)
2
Press
b
3
Press
M
q
4
Select
Save as New
and press
b
C
To overwrite, select
Overwrite
A
Press
b
5
Enter name and press
b
6
Select a location and press
b
Image is saved to Data Folder as a new entry.
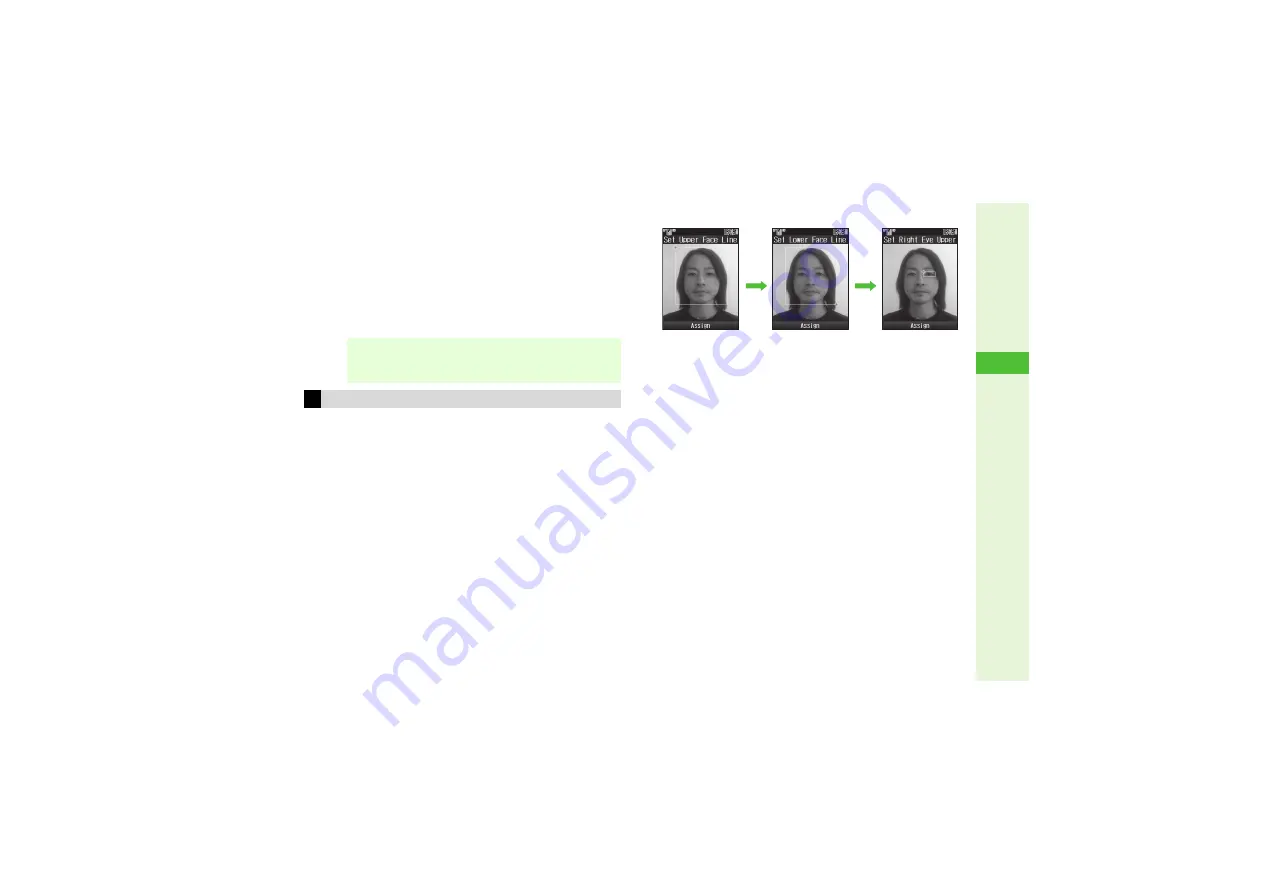
Change the default positions and sizes of targets to fit the image.
Changes apply to the current image only.
1
In Step 1 under "Face Arrange" on P.8-14,
press
N
;
2
Press
N
u
A rectangle appears with
+
in the upper left corner.
3
Set the face line
C
To start over, press
i
.
4
Set the eyes and then mouth in the same way
^
When finished, all the targets appear.
^
To readjust targets, start over from Step 2.
C
To restore the original positions, press
i
. (Not available
after setting mouth position.)
5
Press
b
6
Choose
Yes
and press
b
7
Select a location and press
b
Image is saved to Data Folder as a new entry with Face Arrange
positions adjusted, and Face Arrange menu returns.
^
Complete Face Arrange. Face Arrange is applied to the
adjusted positions.
Note
H
When using Face Arrange, take care not to create images
that may embarrass or offend others. Always obtain
permission before photographing others.
Adjusting Face Arrange Position
Use
G
to mo
v
e
+
to the lo
w
er
right corner
Use
G
to mo
v
e
+
to the
u
pper
left corner
Face line is set
b
b
Summary of Contents for 812SH s II
Page 31: ...1 1 Getting Started...
Page 61: ...2 1 Basic Handset Operations...
Page 81: ...3 1 Text Entry...
Page 96: ...4 1 Phone Book...
Page 116: ...5 1 Video Call...
Page 124: ...6 1 Camera...
Page 142: ...7 1 Media Player...
Page 159: ...8 1 Managing Files Data Folder...
Page 177: ...9 1 Additional Settings...
Page 204: ...10 1 Connectivity...
Page 220: ...11 1 Memory Card...
Page 229: ...12 1 Tools...
Page 256: ...13 1 Optional Services...
Page 266: ...14 1 Messaging...
Page 304: ...15 1 Yahoo Keitai...
Page 326: ...16 1 S Applications...
Page 334: ...17 1 Osaifu Keitai S FeliCa Japanese...
Page 342: ...18 1 Entertainment...
Page 352: ...19 1 Communication...
Page 372: ...20 1 Appendix...


