1-18
1
Gettin
g
Star
ted
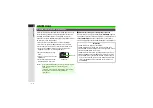
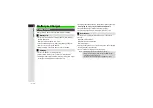
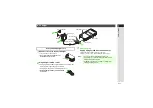
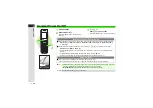
Desktop Holder may be purchased separately.
1
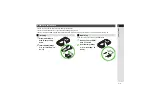
Insert Charger connector into Desktop Holder
until it clicks
^
Connection Port is on the back of Desktop Holder.
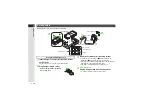
2
Plug Charger into AC outlet
^
Extend Charger blades. (Fold back
when not in use.)
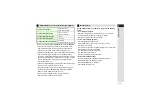
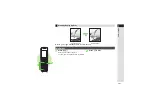
3
Gently insert handset into Desktop Holder
^
Fit tabs into slots as shown in
1
and push handset as
indicated in
2
until it clicks into place (resting flat).
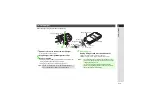
^
Charging starts and Small Light illuminates red (see
Charging takes approximately 150 minutes.
^
Charging is complete when Small Light goes out.
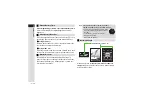
4
After Charging
Unplug Charger, then disconnect handset
^
To remove connector, squeeze release tabs.
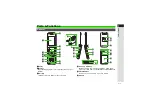
Desktop Holder
1
2
Small Light
Connection Port
Charger Connector
Release Ta
b
s
AC 100V O
u
tlet
Blades
AC Charger
Insert cord
into the groo
v
e.
Arro
w
s
1
2
3
4
Use specified Charger only.
Summary of Contents for 812SH s II
Page 31: ...1 1 Getting Started...
Page 61: ...2 1 Basic Handset Operations...
Page 81: ...3 1 Text Entry...
Page 96: ...4 1 Phone Book...
Page 116: ...5 1 Video Call...
Page 124: ...6 1 Camera...
Page 142: ...7 1 Media Player...
Page 159: ...8 1 Managing Files Data Folder...
Page 177: ...9 1 Additional Settings...
Page 204: ...10 1 Connectivity...
Page 220: ...11 1 Memory Card...
Page 229: ...12 1 Tools...
Page 256: ...13 1 Optional Services...
Page 266: ...14 1 Messaging...
Page 304: ...15 1 Yahoo Keitai...
Page 326: ...16 1 S Applications...
Page 334: ...17 1 Osaifu Keitai S FeliCa Japanese...
Page 342: ...18 1 Entertainment...
Page 352: ...19 1 Communication...
Page 372: ...20 1 Appendix...

