7-12
7
Camera
^
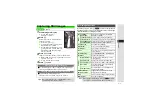
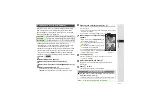
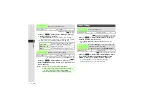
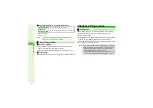
In addition to Preset Frames, use transparent PNG files
(40 KB or smaller) obtained via the Internet, S! Mail, etc.
^
Switch to External Camera to add frames; depending on
selected Picture Size, frames may not be available.
^
Follow these steps before capturing an image (after Step 1 on
); after Viewfinder returns, complete image capture.
1
Press
N
x
2
Select
Modes
and press
b
3
Select
Add Frame
and press
b
4
Preset Frames
1
Select
Preset Frames
and press
b
2
Select a frame and press
b
3
To check frames, select one
A
Press
N
)
B
Press
i
to return.
Ori
g
inal Frames
1
Select
Data Folder
and press
b
2
Select a frame and press
b
3
To check frames, select one
A
Press
M
)
B
Press
i
to return.
3
Press
b
Cancelin
g
1
Choose
Off
and press
b
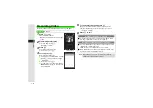
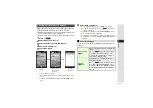
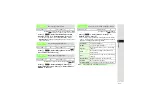
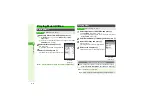
Capture images with special effects.
^
Switch to External Camera to use Camera Effects; depending
on selected Picture Size, Camera Effects may not be available.
^
Follow these steps before capturing an image (after Step 1 on
); after Viewfinder returns, complete image capture.
1
Press
N
x
2
Select
Modes
and press
b
3
Select
Camera Effects
and press
b
4
Select an effect and press
b
3
To check effects, press
N
)
.
B
Press
i
to return.
3
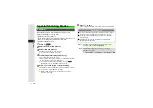
To cancel, choose
Off
A
Press
b
Adding Frames (Photo Camera)
Tip
I
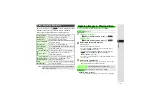
In Continuous Shoot, frame is added to each image.
Camera Effects (Photo Camera)

