8-12
8
Media Pla
y
er
^
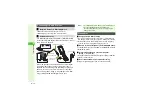
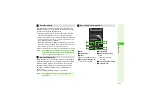
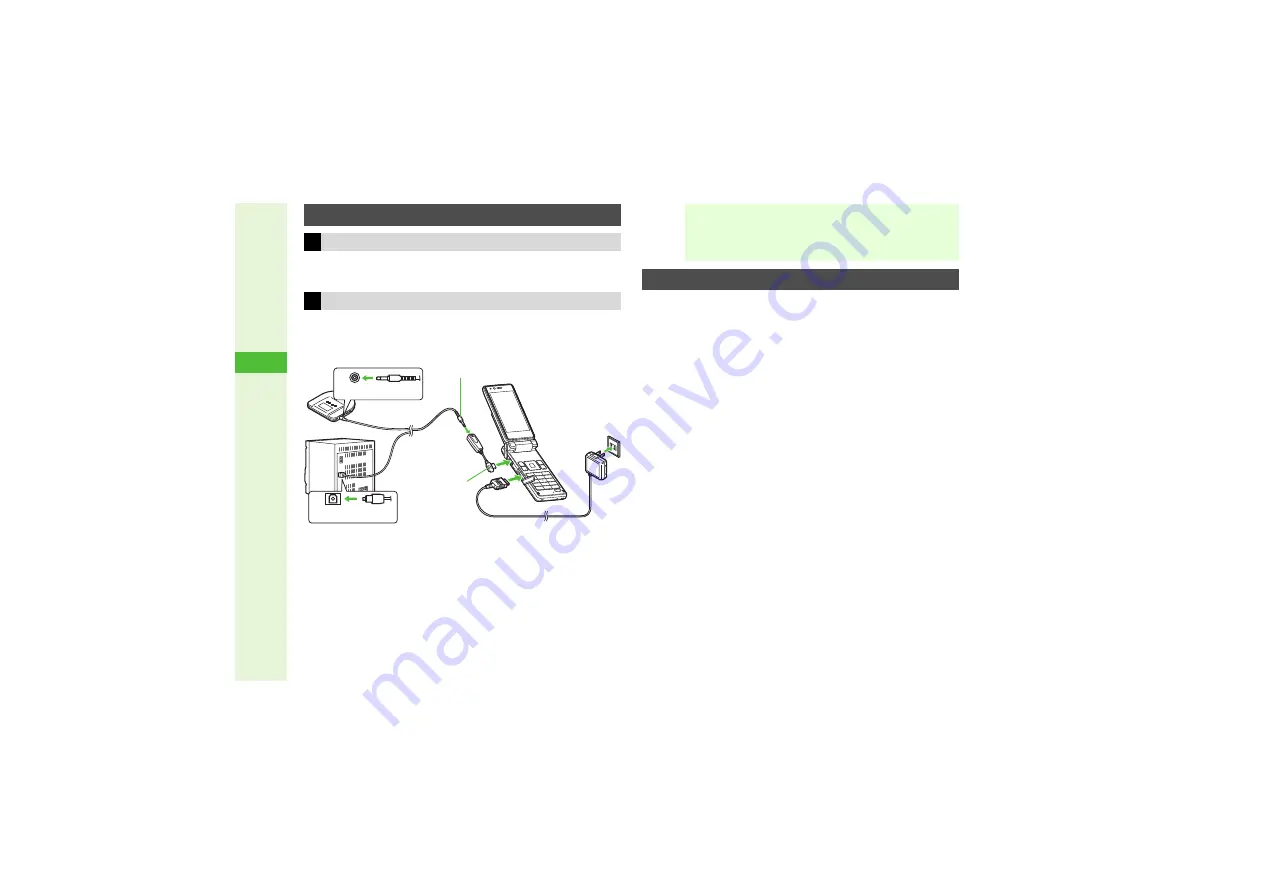
Optical Conversion Cable (optional accessory)
^
Optical digital connecting cable (sold separately)
Use Optical Digital Audio Toslink-Mini or Mini-Mini Cables
(sold separately) with Optical Conversion Cable to connect
audio sources to handset.
Connect Optical Conversion Cable with an optical digital
connecting cable, then to handset gently. Disconnect
Optical Conversion Cable gently by holding the plug and
handset. Do not use excessive force when connecting/
disconnecting cables; doing so may damage cable, Mini
Plug or Headphone/Optical Digital Line-In Port.
3
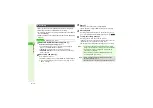
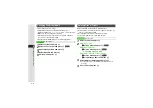
Charge battery while recording.
^
Recording stops when battery level falls too low. Always use
AC Charger when recording to ensure a stable power supply.
^
When battery is low, Music Player will not record. If battery
runs low during recording, Music Player shuts off.
3
Music is recorded onto Memory Card (SD AUDIO folder).
To start Music Player, insert 912SH-formatted Memory Card
first (
).
3
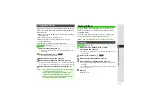
Activate Offline Mode to prevent disruptions
(Steps 1 - 2 on P.8-14).
Incoming communications may disrupt recording or damage
outputs of audio sources.
3
Do not remove Memory Card while recording.
Doing so may damage the card or result in lost files.
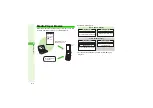
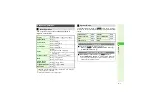
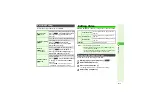
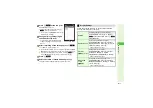
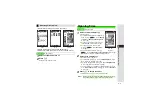
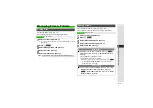
Connecting to Audio Sources
Required Cables for Recording Music
Cable Connections
DIGITAL OUT
OPTICAL OUT
To Rectang
u
lar
(Toslink) Pl
u
g Jack
To Mini Pl
u
g Jack
AC 100
V
O
u
tlet
Optical Digital
Connecting Ca
b
le
Optical Con
v
ersion
Ca
b
le (Pl
u
g)
Optical Mini Pl
u
g (3.5 mm)
Optical Digital
Connecting Ca
b
le
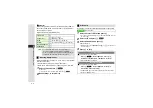
Note
I
^
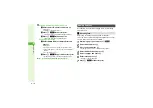
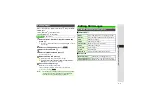
Use Optical Conversion Cable only for recording music.
^
Use specified Optical Conversion Cable only.
Non-specified cables may not function properly and
damage may result.
Precautions

