


9
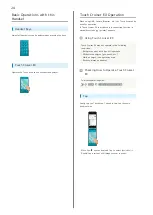
Getting Started
AQUOS ケータイ
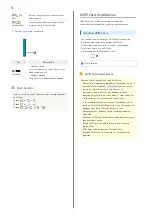
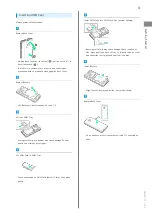
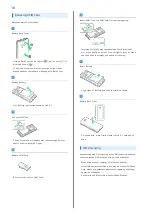
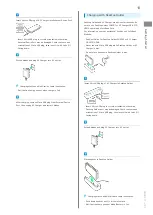
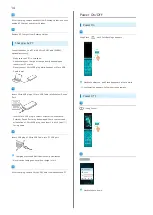
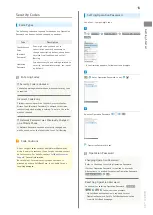
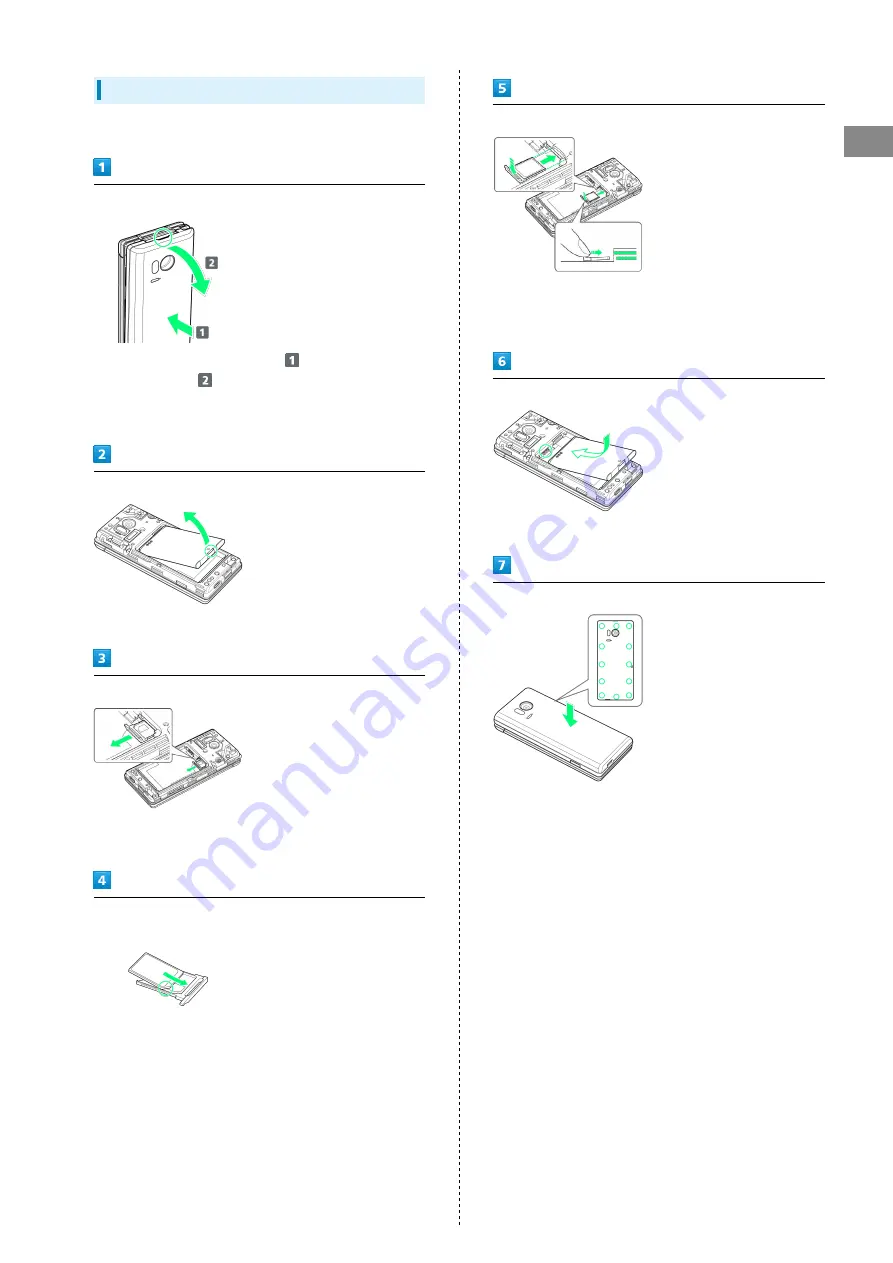
Inserting USIM Card
Always power off beforehand.
Remove Back Cover
・Holding Back Cover at its center (
), pull by notch (○) in
direction shown (
).
・If difficult to remove, start at notch and slide finger
around handset to gradually make gap with Back Cover.
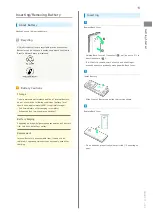
Remove Battery
・Lift Battery in direction shown by tab (○).
Pull out USIM Tray
・Pulling forcefully or sideways may cause damage. Pull out
gently and straight with finger.
Set USIM Card in USIM Tray
・Check orientation of USIM Card (notch/IC chip), then place
gently.
Insert USIM Tray into USIM Card Slot (bottom opening)
・Inserting forcefully may cause damage. Check location of
Slot, press gently on back of Tray to slightly raise its front,
and then slide in straight and gently all the way.
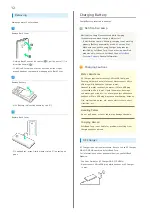
Insert Battery
・Align front of Battery and slide in direction shown.
Replace Back Cover
・Fit on handset, press firmly where circled (○) ensuring no
gaps.
Summary of Contents for Aquos Keitai
Page 1: ...AQUOS User Guide...
Page 2: ......
Page 6: ...4...
Page 24: ...22...
Page 34: ...32...
Page 46: ...44...
Page 81: ...Internet Services Browser 80 Browser Operations 82 Saving Frequently Visited Sites 84...
Page 88: ...86...
Page 89: ...TV TV 88 Watching TV 89 Data Broadcast Japanese 90...
Page 93: ...Camera Image Editing Capturing Photos Recording Videos 92...
Page 98: ...96...
Page 99: ...Music Videos Music Files 98 Viewing Videos 99...
Page 103: ...Tools World Clock 102...
Page 106: ...104...
Page 107: ...Data Folder SD Card Handling Files Data Folder 106 Handset Memory SD Card 108...
Page 175: ......


