


10
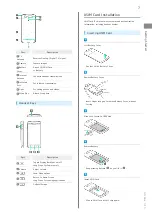
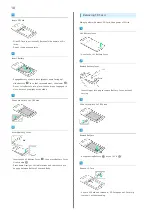
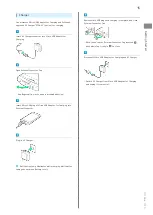
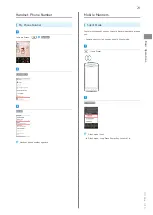
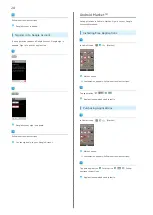
Insert SD Card
・Slide SD Card in horizontally (terminal side down) until it
locks.
・Do not insert other objects.
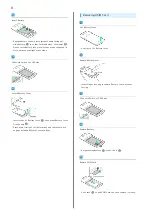
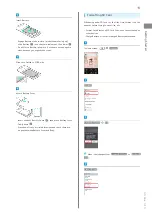
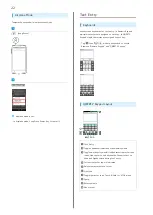
Insert Battery
・Engage Battery studs in slots (product name facing up),
slide Battery
in so that terminals meet, then lower
.
・Do not force Battery into place if studs are not engaged in
slots, because you might break studs.
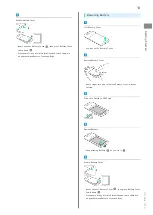
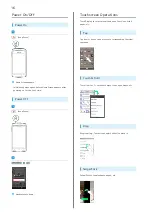
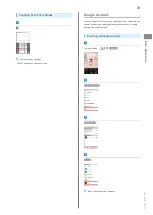
Slide Lock Switch to LOCK side
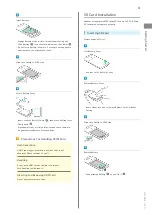
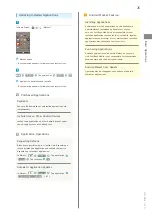
Attach Battery Cover
・Insert studs of Battery Cover
, then press Battery Cover
firmly down
.
・Press down firmly at circled locations and check there are
no gaps between Battery Cover and Body.
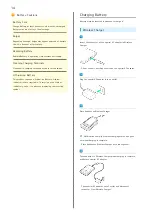
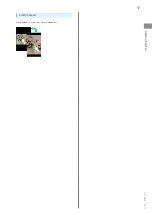
Removing SD Card
Always perform Unmount SD Card, then power off first.
Lift Battery Cover
・Use slot to lift Battery Cover.
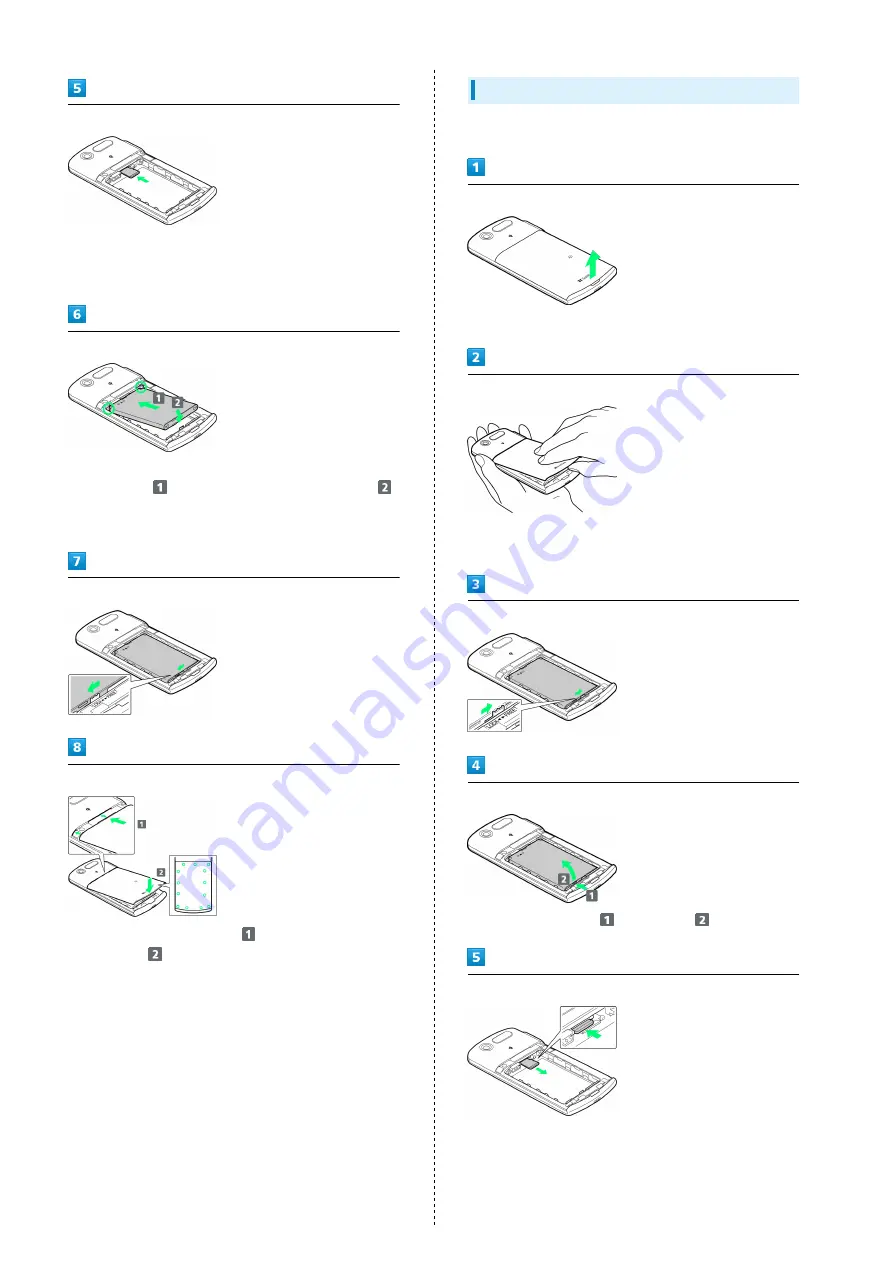
Remove Battery Cover
・Insert finger into gap to remove Battery Cover, without
forcing.
Slide Lock Switch to FREE side
Remove Battery
・Keep pressing Battery
as you lift it
.
Remove SD Card
・Push in SD Card and release it; SD Card pops out. Carefully
remove it without bending.
Summary of Contents for SoftBank 101N
Page 1: ...101N User Guide...
Page 2: ......
Page 6: ...4...
Page 19: ...17 Getting Started SoftBank 101N Pinch Spread Pinch Spread to zoom in or out on images etc...
Page 20: ...18...
Page 34: ...32...
Page 35: ...33 Phone SoftBank 101N Phone Calling 34 Optional Services 35 Address Book 40...
Page 49: ...47 Camera SoftBank 101N Camera Imaging 48...
Page 51: ...49 Music Images SoftBank 101N Music Images Music Files 50 Viewing Images Videos 50...
Page 53: ...51 Connectivity SoftBank 101N Connectivity Wi Fi 52 Bluetooth 53...
Page 56: ...54...
Page 57: ...55 Global Services SoftBank 101N Global Services Calling Outside Japan 56...
Page 68: ...66...
Page 69: ...67 Appendix SoftBank 101N Appendix Specifications 68 Materials 68 Customer Service 70...
Page 92: ...90...
Page 95: ......


