


8-16
8
Managing Files (Data F
older)
1
Select
6
Cut
and press
b
2
Use
G
to move
+
to the upper left corner of the
portion to crop and press
b
3
Use
G
to move
+
to the lower right corner of the
portion
C
To cancel, press
e
W
A
Start over from Step 2
4
Press
d
j
C
To start over from Step 1, press
i
or
d
|
.
C
To adjust display area/scale, perform Step 2 on
P.8-15
.
5
Press
b
6
Press
b
again
Image is saved as a new entry.
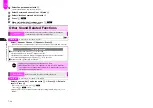
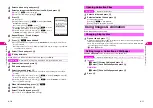
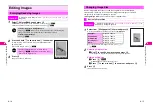
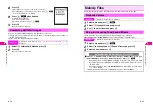
Add text/marks (arrows/plus sign) to images.
^
Apply to JPEG and PNG images. Some images may not be usable.
^
Marker Stamp
can be selected only for compatible files.
1
Select
1
Marker Stamp
and press
b
C
To specify color, select
7
Font Color
A
Press
b
A
Select a combination
A
Press
b
C
To hide outline of text/mark with the latter color, select
8
Border
A
Press
b
A
Choose
2
Off
A
Press
b
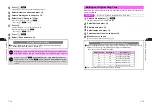
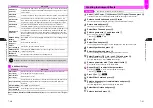
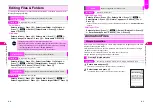
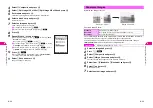
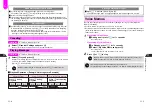
Cropping Images
Index Menu
H
My Files
A
Data Folder
A
Open a folder
A
Select a file
A
Menu (
d
)
A
Image Size
A
Change Image Size
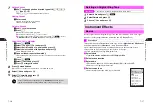
Marker Stamp
Index Menu
H
My Files
A
Data Folder
A
Open a folder
A
Select a file
A
Menu (
d
)
A
Picture Effect
,
For PNG images,
Font Color
and
Border
cannot be selected (
White w/ Black
applies).
Size
OK
Resize
8-17
Managing Files (Data F
older)
8
2
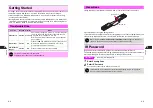
Entering Text
1
Select
1
Character
and press
b
2
Enter text and press
b
^
Enter up to 16 single-byte characters.
C
To re-enter text, press
e
W
A
Start over from Step
1
C
Press
1
-
9
to change the color.
C
Press
0
to toggle Border
On
and
Off
.
Adding Marks
1
Select a mark and press
b
C
To change mark, press
e
W
.
C
Press
1
-
9
to change the color.
C
Press
0
to toggle Border
On
and
Off
.
3
Use
G
to move text or mark to target location and press
b
4
Choose
1
Yes
and press
b
C
To add more text or mark, select
2
Marking
A
Press
b
A
Press
d
I
A
Repeat Steps 2 - 4
C
To check the image, select
3
Check Image
A
Press
b
C
To cancel editing, select
4
Cancel Edit
A
Press
b
A
Choose
1
Yes
A
Press
b
5
Select
1
Complete
and press
b
6
Choose
1
Yes
and press
b
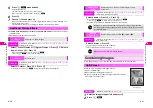
Image is saved as a new entry.
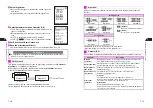
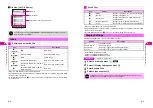
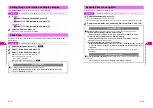
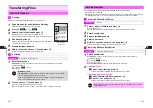
Dress up images with preloaded visual effects.
^
Apply to JPEG images.
^
Use images between W 52 x H 52 and W 240 x H 320 dots.
^
Image Decoration
can be selected only for compatible files.
1
Select
2
Image Decoration
and press
b
Visual Effects
Index Menu
H
My Files
A
Data Folder
A
Open a folder
A
Select a file
A
Menu (
d
)
A
Picture Effect
Summary of Contents for V201SH
Page 14: ...1 1 Getting Started...
Page 27: ...2 1 Basic Handset Operations...
Page 38: ...3 1 Manner Mode...
Page 42: ...4 1 Text Entry...
Page 52: ...5 1 Phone Book...
Page 61: ...6 1 Display...
Page 66: ...7 1 Sounds Related Functions...
Page 78: ...8 1 Managing Files Data Folder...
Page 91: ...9 1 Infrared...
Page 94: ...10 1 Handset Security...
Page 98: ...11 1 Additional Functions...
Page 115: ...12 1 Vodafone live Overview...
Page 118: ...13 1 Mail...
Page 144: ...14 1 Station Japanese Only...
Page 152: ...15 1 Appendix...


