Chapter 3 - Startup
PROFIBUS Tester BC-700-PB - User Manual
17
3
Startup
Hint
You can find information on the installation of PROFIBUS Diagnostics Suite
and on the corresponding drivers in section
Install software and connect to
and in the PROFIBUS Diagnostics Suite User Manual.
3.1
Power-up
1.
Acclimate to room temperature
Before being connected to the AC mains power, the PROFIBUS Tester 5 and the AC
adapter must be acclimated to room temperature to avoid condensation. This may
take up to 60 minutes.
2.
Switch on
Switch on the tool by pressing the power key at the upper front edge. Make sure that
you have either connected it to a power supply, or that you have inserted the battery.
The display lights, performs a self-test and the splash screen is shown.
Hint
We recommend operating the device solely using the wide-range power
supply supplied or using the integrated battery to avoid equalizing currents
which can falsify the test results.
The tool is powered by a built-in three cells lithium ion accumulator with 11.1 VDC.
Alternatively the tool can be powered by 24 VDC through the external wide-range power
supply.
3.2
Power-up behaviour without USB connection
If not connected to an USB port, the PROFIBUS Tester 5 starts up in stand-alone mode
(see
Display and controls in stand-alone mode
) and is immediately ready for testing.
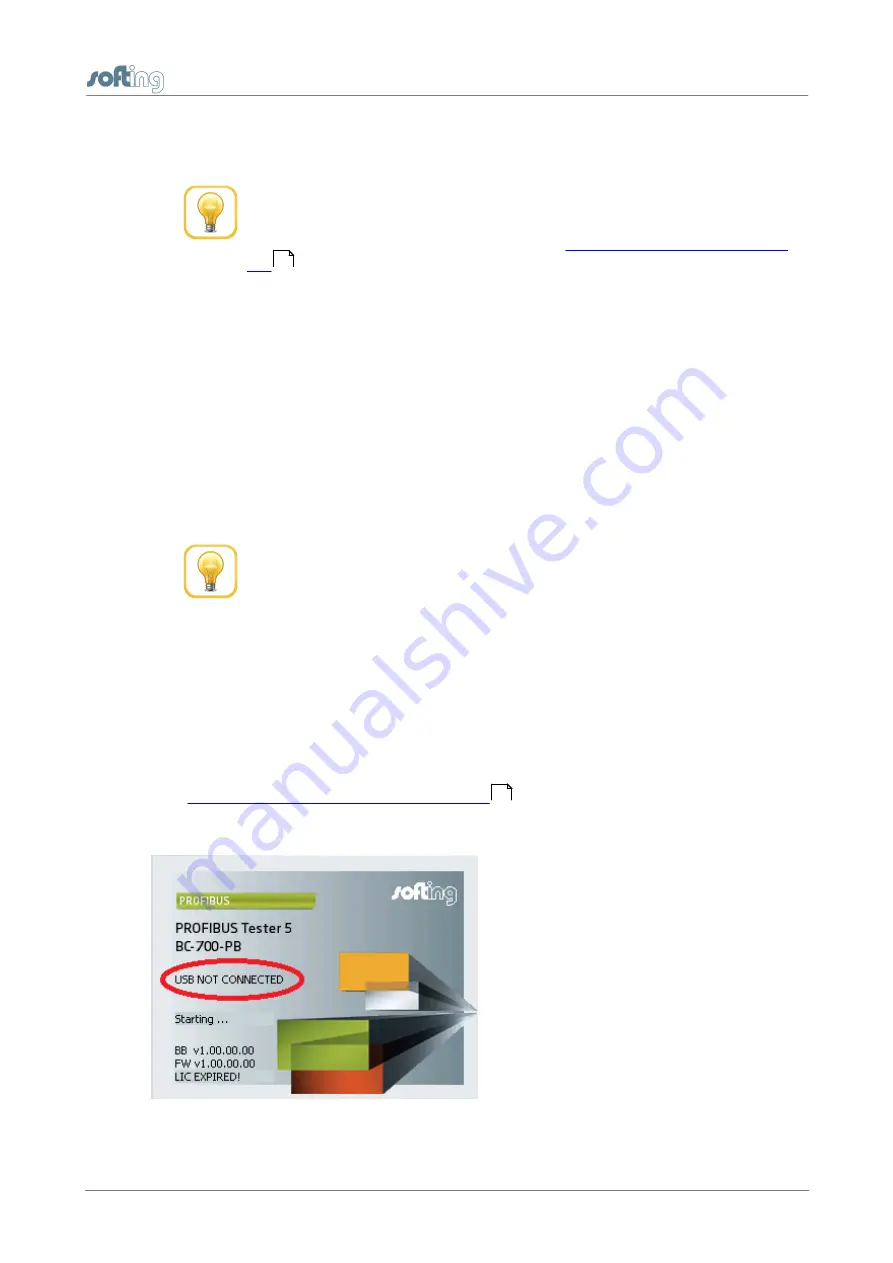
During program start-up the splash screen is shown for a few seconds and displays "USB
NOT CONNECTED":
Figure 12: Splash screen – starting without USB-connection
20
32


