- 20 -
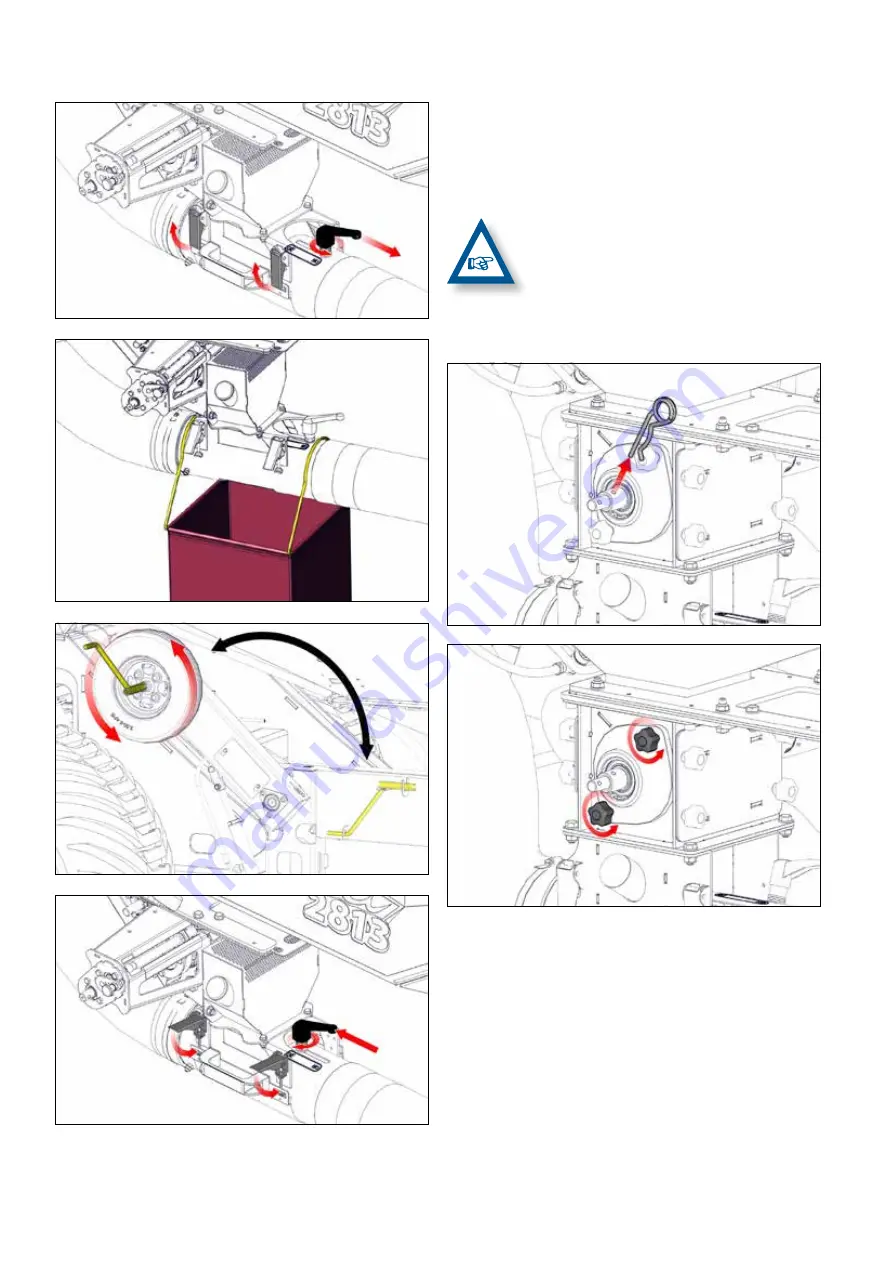
Fig. 5.31
Fig. 5.31
Fig. 5.32
Fig. 5.32
Fig. 5.33
Fig. 5.33
Fig. 5.34
Fig. 5.34
4.B-
Models with electric transmission:
4.B.1-
Pull out the "R" pin (Fig. 5.35).
4.B.2-
Unscrew the knobs (Fig. 5.36).
4.B.3-
Pull out the side piece and remove the roller (Fig.
5.37 and Fig.
5.
38);
the material accumulated in
the dispenser will then start to empty
.
CLEAN THE DISPENSER WITH A BRUSH AND/OR
COMPRESSED AIR. DO NOT CLEAN WITH WATER
UNDER ANY CIRCUMSTANCES.
4.B.4-
Reassemble the dispenser by performing the
above steps in the reverse order
.
Fig. 5.35
Fig. 5.35
Fig. 5.36
Fig. 5.36
Summary of Contents for VESTA-2813 NS PLUS
Page 75: ... 75 ...
Page 76: ... 76 ...
Page 77: ... 77 NOTES DATE NOTES ...
Page 78: ... 78 DATE NOTES ...
Page 79: ......


