349
Steca
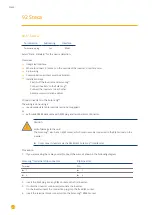
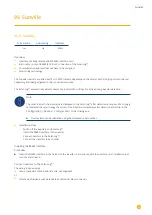
Connect the inverters to each other
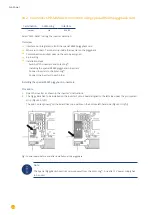
Connect using
•
a 2-wire shielded data cable and
•
4-pin Phoenix Contact Connection plug type "M12MS SACC-4SC SH“ (two plugs included with the inverter).
•
Where to connect: RS485 sockets on the bottom of the inverter.
The RS485 IN and OUT sockets are each double connections so that the wiring can be continued to the next inver-
ter.
Procedure
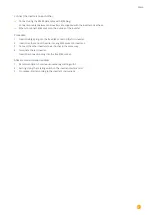
1. Wiring the data cable to the "Phoenix Contact Type M12MS SACC-4SC SH“ according to the manufacturer's
instructions.
2. Insert one plug into the OUT (X14B) socket of inverter 1.
3. Insert the other end of the wire into the IN socket (X15B) on inverter 2.
4. Connect the other inverters to each other in the same way.
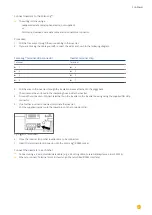
5. Terminate the last inverter.
On the sockets "RS485 OUT" with Phoenix contact type M12MS SACC-4SC SH bridge the connections PIN1 to
PIN2 and PIN3 to PIN4.
6. Close inverters.
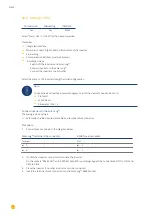
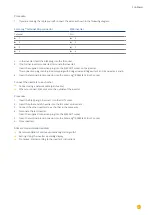
Allocate communication address
Recommendation: Continuous numbering starting with 1.
highest possible address: 31
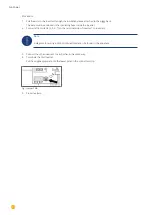
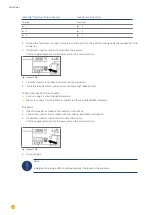
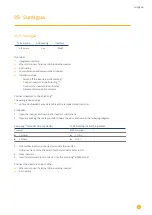
Set the following parameters on the inverter's operating display:
•
Press "F1", select
Numerical list
, press "ENTER".
•
Set parameter number
2000
[password protection],
press "ENTER" twice.
•
Enter
72555
, press "ENTER"
•
Set parameter number
0406
, press "ENTER"
•
Select sub parameter
0406,3
, press "ENTER"
•
Enter figure for communication
x
[
x
= continuous numbering starting with 1; highest possible address: 31], press "ENTER". 31], press "ENTER".
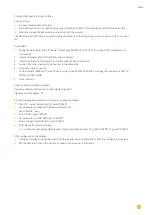
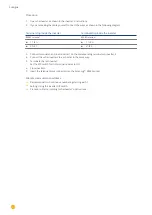
After configuring on the display:
•
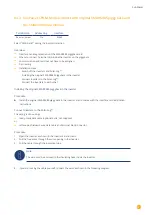
Using the installed DC isolating switch turn the inverters on and off briefly so that the settings are activated.
•
Set the date and time on the inverter as shown in the inverter instructions.
Summary of Contents for Solar-Log
Page 1: ...1 Components Connection Manual V 4 2 3 Solar Log EN ...
Page 20: ...20 01 Inverter ...
Page 398: ...398 Appendix 113Appendix 113 1 SMA mixed wiring Fig SMA mixed wiring ...
Page 402: ...402 02 Meter ...
Page 444: ...444 03 Battery Systems ...
Page 456: ...456 sonnen Note Only one battery system can be connected to a Solar Log device ...
Page 463: ...463 04 Heating rods ...
Page 470: ...470 05 Heating pumps ...
Page 478: ...478 06 Sensors ...
Page 488: ...488 07 Pyranometer ...
Page 495: ...495 08 Smart Plug components ...
Page 502: ...502 09 Power Charging Stations ...


