438
Schneider Electric
10
Schneider Electric
10.1
Schneider EM6400S (3-phase)
Selections available under Schneider Electric
Supported by firmware 4.1.0 and higher
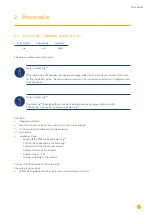
Overview
•
Communication address must be allocated.
•
2-pin wiring
•
Installation steps
•
Switch off the meter and the Solar-Log™.
•
Connect the meter to the Solar-Log™.
Connect the meter to the Solar-Log™.
The wiring is done using a
•
self-made cable connection with a terminal block connector.
Cable connection via RS485:
Solar-Log™ RS485 terminal block
Solar-Log 50
Schneider EM4600S
Pin assignment
Pin assignment
1
1 or 5
7 (D1)
4
4 or 6
14 (D0)
Termination: 120-ohm resistor at connection pin 7 and 14 on the meter
Note
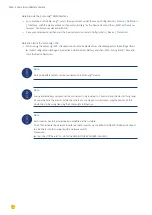
The following parameters need to be checked before the device detection to ensure that the meter is
detected.
Baud rate: 9600 bps
Data bits: 8
Stop bits: 1
Parity: even
►
The settings are adjusted via the device's display. (Please refer to the notes and instructions in the
meter's manual for instructions.)
Summary of Contents for Solar-Log
Page 1: ...1 Components Connection Manual V 4 2 3 Solar Log EN ...
Page 20: ...20 01 Inverter ...
Page 398: ...398 Appendix 113Appendix 113 1 SMA mixed wiring Fig SMA mixed wiring ...
Page 402: ...402 02 Meter ...
Page 444: ...444 03 Battery Systems ...
Page 456: ...456 sonnen Note Only one battery system can be connected to a Solar Log device ...
Page 463: ...463 04 Heating rods ...
Page 470: ...470 05 Heating pumps ...
Page 478: ...478 06 Sensors ...
Page 488: ...488 07 Pyranometer ...
Page 495: ...495 08 Smart Plug components ...
Page 502: ...502 09 Power Charging Stations ...


