231
PVPowered
66
PVPowered
66.1
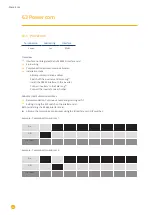
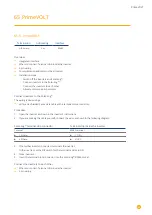
PV Powered – central inverter RS485
Termination
Addressing
Interface
Jumper
Yes
RS485
Overview
•
Integrated interface
•
Where to connect: Modbus Slave socket on interface card
•
3-pin wiring
•
Communication address must be allocated
•
Installation steps
•
Switch off the inverters and Solar-Log™
•
Connect inverters to the Solar-Log™
•
Set the address of the inverters.
•
Connect the inverters to each other
Connect inverters to the Solar-Log™
The wiring is done using a
•
self-made 3 pin connection cable and terminal block connector.
Note
The transfer rate for Modbus (RS485) on delivery to the customer is set to 9600bps. Please check these
settings.
Procedure
1. Open the inverter as shown in the inverter's instructions.
2. Pull the free wires through the wire opening in the inverter.
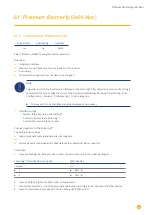
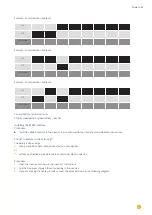
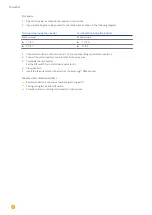
3. If you are making the cable yourself, connect the wires as shown in the following diagram:
Solar-Log™ terminal strip connector
RJ45 inverter
Terminal
PIN
►
1
2 - D+
►
3
1 - GND
►
4
3 - D-
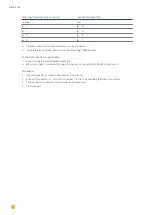
4. If no further inverter connected, terminate the inverter:
Inside the inverter set the supplied jumper from „J4“ to „J5“.
5. Setting the address for the inverter: Set SW1 to „0“ and SW2 to „1“ in order to set the parameters for the inver-
ter with the address „01“.
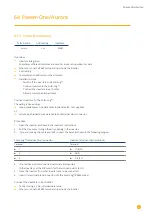
6. Close the inverter if no other inverters are to be connected.
7. Insert the terminal block connector into the Solar-Log™ RS485 socket.
Summary of Contents for Solar-Log
Page 1: ...1 Components Connection Manual V 4 2 3 Solar Log EN ...
Page 20: ...20 01 Inverter ...
Page 398: ...398 Appendix 113Appendix 113 1 SMA mixed wiring Fig SMA mixed wiring ...
Page 402: ...402 02 Meter ...
Page 444: ...444 03 Battery Systems ...
Page 456: ...456 sonnen Note Only one battery system can be connected to a Solar Log device ...
Page 463: ...463 04 Heating rods ...
Page 470: ...470 05 Heating pumps ...
Page 478: ...478 06 Sensors ...
Page 488: ...488 07 Pyranometer ...
Page 495: ...495 08 Smart Plug components ...
Page 502: ...502 09 Power Charging Stations ...

