354
SunPower
94.2
SunPower SPR-M-Model connection using special RS485 piggyback card
Termination
Addressing
Interface
Jumper
No
RS485
Select “SMA: Data1“ during the inverter detection
Overview
•
Interface not integrated; retrofit the special RS485 piggyback card
•
Where to connect: Terminal strip inside the inverter on the piggyback
•
Communication address does not have to be assigned
•
4-pin wiring
•
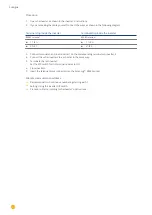
Installation steps
•
Switch off the inverters and Solar-Log™
•
Installing the special RS485 piggyback in inverters
•
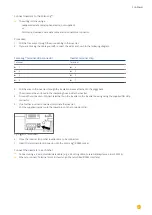
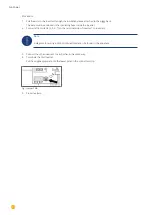
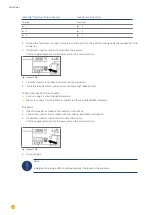
Connect inverters to the Solar-Log™
•
Connect the inverters to each other
Installing the special RS485 piggyback in inverters
Procedure
1. Open the inverter as shown in the inverter‘s instructions.
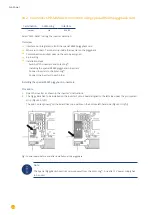
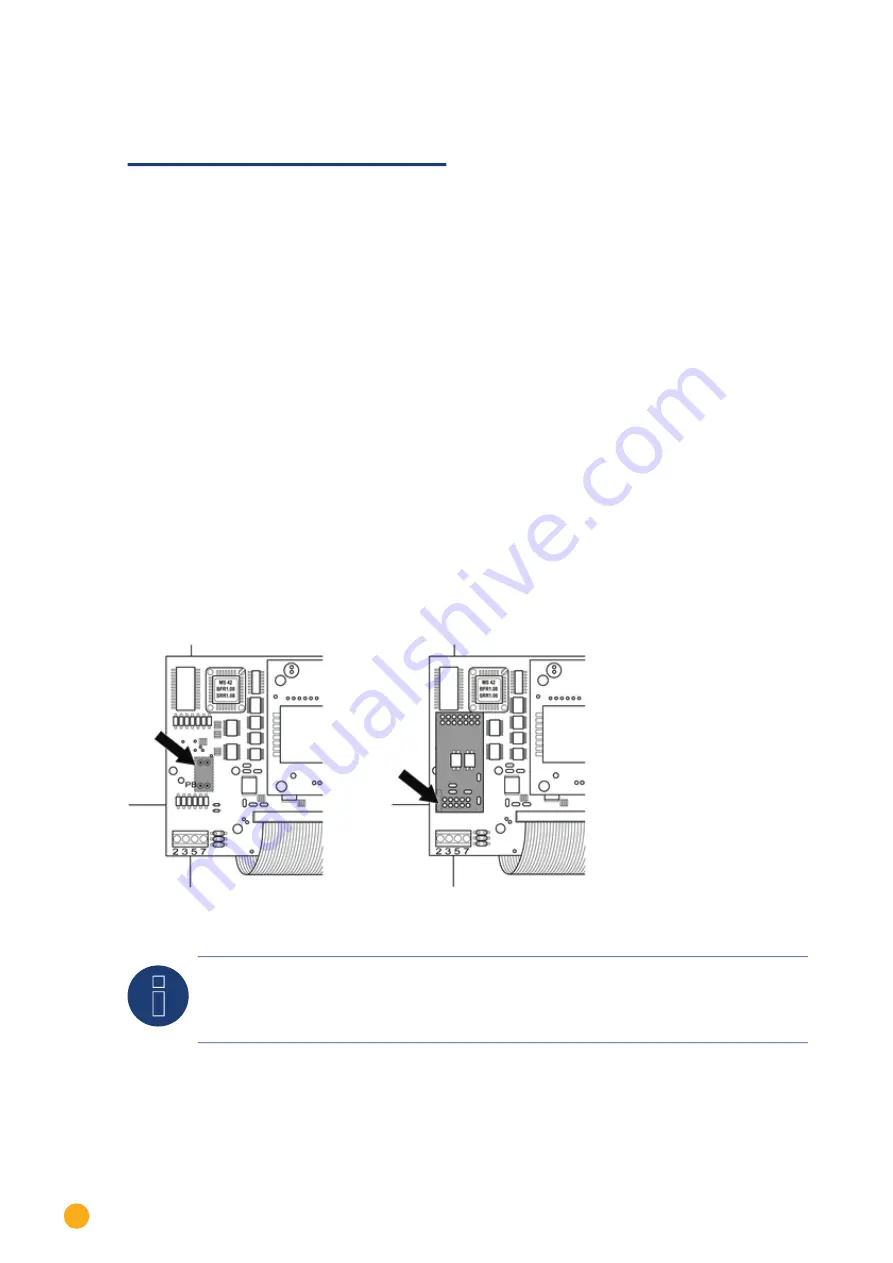
2. The Piggy Back has to be installed on the inverter‘s circuit board aligned to the left side under the pin contract
strip (
Figure 3, left
).
The print „unten [down]“ on the board has to be visible on the bottom left-hand side (
Figure 3, right
).
Fig.: Control board before and after installation of the piggyback
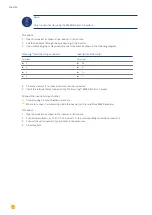
Note
The Special PiggyBack should not receive power from the Solar-Log™. An extra 12V power supply has
to be used.
Summary of Contents for Solar-Log
Page 1: ...1 Components Connection Manual V 4 2 3 Solar Log EN ...
Page 20: ...20 01 Inverter ...
Page 398: ...398 Appendix 113Appendix 113 1 SMA mixed wiring Fig SMA mixed wiring ...
Page 402: ...402 02 Meter ...
Page 444: ...444 03 Battery Systems ...
Page 456: ...456 sonnen Note Only one battery system can be connected to a Solar Log device ...
Page 463: ...463 04 Heating rods ...
Page 470: ...470 05 Heating pumps ...
Page 478: ...478 06 Sensors ...
Page 488: ...488 07 Pyranometer ...
Page 495: ...495 08 Smart Plug components ...
Page 502: ...502 09 Power Charging Stations ...

