474
IDM Heat Pumps
3
IDM Heat Pumps
3.1
IDM Heat Pumps
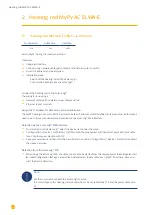
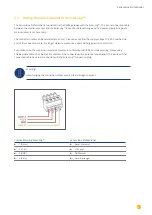
Termination
Addressing
Interface
No
Yes
LAN
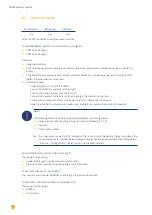
Overview
•
Integrated interface.
•
The IDM heat pump‘s IP address must be adapted.
•
Connected using network cable (patch cable) and Ethernet router or switch (when assigning a static IP ad-
dress).
•
Another option is to connect directly to the main board of the navigator with a crossover cable.
•
Installation steps
•
Assign a static IP address to the IDM heat pump or set the IDM heat pump to
DHCP.
•
Connect the IDM heat pump to a switch (with a static IP address) or Ethernet router.
•
Connect the Solar-Log™ to a switch (with a static IP address) or Ethernet router.
Assigning IP addresses
•
Configure the address according to the manufacturer‘s manual.
•
The DHCP range (IP address) for the heat pump has to be in the same subnet as the Solar-Log™.
•
Procedure: According to the manufacturer‘s manual.
Detection from the Solar-Log
™
•
For the detection on the Solar-Log
™
, select „IDM“ as the manufacturer in the
Configuration | Devices | Defi-
nition
menu from the
Network
section. Confirm the selection with
Save
.
Detection from the Solar-Log 1200
•
When using the Solar-Log 1200, the detection can also be started from the display. Select „IDM“ as the manu-
facturer for the inverter detection from the „
network
“ interface and start the detection.
Note
The IDM heat pump has to have Navigator 1.7.
Summary of Contents for Solar-Log
Page 1: ...1 Components Connection Manual V 4 2 3 Solar Log EN ...
Page 20: ...20 01 Inverter ...
Page 398: ...398 Appendix 113Appendix 113 1 SMA mixed wiring Fig SMA mixed wiring ...
Page 402: ...402 02 Meter ...
Page 444: ...444 03 Battery Systems ...
Page 456: ...456 sonnen Note Only one battery system can be connected to a Solar Log device ...
Page 463: ...463 04 Heating rods ...
Page 470: ...470 05 Heating pumps ...
Page 478: ...478 06 Sensors ...
Page 488: ...488 07 Pyranometer ...
Page 495: ...495 08 Smart Plug components ...
Page 502: ...502 09 Power Charging Stations ...

