73
en
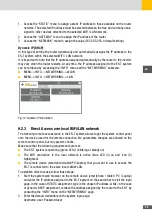
1. Access the “STATIC” menu to assign a static IP address to those available on the router
network. The selected IP address must be selected between the free and currently unas-
signed to other devices attached to the selected WiFi / LAN network.
2. Access the “GATEWAY” menu to assign the IP address of the router
3. Access the “NETMASK” menu to assign the value (255.255.255.0 default setting).
Dynamic IP (DHCP)
In this type of setting the router dynamically and automatically assigns the IP address to the
ES-T system within the selected WiFi / LAN network.
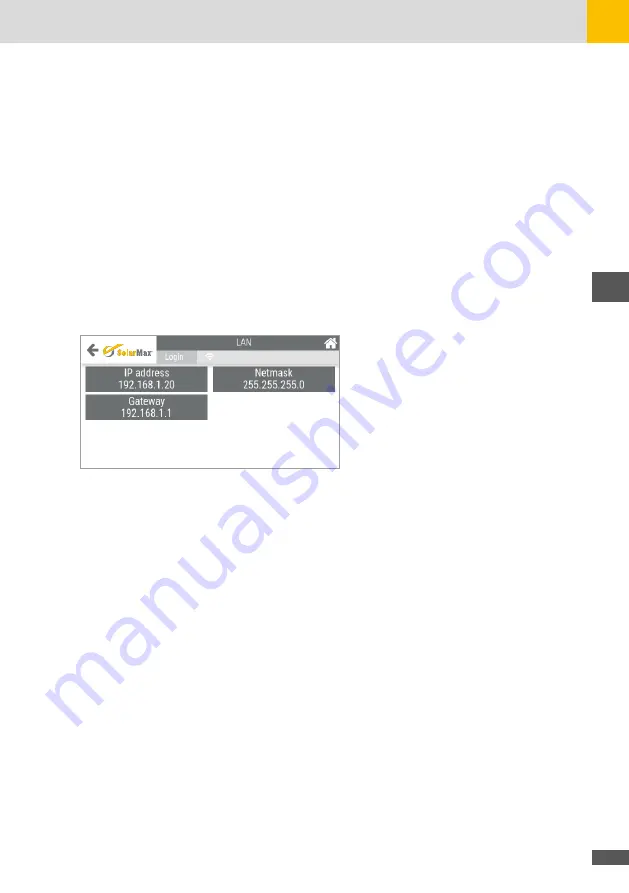
It is important to note that the IP address assigned automatically by the router to the inverter
may vary when the router restarts. At any time, the IP address assigned to the ES-T system
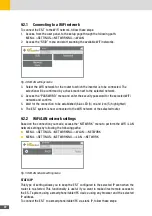
can be retrieved by accessing the “INFO” menu and the “NETWORKING” submenu:
■
MENU-->INFO-->NETWORKING-->WLAN
■
MENU-->INFO-->NETWORKING-->LAN
Fig. 51: Dynamic IP information
9�2�3 Direct Access over local WiFi/LAN network
The following remote access mode to the ES-T system allows to get the system control panel
onto the device used for the remote connection. No parameters changes are allowed on the
remote control panel, but only system checks.
Make sure that the following requirements are met:
■
The ES-T system is operating (green LED (1) blinking or steady on)
■
The WiFi connection to the local network is active (blue LED (3) on and icon (5)
highlighted).
■
The remote device (smartphone/tablet/PC/Laptop) that you want to use to access the
ES-T is connected to the same local LAN/WLAN.
To establish direct access, follow these steps:
1. Start the system web browser on the remote device (smartphone / tablet / PC / Laptop)
and enter the IP address assigned to the ES-T system on the search bar to visit the login
page. In the case of STATIC assignment, type in the chosen IP address, while, in the case
of dynamic DHCP assignment, retrieve the address assigned by the router to the ES-T by
consulting the “INFO” menu on the “NETWORKING” page.
2. Enter the default credentials on the system login page:
Username: user, Password:user
Summary of Contents for 10ES-T
Page 1: ...Instruction Manual SolarMax ES T series 5ES T 6ES T 8ES T 10ES T ...
Page 10: ...10 3 2 Function Fig 2 Function of ES T ...
Page 22: ...22 5 2 Electrical connection diagram ES T Fig 6 Electrical connection diagram ...
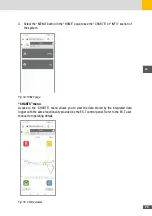
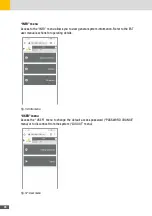
Page 74: ...74 Fig 52 Login page The HOME page will appear Fig 53 HOME page ...

