Subject to change | © 2019 SOLARWATT GmbH | AZ-TM-PMS-1339 | Rev 001 | Version: 12/2019
Page 20
6.3 Module installation
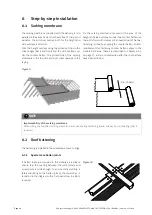
It is recommended to install modules from the bottom
right to top left (see Figure 32 on page 25). The system
can also be installed by starting in the middle or outside
left in the lowest row.
IMPORTANT
The SOLARWATT EasyIn System design is based on
the roof tile system. Therefore the overlaps between
the modules and the connections to the enclosure
frame and to the roof tiles must be implemented
very carefully.
NOTE
Before you can install any modules in the lowest
module row, the relevant lower enclosure frame
must already be laid there. Please always follow the
relevant installation instructions for the enclosure
frame.
NOTE
NOTE
NOTE
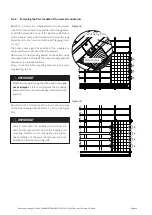
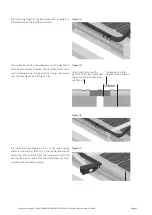
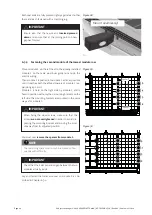
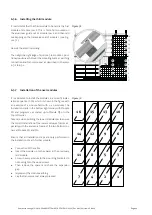
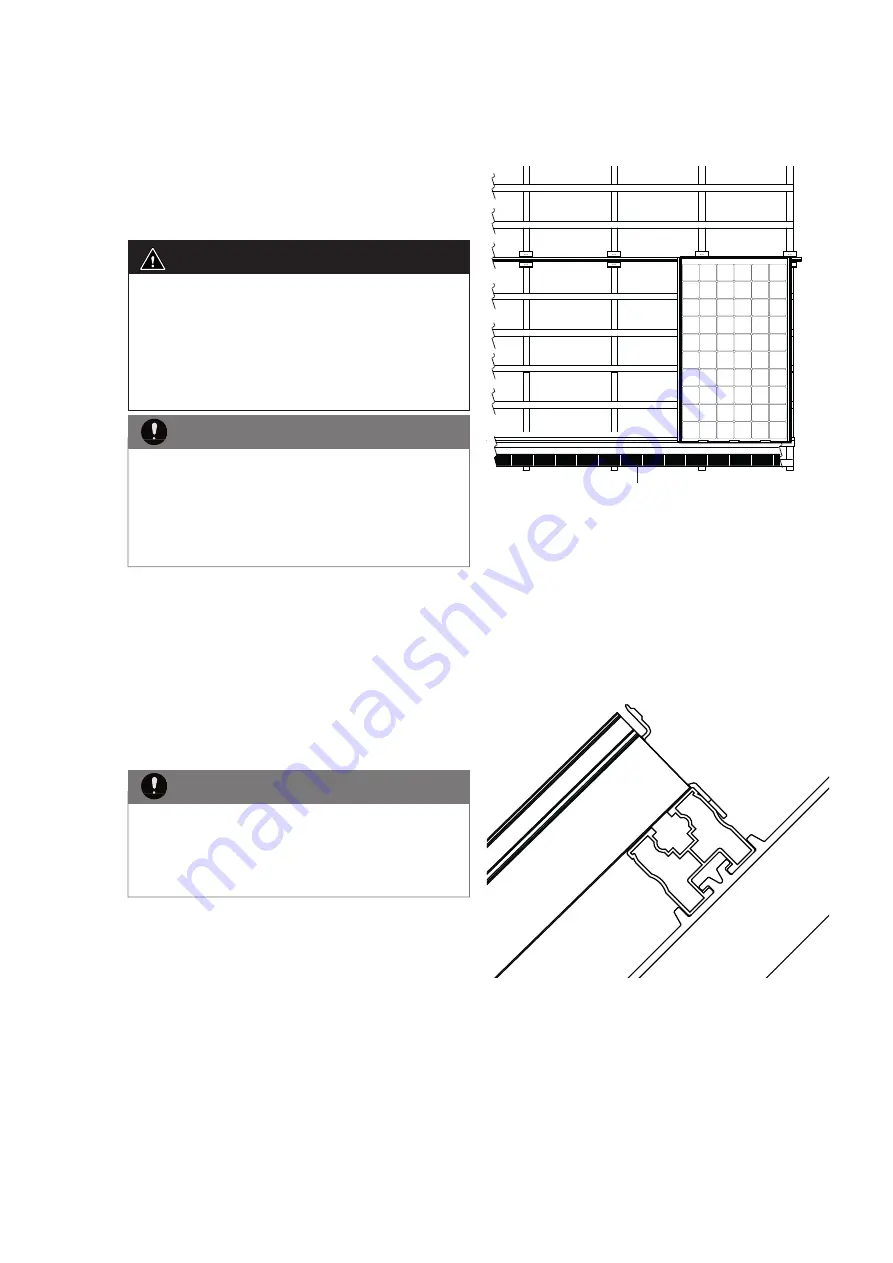
Figure 17
1
U
1
2
3
4
5
6
Lower enclosure frame
6.3.1
Positioning the fi rst module
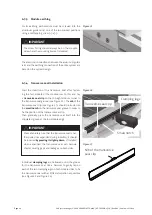
Mount the fi rst module on the lowest aluminum guide rail
on the bottom right edge of the module fi eld (see Figure
17). Move the module into the desired position. The mod-
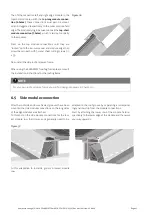
ule lug should lie fl at on the aluminum guide rail over the
total length (see Figure 18).
NOTE
For the subsequent electrical wiring prepare the
connecting cable above the module or next to the
roof batten.
NOTE
NOTE
NOTE
Figure 18
Groove for transverse seal
Module
Module lug
Aluminum guide rail


