SC200
FITNESS
8
2
SWING ARMS/
COVERS
HARDWARE
STEP 2
#83.
M5 × 10mm
Phillips Head Screw
(8 pcs)
#85.
4MM × 15MM
Sheet Metal Screw
(3 pcs)
#90.
5/16" Nyloc Nut
(6 pcs)
#113.
5/16” Curved
Washer (4 pcs)
#74.
5/16" × 1-3/4"_
Hex Head Bolt (6pcs)
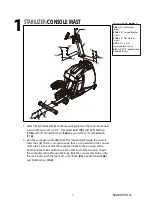
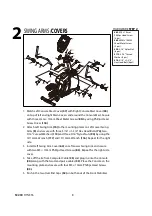
1.
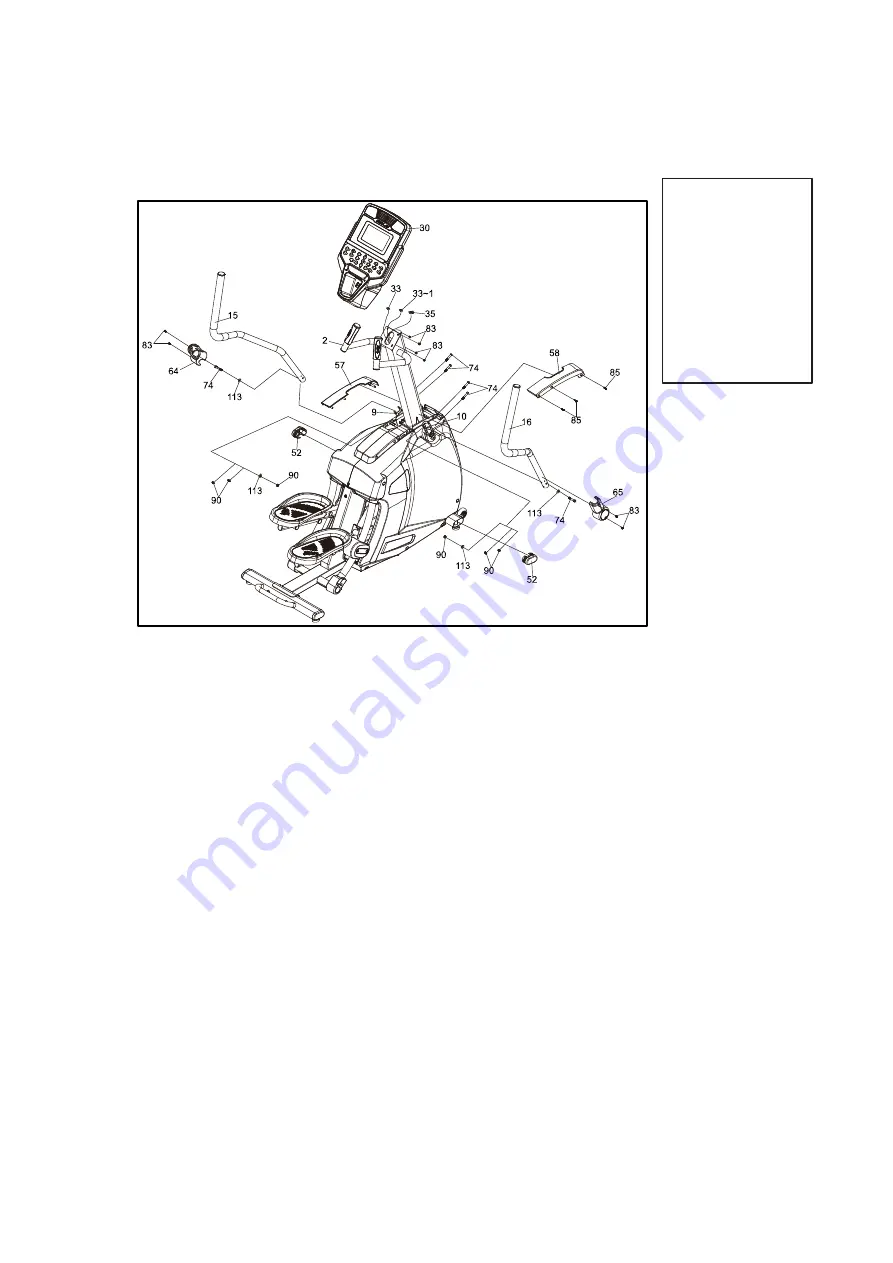
Match Left Console Mast Cover
(57)
with Right Console Mast Cover
(58)
on top of left and right Main Covers and around the Console Mast. Secure
with three 4mm × 15mm Sheet Metal Screws (
85
) by using Phillips Head
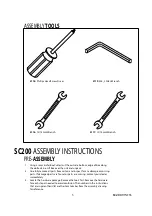
Screw Driver
(118)
.
2.
Attach Left Swing Arm
(15)
to the mounting plates on Left Lower Swing
Arms
(9)
and secure with three 5/16" × 1-3/4" Hex Head Bolts
(74)
, two
5/16” Curved Washers
(113)
and three 5/16” Nyloc Nuts
(90)
by using the
12/14mm Wrench
(117)
and 13/14mm Wrench
(116)
. Repeat for the right
side.
3.
Install Left Swing Arm Cover
(64)
on Left Lower Swing Arm and secure
with two M5 × 10mm Phillips Head Screws
(83).
Repeat for the right side
cover.
4.
Take off the tie from Computer Cable
(35)
and plug in onto the Console
(30)
along with the two Hand pulse cables
(33)
. Place the Console on the
mounting plate and secure with four M5 × 10mm Phillips Head Screws
(83).
5.
Push in the two Oval End Caps
(52)
on both ends of the Front Stabilizer.
Summary of Contents for SC200
Page 23: ......


