COLLECTOR MOUNTING.
-
5
4. Collector Mounting.
INSTALLATION MANUAL SOLENE
®
HOT WATER SYSTEMS
©
2014 UMA Solar
There are three basic roof-mounting methods:
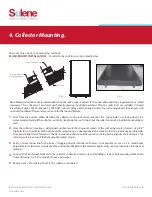
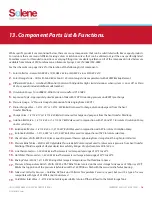
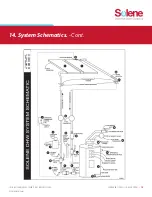
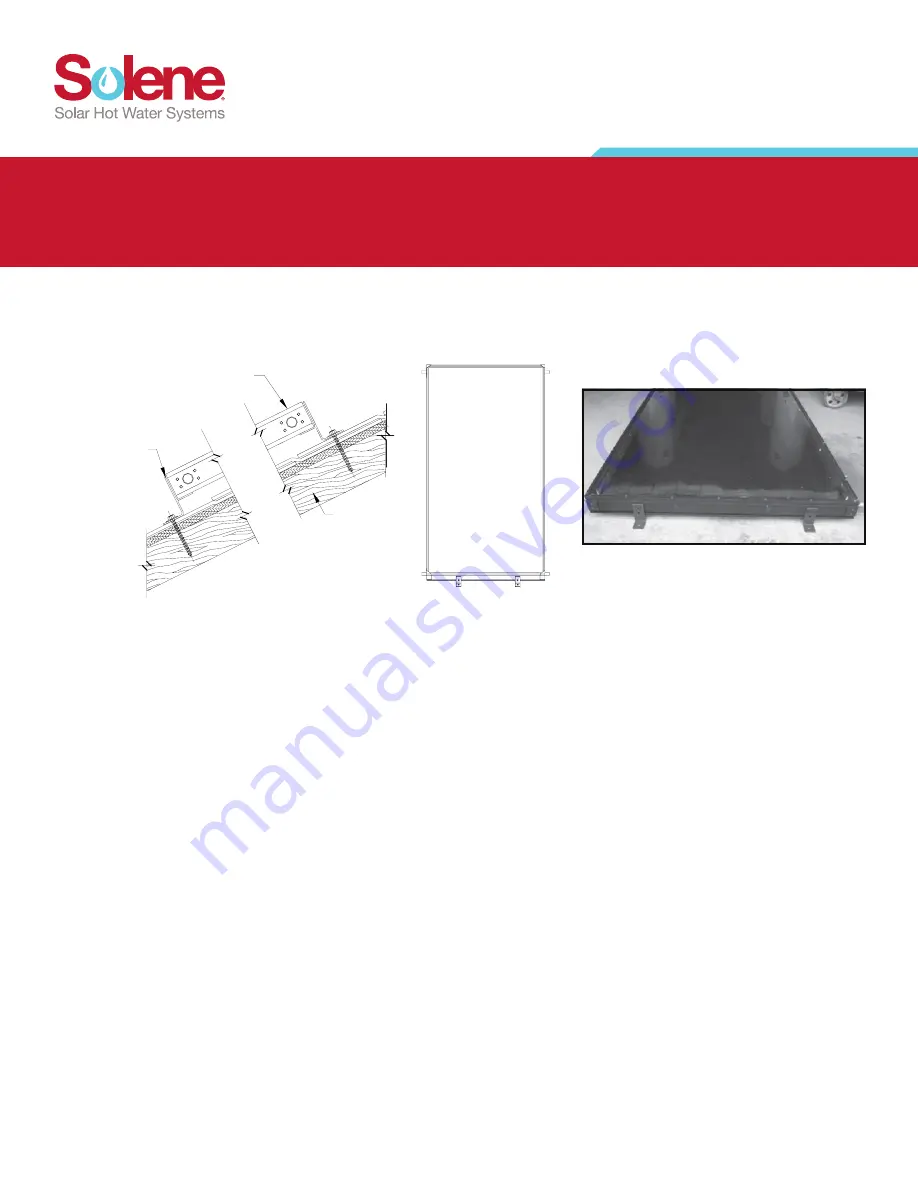
FLUSH MOUNT INSTALLATION -
Parallel to the roof line, as illustrated below.
Fig. 2
Fig. 1A
Start from the bottom. When elevating the collector to the roof, make sure that the “weep holes” are facing down. It is
recommended to install the collectors vertically (length up the roof’s slope), but the collectors may be installed horizontally as
well.
Flush Mount Installations are recommended when the roof’s slope conforms to the orientation and slope requirements as stated
previously. This is the easiest and most aesthetically pleasing installation method. After the collector(s) are installed, it should
resemble a skylight. The flush mount (1-5060-031) consists of four (4) mounting brackets, four (4) carriage bolts, four (4) nuts, and
associated hardware. There are two sets each for the top and bottom.
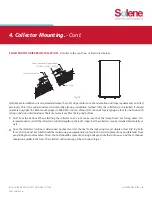
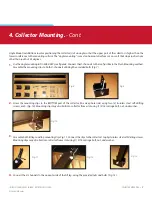
Once the collector’s location is determined, anchor two (2) flush mount brackets to the roof using two (2) stainless steel 3/8”
lag bolts for each bracket. Each bolt should be sealed using an appropriate roof sealant in order to prevent any possible leaks
from penetrating the roof members. The flush mount brackets should be spaced so the lag bolts penetrate the roof trusses. The
collectors will rest on top of the flush mount brackets. (Fig. 2)
Verify a secure connection to the trusses. If lagging directly into the roof trusses is not possible, secure a 2’ x 4’ wood beam
perpendicular to the trusses, inside the attic, and anchor the bolts to this member. Again, verify a secure connection into the new
member.
Connect the flush mount brackets to the collector’s frame by stainless steel self-drilling screws or bolt mounting bracket into
frame slot using (1) 5/16” carriage bolt, nut, and washer.
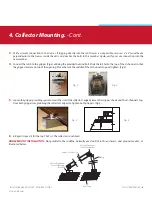
Repeat steps 1-4 for the top. That’s it. The collector is anchored.
1.
2.
3.
4.
5.
Solene Collector Typ.
Solene Aluminum
Mounting Bracket
Roof Truss


