18
17
Electrical connections
Important Note: When installing several devices, remember that each
regulator can only command one device.
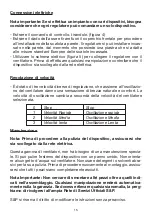
- Pull on the control panel to remove it. (figure 4)
- Remove the axle nut and the front cover in order to proceed with the ins-
tallation of the box on the wall. The regulator must be embedded in the
wall, since it has a plate in line with the standard European measures for
embedded boxes.
- Use the electrical diagram (figure 5) to connect the regulator to the fan.
Before starting any kind of manipulation, check that the device is discon-
nected from the electrical grid.
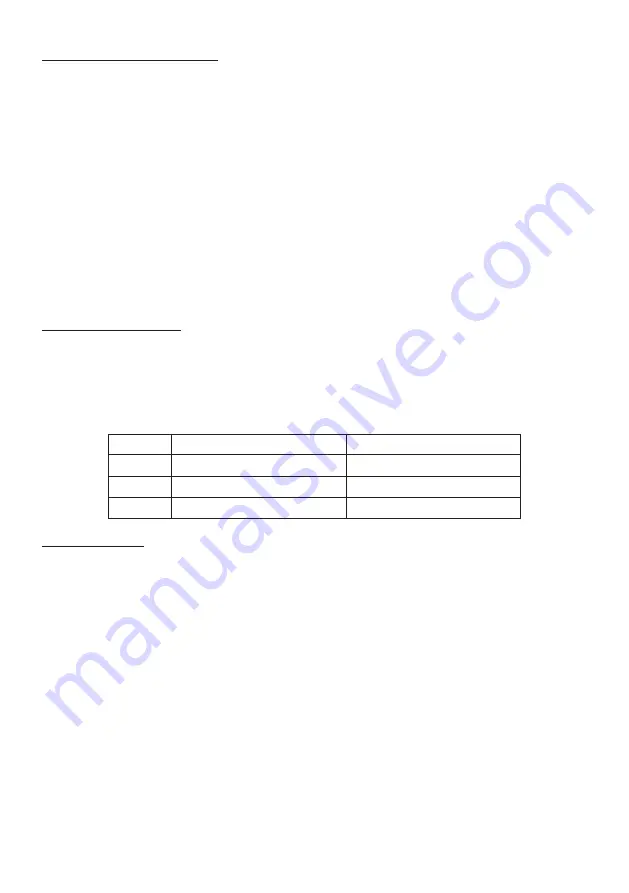
Speed regulation
- There are three different regulation speeds, which, along with the oscilla-
tion of the fan, will provide a sensation of natural breeze and comfort.
The oscillation speed will vary in accordance with the selected fan
speed.
Maintenance
Note: Before cleaning the device, ensure that it is disconnected from
the electrical grid.
This range of fans does not require special maintenance. The outside of
the device can be cleaned with a damp cloth. Do not aim any water at the
fan. Do not use abrasive dissolvent or detergent for cleaning. Before pro-
ceeding to reassemble, ensure that all the parts are completely dry.
Important note: Do not try to remove any parts which are not indicated
to this end. Any manipulation will automatically annul the warranty.
Should you detect any anomaly, contact the extensive S&P Official
Service Network.
S&P reserves the right to modify the instructions without prior notice.
0
1
2
3
Stop
Quick speed
Medium speed
Slow speed
Stop
Fast oscillation
Medium oscillation
Slow oscillation

