9
1.800.627.4499
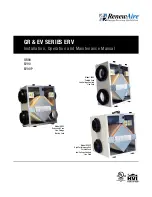
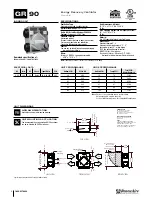
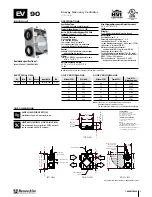
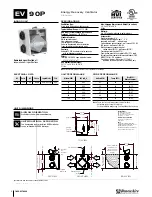
GR90, EV90, EV90P
ERV
OVERVIEW
1.0 OVERVIEW
1.1 DEFINITIONS
NOTE: This unit is
an Energy Recovery
Ventilator, or ERV.
It is commonly referred to
throughout this manual as
an ERV.
Energy Exchange System:
Cross flow fixed-plate enthalpic energy
exchange core: engineered, proprietary
resin-media composite. Moderates both
temeprature and humidity extremes.
Access Door:
Front panel opens to provide access to
filters, blowers, and energy exchanger.
Snap latches and hinges provided for
easy service.
Insulation:
1" foil-faced EPS foam throughout.
Blower/Motor:
Two high efficiency motorized impeller
blowers provide quiet operation.
Warranty:
Ten year limited warranty on energy
exchange core; five year limited
warranty against defects in material and
workmanship on all other components.
1.2 DESCRIPTION
1.2.1 Purpose of an ERV System
Many modern homes are built air-tight for energy efficiency and comfort. The result is that
natural air infiltration rates are often too low to provide acceptable indoor air quality. The
solution is to use an ERV to remove gaseous pollutants such as odors, winter-time excess
humidity, formaldehyde, smoke, radon, vapors from cleaning products, and other chemicals.
The removal of dust and other small particles from your home is not the function of an ERV.
1.2.2 When Should You Use Your ERV?
Use your ERV when windows are closed and you need to ventilate. When the outdoor air is
warmer or cooler than comfortable, the ERV will allow a quieter, more secure home with the
windows closed and will also save energy.
1.2.3 Using an ERV with Air-Conditioning
An ERV works very well with air-conditioning, because its “enthalpy-transfer” energy-exchange
core will reduce the amount of moisture in the outside air that is brought in. ERVs are the
preferred way to ventilate while air-conditioning because it brings in less moisture than any
other ventilation method.
1.2.4 Controlling Excess Humidity During Cold Weather
When the ERV is first turned on at the beginning of the heating season (or when first installed),
it will have to run full-time for several days to reduce indoor humidity levels. A properly set
dehumidistat will do this automatically. If your control is the proportional timer type (PTL or FM),
it should be set to “100%” for several days whenever you have a problem with excess humidity
during cold weather.
2.0 UNIT PLACEMENT
2.1 BEFORE YOU BEGIN
Read all instructions before installing the unit. Also review supplemental instructions included
with any controls that will be installed. Carefully unpack and inspect the unit for shipping
damage. Open the access door and inspect inside the unit. Attach the four duct collars to the
unit with the screws provided in the plastic small-parts bag.

