background image


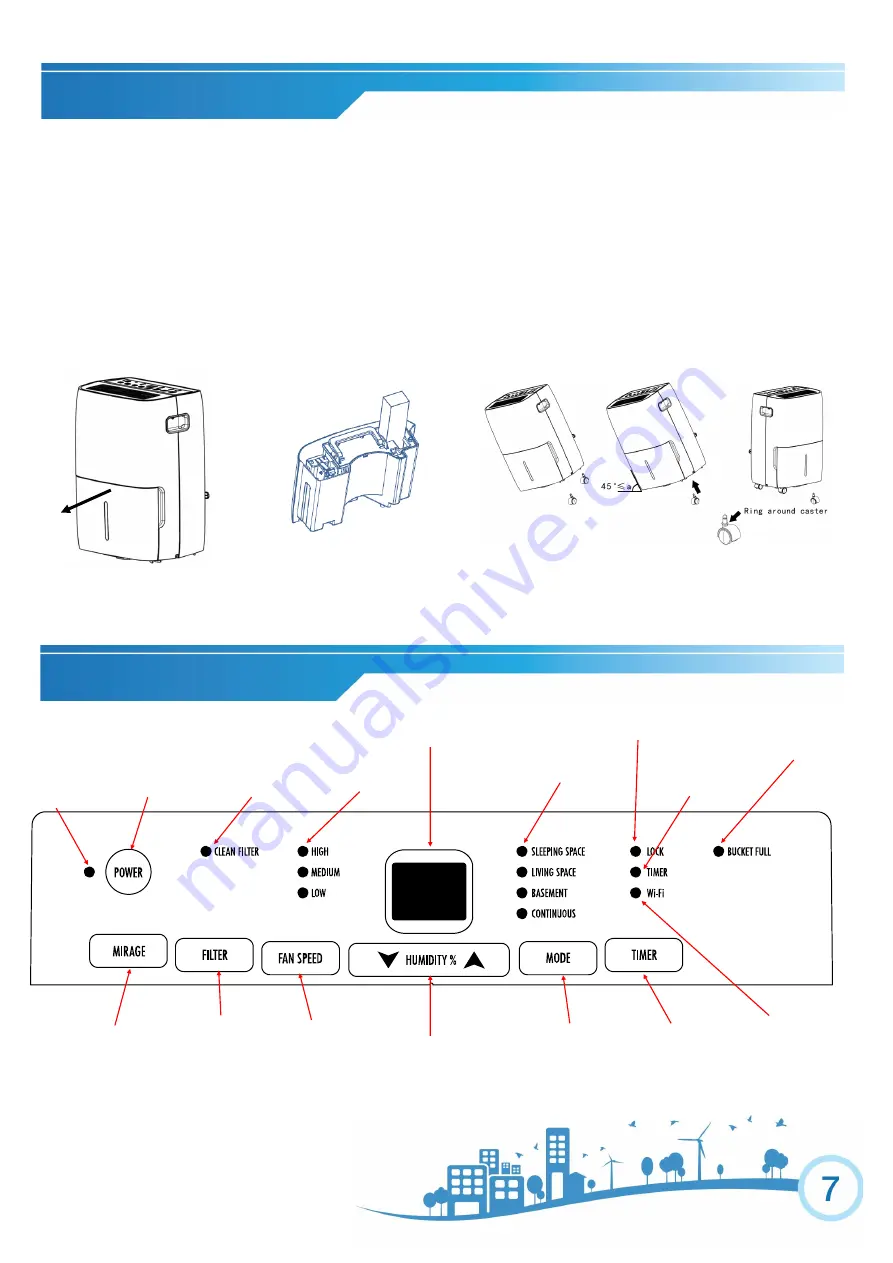
Caster Installation is only required for the 30 and 45 pint models. 


(The 70 Pint model includes pre

-

installed casters.)


1)


To install casters on the 30 or 45 pint model, remove the bucket from the dehumidifier . (Fig. 1)


2)


Remove and open the box containing the casters from inside the bucket. (Fig. 2)


3)


Tilt the dehumidifier no more than 45

 and forcibly insert the casters. Make sure the ring around the 


caster is flush against the bottom of the dehumidifier. (Fig. 3)


POWER


BUTTON 


INCREASE/DECREASE 

ROOM 


HUMIDITY LEVEL 


TIMER 


BUTTON


FILTER 


BUTTON


FAN 

SPEED 

BUTTON


MYHOME


MODE 


BUTTON


Clean Filter 

LED Indicator


Fan Speed 

LED Indicators


Child

-

Lock 

LED Indicator


MyHome Mode 


         LED Indicators


Bucket Full 

LED Indicator


Power On 

LED Indicator


Digital Humidistat 

Display


Fig. 1


      Timer 


LED Indicator


CASTER INSTALLATION


CONTROL PANEL


Fig. 2


Fig. 3


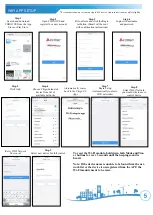
Step 1


Step 2


Step 3


MIRAGE 

DISPLAY 


BUTTON


Wi

-

Fi Status 

LED Indicator


Summary of Contents for DSX-30MW-01

Page 1: ...V 180417 Dehumidifier must be upright for 24 hours prior to operating This ensures that the compressor will function as intended...

Page 2: ...efully Store this manual in a safe place for future reference 1 Always place the unit on a level surface 2 Never use or store gasoline or other flammable vapor or liquid near this unit unless instruct...

Page 3: ...ure accumulating in the air As this moisture level decreases the dehumidifier will not need to collect as much moisture as seen in previous operation Please do not be concerned if the dehumidifier is...

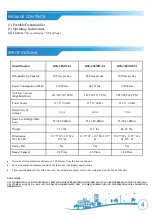
Page 4: ...ble Dehumidifier 1 Operating Instructions 4 Casters Pre installed on 70 Pint Model Model Number DSX 30MW 01 DSX 45EMW 01 DSX 70EMW 01 Dehumidifying Capacity 30 Pints per day 45 Pints per day 70 Pints...

Page 5: ...usAir device from list of available networks Step 8 Select WiFi Network you would like to use to control device Automatically routes back to the Chigo US App Enter WIFI Network Password Step 9 Select...

Page 6: ...between maximum dehumidify ing power or quiet operation Bucket full indicator and audible alarm signals as soon as the bucket is full and ready to be emptied Ultra quiet operation allows for use almos...

Page 7: ...sert the casters Make sure the ring around the caster is flush against the bottom of the dehumidifier Fig 3 POWER BUTTON INCREASE DECREASE ROOM HUMIDITY LEVEL TIMER BUTTON FILTER BUTTON FAN SPEED BUTT...

Page 8: ...hours Once the desired time is reached the unit will automatically turn on Timer Auto Shut Off To program the unit to automatically turn off press the TIMER button when the unit is on Each press of t...

Page 9: ...not be removing mois ture from the air at this time When removing moisture from the air the dehumidifier will exhaust warm air from the side exhaust vent Do not place a full bucket on the floor becau...

Page 10: ...t at temperatures below 41 F which may reduce performance Use the dehumidifier in cooking laundry bathing and dishwashing are as that have excessive moisture NOTE Place the dehumidifier away from a cl...

Page 11: ...w the cap on the back of the unit to access the garden hose nozzle Thread a garden hose not supplied onto the accessible nozzle lead to a floor drain and cut to length Make sure that there are no kink...

Page 12: ...placing the filter Once the filter is complete ly dry place the filter back in the unit and press the FILTER button to reset the filter indicator CAUTION DO NOT OPERATE THE DEHUMIDIFIER WITHOUT THE IN...

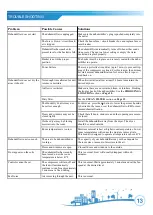
Page 13: ...AN FILTER section on Page 12 The Humidity Control may not be set low enough For drier air press the button to lower the percent humidi ty desired in the room or set the dehumidifier to CO for max imum...

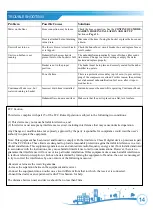
Page 14: ...art 15 of the FCC Rules Operation is subject to the following two conditions 1 This device may not cause harmful interference and 2 this device must accept any interference received including interfer...

Page 15: ...ll customer service 877 665 9765 Self Diagnosing Code Description Resolution E1 Compressor Overheat Protection Please call Soleus Customer Service at 877 665 9765 E2 Condenser Overheat Protection EH H...

Page 16: ...ons in the instructions Damage to the finish of the case or other appearance parts caused by wear Damage caused by repairs or alterations of the unit by anyone other than those authorized by SOLEUS N...

Reviews: