Page 20
12’ Garden Master (3.5mm)
u
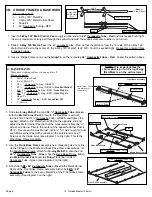
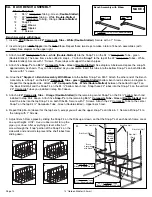
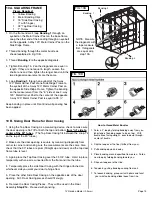
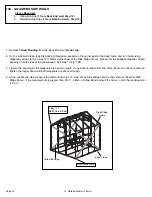
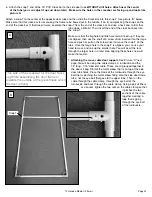
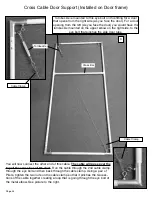
NOTE: Center the panels so the overhang is
equal over the front & back end
walls.
Do not cut off the overhang.
It will help keep water out of the
end wall panels.
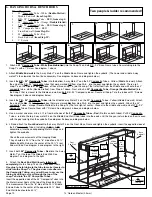
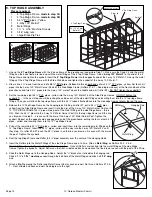
13B. TOP and SIDE GLAZING
Pieces Required:
2 49 ½” x 145” Panels
4 42” x 145” Panel
12 6’ H-Channel
6 H-Channel Clips
225 1” Screws
4 78” U-Trim
4 56” U-Trim
35 Small Phillips Screws
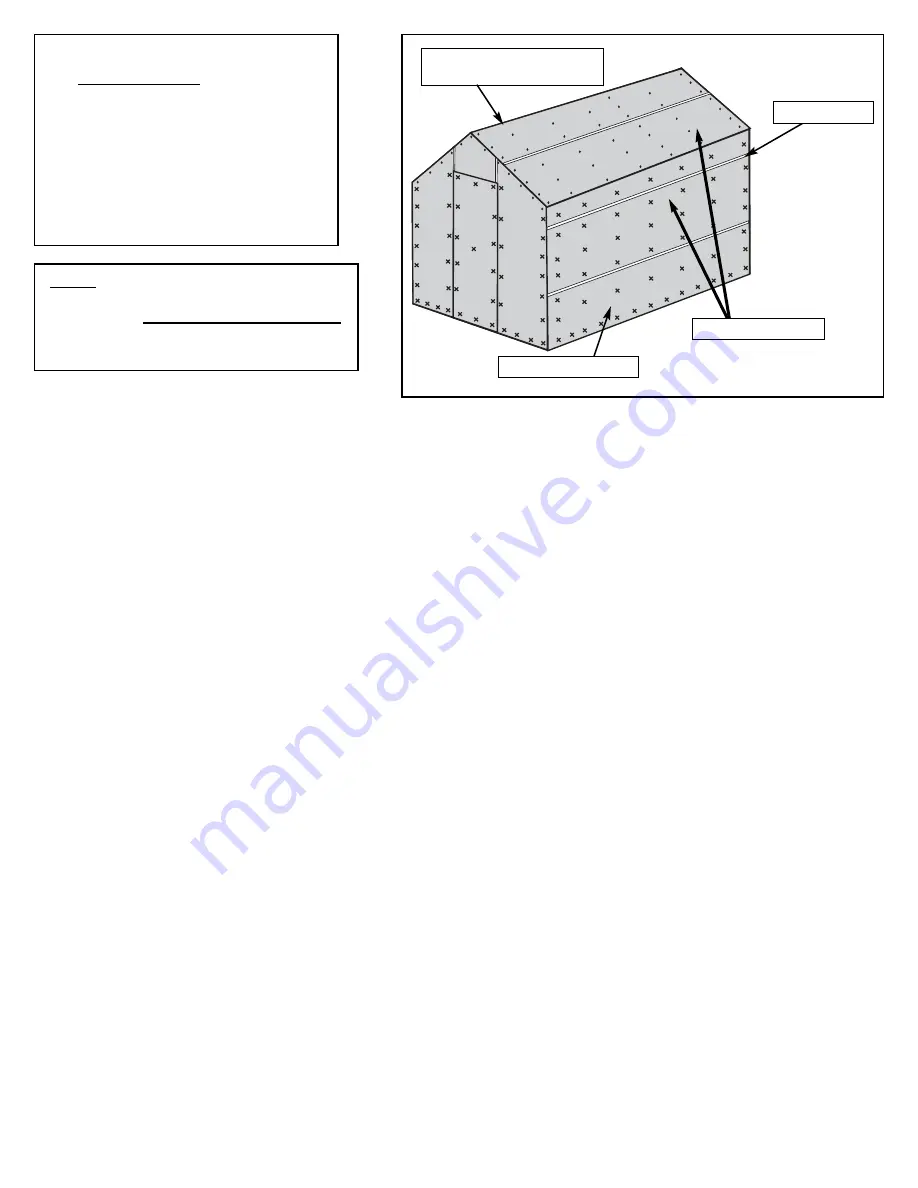
1. Caulk both ends of all six panels.
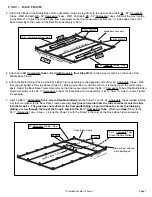
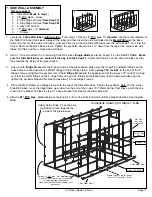
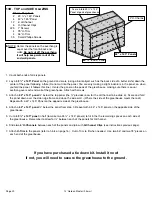
2. Lay a
49 ½” x 145” Panel
on the ground and score (using a blunt object such as the back side of a butter knife) down the
center of the panel following a flute (Do not cut into the panel. You are only making a slight indenture in the panel, so when
you fold the panel, it follows this line.) Center the panel on the peak of the greenhouse, making sure there is equal
overhang over each end wall of the greenhouse. Attach with screws.
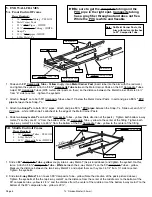
3. Attach a
42” x 145” panel
¼” below the top panel (the ¼” provides room for the H-Channel to be slide in). Score and fold
the panel down over the side ridge frame and down the side wall. - (Where the side of the greenhouse meets the roof.)
Repeat with a 42” x 145” Panel on the opposite side of the greenhouse.
4. Attach a
42” x 145” panel
¼” below the panel from step 3. Repeat with a 42” x 145” panel on the opposite side of the
greenhouse.
5. Cut a
49 ½” x 145” panel
in half (to make two 24 ¾” x 145” panels) to fill in the the remaining spaces on each side of
the greenhouse. Remember to allow for ¼” between each of the panels for H-Channel.
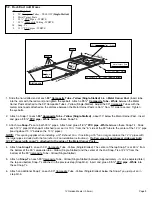
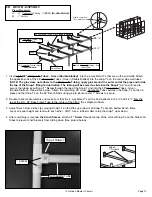
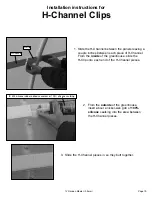
6. Slide two
6’ H-Channels
between each of the panels and join with
H-Channel Clips
(see instructions previous page).
7. Attach
U-Trim
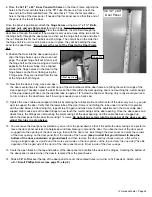
to the panels (refer to hints on page 16). Cut U-Trim to fit when needed. Use two 56” and two 78” pieces on
each end of the greenhouse.
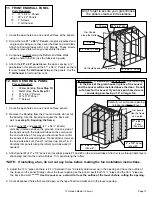
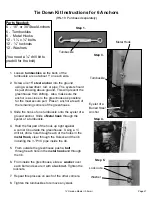
If you have purchased a tie down kit. Install it now!
If not, you will need to secure the greenhouse to the ground.
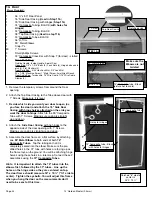
24 ¾” x 145”
Panel
Score & fold 49 ½” x 145”
Panel at peak of greenhouse.
42” x 145” Panels
12’ H-Channel

