
Procedure
Remove the XLogic Channel unit from any racking or studio furniture, and place it on a suitable clean,
flat work surface. Ensure that the work area is adequately illuminated and then proceed as follows:
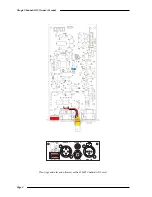
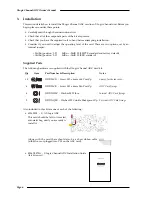
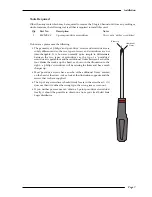
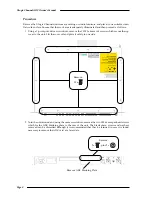
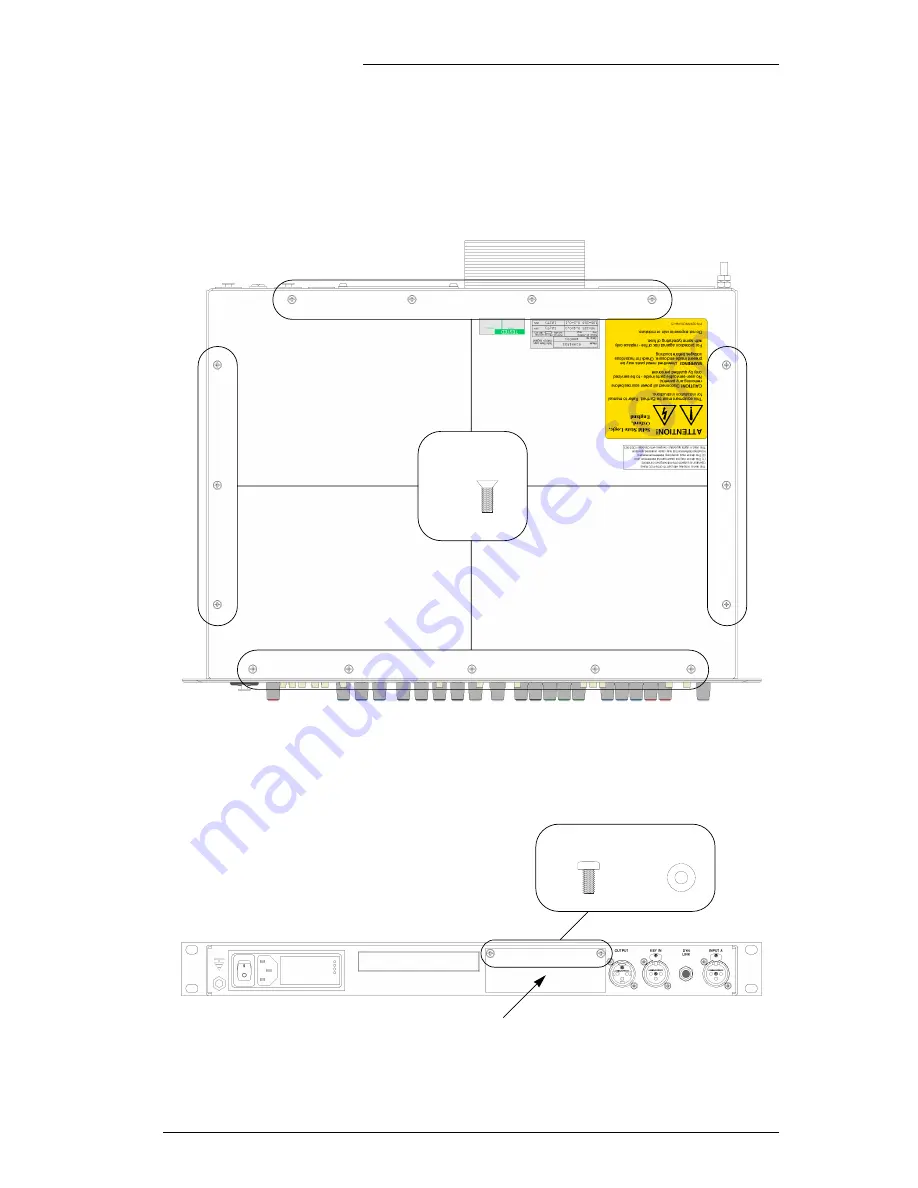
1. Using a 1-point pozi-drive screwdriver, remove the 15 M3 x 6mm csk screws which secure the top
cover to the unit. Lift the cover off and place it safely to one side.
2. Turn the unit around and using the same screwdriver, remove the two M3 x 6mm panhead screws
which fix the ADC blanking plate to the rear of the unit. The blank plate, screws and washers
removed can be discarded although it is recommended that they be retained in case it is found
necessary to remove the ADC card at a later date.
XLogic Channel ADC Owner’s Manual
Page 8
Remove:
15 x
Remove ADC Blanking Plate
Remove:
2 x
, plus 2 x


