Levelogger User Guide - Software Version 3.4.0 or Higher
Page 27
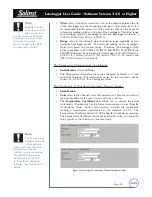
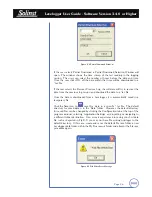
There are two ways to start logging. Choose ‘Now’ to start logging immediately.
The Status field in the Levelogger Status window will state: Started and will
indicate the logger time and the Start time. Free memory indicates the number
of readings remaining at the time of communication.
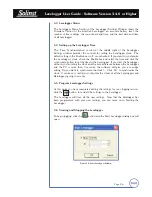
Choose
to start the logging at a later date and/or
time. This Start mode is referred to as Future Start in the Status field. After
confirmation, the starting time is stored in the Levelogger and it will start
collecting readings at the specified time. When the Future Start time is reached,
the Status will change to Started.
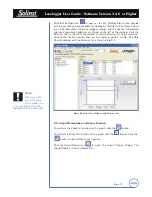
After the Levelogger is started, it will begin collecting readings. The Start
icon
will change to a Stop icon
.
The Levelogger can be stopped at any time before it reaches the maximum
reading capacity. Starting begins a new recording session and clears previously
stored data readings.
It is critical to note that when Leveloggers log data in Slate mode, it means they
will record data until stopped or their memory is full. When the memory fills,
the datalogger will Stop recording. For this reason, it is important to determine,
based on your start time and sampling rate, the date and time at which the
memory will be full and the datalogger will stop recording. Levelogger Gold
units record in Slate mode if Event or Schedule logging, but in Linear mode they
can be set to Slate or to Continuous logging.
You can stop logging from the Levelogger Settings window, by clicking the
Stop icon
.
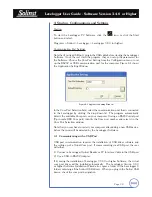
5.7 Saving and Retrieving Levelogger Settings Files
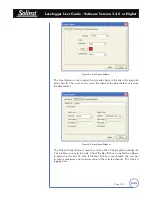
To store settings as defaults, click the
icon. It will store the settings of
the Levelogger into an *.lls file as a series of defaults. The *.lls file will save
the Project ID, Location, Sample Mode, Event Percent, Sample Rate, Altitude,
Density, Channel ID, Unit and Offset.
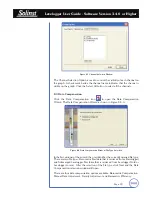
To retrieve settings from defaults click the
icon from an *.lls file. This
is particularly useful if programming several Leveloggers with similar identical
settings. Keep in mind that Project ID and Location identification information
will be identical and should be distinguished from logger to logger or monitoring
point to point.

