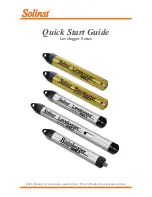
To begin using your Levelogger Gold, download the newest
version of Levelogger Gold Software and User Guide by visiting
www.solinst.com/Downloads/ or insert the software CD provided.
Installing the Software
1. To activate the software install, click on the ‘setup.exe’ file
located on the software CD.
2. The Software Installation Wizard will guide you through the
remaining installation process.
Installing the Hardware
1. Connect the communications device, either the Optical Reader
or PC Interface Cable, to the computer.
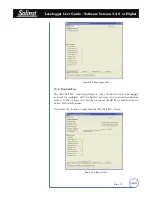
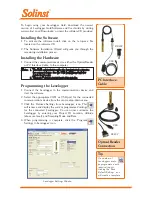
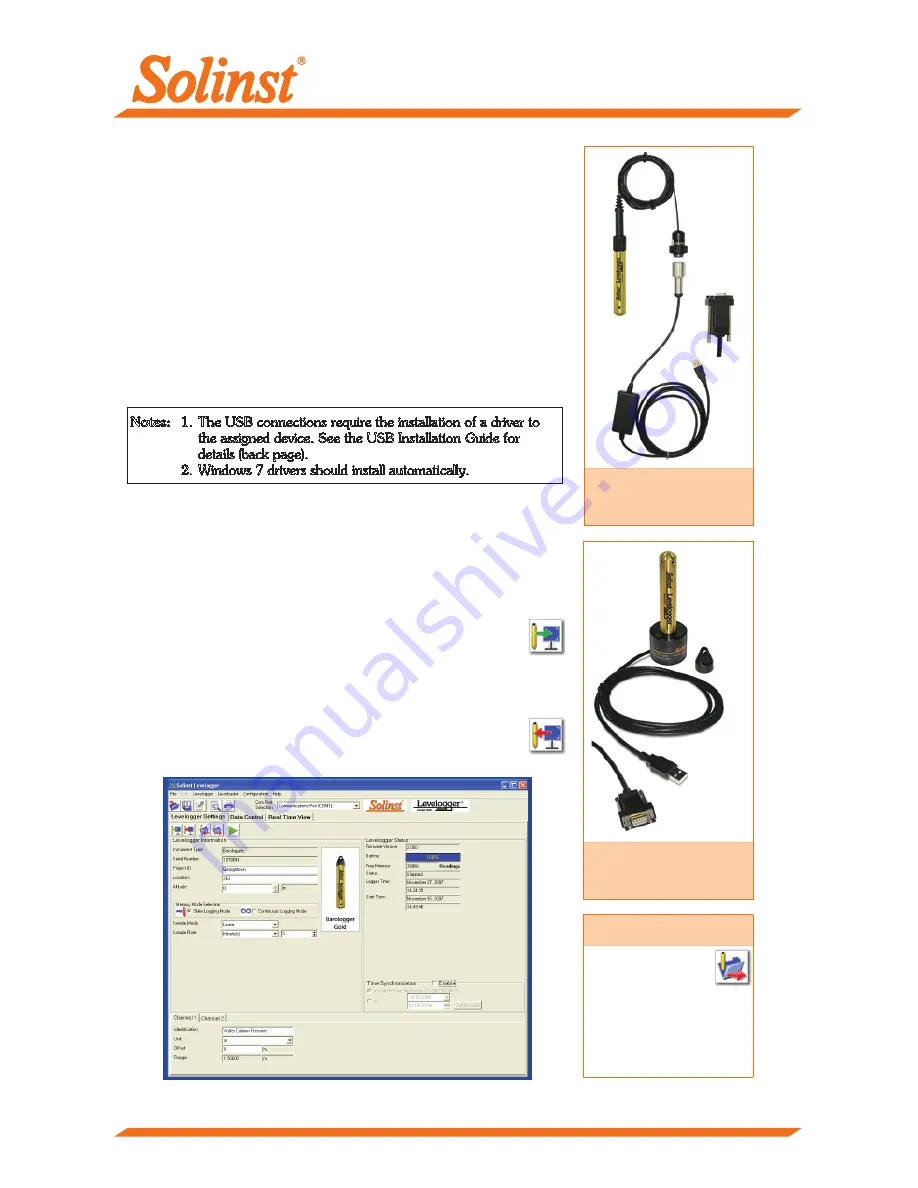
Levelogger Settings Window
Programming the Levelogger
1. Connect the Levelogger to the communications device and
start the software.
2. Select the appropriate COM or USB port for the connected
communications device from the centre drop-down menu.
3. Click the ‘Retrieve Settings from Levelogger’ icon. This
will retrieve and display the current programmed settings
for the connected Levelogger. You can now customize the
Levelogger by entering your Project ID, Location, Altitude
(above sea level), and Sampling Mode and Rate.
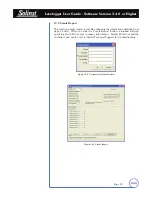
4. When programming is complete, click the ‘Program
Settings to Levelogger’ icon.
Notes:
1. The USB connections require the installation of a driver to
the assigned device. See the USB Installation Guide for
details (back page).
2. Windows 7 drivers should install automatically.
Tip
If a number of
Leveloggers are to
be programmed with
identical inputs,
clicking the ‘Save
Default Settings’ icon
will create a template.
PC Interface
Cable
RS-232
USB
Optical Reader
Connection
RS-232
USB

