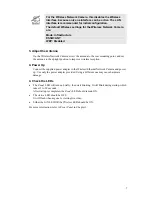
For the Wireless Network Camera, this disables the Wireless
Interface, because only one interface can be active. The LAN
interface is recommended for initial configuration.
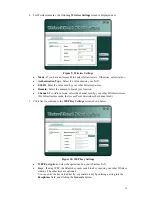
The default Wireless settings for the Wireless Network Camera
are:
Mode: Infrastructure
ESSID: ANY
WEP: Disabled
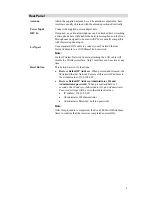
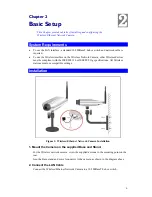
3. Adjust the Antenna
On the Wireless Network Camera, screw the antenna to the rear mounting point, and set
the antenna to the upright position to improve wireless reception.
4. Power Up
Connect the supplied power adapter to the Wireless/Ethernet Network Camera and power
up. Use only the power adapter provided. Using a different one may cause hardware
damage.
4. Check the LEDs
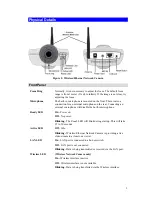
•
The
Ready
LED will turn on briefly, then start blinking. It will blink during startup, which
takes 15 to 20 seconds.
After startup is completed, the
Ready
LED should remain ON.
•
The
Active
LED should be OFF.
It will flash when anyone is viewing live video.
•
Either the
LAN
LED OR the
Wireless
LED should be ON.
For more information, refer to
Front Panel
in Chapter 1.
7


