background image


You can add the same Camera twice, once for the LAN, and 
again for the Internet. This will allow viewing the camera 
whether you are on the same LAN as the camera or in a remote 
location.  


Modifying an Existing Camera 

You can change the settings for an existing camera by selecting it in the 

Camera 

List on the 

main screen, then clicking the 

Modify Camera

 button. 

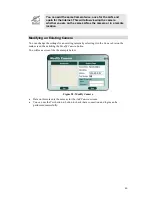
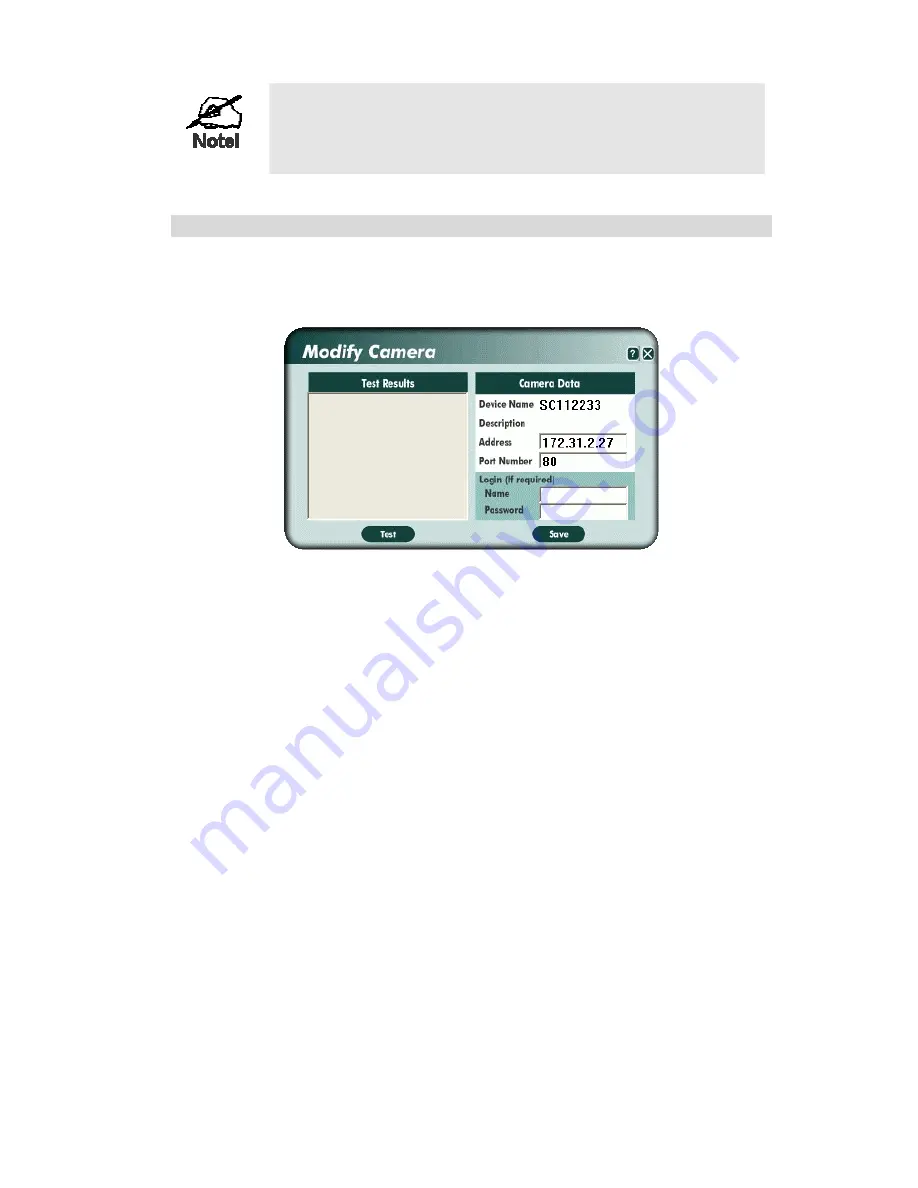
You will see a screen like the example below. 


Figure 38: Modify Camera 

• 

Data on this screen is the same as for the 

Add Camera

 screens. 

• 

You can use the 

Test

 button to button to check that a connection and login can be 

performed successfully. 


46 

Summary of Contents for NCS801A

Page 1: ...Wireless Ethernet Network Camera User s Guide...

Page 2: ...ction E mail Alerts 21 CHAPTER 4 WEB BASED MANAGEMENT 23 Introduction 23 Connecting to Wireless Ethernet Network Camera 23 Welcome Screen 24 View Video Screen 25 Administration Menu 26 System Screen 2...

Page 3: ...etwork Camera 59 Wireless Network Camera 59 Regulatory Approvals 60 Copyright Notice 61 P N 9560GV0001 Copyright 2004 All Rights Reserved Document Version 1 6 All trademarks and trade names are the pr...

Page 4: ...The high compression capabilities of MPEG 4 reduce network bandwidth requirements to amazingly low levels A convenient and user friendly Windows program is provided for both viewing and recording vid...

Page 5: ...Web Server can share the same Internet IP address DDNS Support In order to view video over the Internet users must know the Internet IP address of the gateway used by the Wireless Ethernet Network Cam...

Page 6: ...e will disable the built in microphone Ready LED On Power on Off No power Blinking The Ready LED will blink during start up This will take 15 to 20 seconds Active LED Off Idle Blinking Wireless Ethern...

Page 7: ...Wireless Network Camera attaching the LAN cable will disable the Wireless interface Only 1 interface can be active at any time Reset Button This button has two 2 functions Restore Default IP Address W...

Page 8: ...s are damaged or missing please contact your dealer immediately 1 The Wireless Ethernet Network Camera 2 Installation CD ROM 3 Quick Installation Guide 4 Power adapter 5 Base Stand and Swivel Connecto...

Page 9: ...must be compliant with the IEEE802 11b or IEEE802 11g specifications All Wireless stations must use compatible settings Installation Figure 3 Wireless Ethernet Network Camera Installation 1 Mount the...

Page 10: ...pright position to improve wireless reception 4 Power Up Connect the supplied power adapter to the Wireless Ethernet Network Camera and power up Use only the power adapter provided Using a different o...

Page 11: ...or your LAN Subsequent administration can be performed with your Web browser as explained in Chapter 3 Web based Administration Setup Procedure 1 Insert the supplied CD ROM into your drive If the setu...

Page 12: ...o enter them as shown below If using the default values enter administrator for the name and leave the password blank Otherwise enter the Administrator ID and Password set on the User screen Figure 6...

Page 13: ...e 8 TCP IP Settings Enter an unused IP Address from within the address range used on your LAN The Subnet Mask and Default Gateway fields must match the values used by PCs on your LAN The Primary DNS a...

Page 14: ...l For Ad hoc mode select the channel used by your other Wireless devices For Infrastructure mode the Access Point determines the channel used 7 Click Next to continue to the WEP Key Settings screen sh...

Page 15: ...and Time Make any desired changes then click Next to continue Figure 11 Camera Settings 9 The next screen shown below displays all details of the Wireless Ethernet Network Camera Click Save if the set...

Page 16: ...Figure 13 Final Screen If desired you can click the Web UI button to connect to the camera using your Web Browser 11 Click Exit to end the Wizard Setup is now complete 13...

Page 17: ...for Image size Select the desired size The larger sizes require greater bandwidth Image quality This determines the degree of compression applied to the Video stream Higher quality requires greater b...

Page 18: ...in your region to improve the picture quality under florescent lighting Adjustment Brightness Select Automatic or Manual The default is set to Automatic in which the camera will automatically adjust t...

Page 19: ...age enable this feature by checking the checkbox You can enter text up to 20 characters This feature is often used to identify camera when multiple camera are installed Audio If you want audio to be i...

Page 20: ...apter 4 Web based Management for details 2 On the Administration menu select User 3 Select the setting Allow access by Only users in database as shown below Figure 15 User Screen 4 To add users to the...

Page 21: ...Second Port number is 1024 If you prefer to use a different port number you can specify the port number on the Wireless Ethernet Network Camera s Network screen as shown below Figure 16 Network Scree...

Page 22: ...der Router Gateway Setup Your Router or Gateway must be configured to pass incoming TCP HTTP connections from Viewers to the Wireless Ethernet Network Camera The Router Gateway uses the Port Number to...

Page 23: ...ing for full details on using the Windows Viewing Recording utility Using your Web Browser If using your Web browser you need to know the address of the camera either the Internet IP address or the Do...

Page 24: ...ggered by Sudden changes in the level of available light Movement of the camera itself Try to avoid these situations The motion detection feature works best in locations where there is good steady ill...

Page 25: ...word 6 In the E mail Video section select the desired options Delay between E mails is used to prevent your E mail inbox being flooded with E mails Select the desired time interval Motion Sensitivity...

Page 26: ...rovided a button Web UI Clicking this button will immediately connect to the Wireless Ethernet Network Camera using your Web Browser If using only your Web Browser use the following procedure to estab...

Page 27: ...lcome Screen The menu options available from this screen are View Video View live Video using your Web Browser Administration Access the Administration menu Exit Terminate the connection to the Wirele...

Page 28: ...22 View Video Screen You may see a prompt regarding an OCX file like the example below You must install this OCX file in order to view the Video Click Yes Figure 23 ActiveX OCX Prompt Video will star...

Page 29: ...database E mail E mail Alerts and E mail Video Status Current Status information System Screen After clicking Administration on the main menu or selecting System on the Administration menu you will se...

Page 30: ...s NTP Network Time Protocol Time Server Enable or disable the Time Server feature as required If Enabled the Wireless Ethernet Network Camera will contact a Network Time Server at regular intervals an...

Page 31: ...ss Network Camera contains the Wireless settings Figure 25 Network Screen Data Network Screen IP Setting Obtain Address Automatically If selected the Wireless Network Camera will obtain its IP address...

Page 32: ...by other devices on your wireless LAN Note The SSID is case sensitive Domain Select your region from the drop down list Channel No In Infrastructure mode this setting is ignored The Wireless Ethernet...

Page 33: ...less Ethernet Network Camera The default is 1024 Using DDNS Dynamic DNS Many internet connections use a Dynamic IP address where the Internet IP address is allocated whenever the Internet connection i...

Page 34: ...default key Other Wireless stations must be set to use 128 Bit Encryption and have the same Key value in the same position in their key table Passphrase The Passphrase feature will generate a Key from...

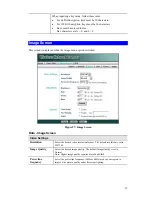
Page 35: ...enu option is clicked Figure 27 Image Screen Data Image Screen Video Settings Resolution Select the desired video resolution format The default resolution is set to 320 240 Image Quality Select the de...

Page 36: ...s to their default values You must click Apply to save these changes Options Time Stamp Enable the check box if you want the time to be displayed on the Video image Text Display If you want text to be...

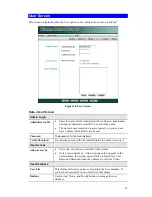
Page 37: ...The password for the Administrator Verify Password Re enter the password for the Administrator to ensure it is correct User Access Allow access by Everyone Anyone can view the Video stream Only users...

Page 38: ...User Screen Data Add Modify User User Name Enter the name for the user Spaces punctuation and special characters must NOT be used in the name Also names are case insensitive case is ignored so you can...

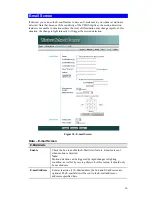
Page 39: ...ensity will trigger the motion detection Figure 30 E mail Screen Data E mail Screen E Mail Alerts Enable Check the box to enable the E Mail Alert feature E mails are sent when motion is detected Note...

Page 40: ...ed to receive E mail Delay between E mails Use this to ensure your E mail inbox is not flooded with E mail alerts Select the desired time delay between E mail alerts Motion Detection Sensitivity Selec...

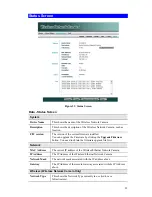
Page 41: ...cking the Upgrade Firmware button You need to obtain the firmware upgrade file first Network MAC Address The current IP address of the Wireless Ethernet Network Camera IP Address The IP Address of the...

Page 42: ...other data on screen Restart Restart reboot the Wireless Ethernet Network Camera Note This will break any existing connections Anyone watching or recording live video will lose their connection Restor...

Page 43: ...tton and locate the upgrade file 2 Select this file and click OK The filename will then appear in the Upgrade File field 3 Click the Start Upgrade button to transfer the file to the Wireless Ethernet...

Page 44: ...supplied Windows Viewing Recording utility Installation 1 Insert the supplied CD ROM into your drive If the setup program does not start automatically run Netcam_Setup exe in the root folder You will...

Page 45: ...icon will be animated Otherwise it is stationary Hover Hovering your mouse over this icon will generate a pop up informing you of the current status Double click This will display the main screen sho...

Page 46: ...description it will be displayed here Status Normally this will be blank If a connection error arises this will be indicated here Click the Add Camera button to add a Wireless Ethernet Network Camera...

Page 47: ...e default name for the Wireless Ethernet Network Camera and cannot be changed Description This displays the description entered by the Wireless Ethernet Network Camera Administrator Address The curren...

Page 48: ...ically once a connection to the Wireless Ethernet Network Camera has been established Description This displays the description entered by the Wireless Ethernet Network Camera Administrator This field...

Page 49: ...xisting Camera You can change the settings for an existing camera by selecting it in the Camera List on the main screen then clicking the Modify Camera button You will see a screen like the example be...

Page 50: ...l terminate the connection to the camera halting both the viewing and the recording if in progress Snapshot Click this to take a single JPEG snapshot image of the current video You can use the Prefere...

Page 51: ...ry change these settings to suit your environment Record File Location This is the Drive and Folder on your PC where recorded files will be placed You need a drive which has large amounts Gigabytes of...

Page 52: ...progress Snapshot Click this to take a single JPEG snapshot image of the current video You can use the Preferences to set the folder where these images are stored Audio This can be used to select the...

Page 53: ...view a list of all recorded files click the Recorded Video button you will then see a screen like the example below Figure 43 Recorded Files This list shows all of the recorded files The following ope...

Page 54: ...de Type Indicates if the recording is One Time Everyday or on a particular day each week If a scheduled recording is selected the Modify and Delete buttons can be used to edit or delete the selected e...

Page 55: ...e Start Day Select the desired date For a single recording this is the day the recording will be made For daily Everyday recordings this is the starting date For weekly recordings this determines when...

Page 56: ...ess box enter HTTP and the IP Address of the Wireless Ethernet Network Camera as in this example which uses the Wireless Ethernet Network Camera s default IP Address HTTP 192 168 0 99 3 If the Adminis...

Page 57: ...y see a prompt regarding an OCX file like the example below You must install this OCX file in order to view the Video Click Yes Figure 48 ActiveX OCX Prompt Video will start playing automatically Ther...

Page 58: ...the following HTTP Internet_Address port_number Example using an IP address HTTP 203 70 212 52 1024 Where the Router Gateway s Internet IP address is 203 70 212 52 and the Second Port number on the Wi...

Page 59: ...CX file like the example below You must install this OCX file in order to view the Video Click Yes Figure 51 ActiveX OCX Prompt Video will start playing automatically There may be a delay of a few sec...

Page 60: ...ions are OK it is powered ON and startup is complete Ensure that your PC and the Wireless Ethernet Network Camera are on the same network segment If you don t have a router this must be the case Ensur...

Page 61: ...e bandwidth Problem 6 The motion detection feature doesn t send me any E mails Solution 6 It may be that the SMTP Simple Mail Transport Protocol server used by the Wireless Ethernet Network Camera to...

Page 62: ...AN connection LEDs 3 Power Adapter 5V DC External Wireless Network Camera Model Wireless Ethernet Network Camera Dimensions 164 mm L 88 mm W 54 mm H 6 4 inch L 3 5 inch W 2 1 inch H Operating Temperat...

Page 63: ...the European Union and comply with the 99 5 EEC and RTTE 99 5EG directives including the following standards EN60950 EN300 328 2 EN301 489 1 EN301 489 17 This is a Class B product In a domestic envir...

Page 64: ...ONSEQUENTIAL DAMAGES INCLUDING BUT NOT LIMITED TO PROCUREMENT OF SUBSTITUTE GOODS OR SERVICES LOSS OF USE DATA OR PROFITS OR BUSINESS INTERRUPTION HOWEVER CAUSED AND ON ANY THEORY OF LIABILITY WHETHER...

Page 65: ...ded with the distribution THIS SOFTWARE IS PROVIDED BY THE AUTHOR AND CONTRIBUTORS AS IS AND ANY EXPRESS OR IMPLIED WARRANTIES INCLUDING BUT NOT LIMITED TO THE IMPLIED WARRANTIES OF MERCHANTABILITY AN...

Page 66: ...w geocities com SiliconValley Vista 6493 cgi lib html Disclaimer THE INFORMATION CODE AND EXECUTABLE PROVIDED ARE PROVIDED AS IS WITHOUT WARRANTY OF ANY KIND EITHER EXPRESS OR IMPLIED INCLUDING BUT NO...

Page 67: ...bute copies of such a program whether gratis or for a fee you must give the recipients all the rights that you have You must make sure that they too receive or can get the source code And you must sho...

Page 68: ...e c If the modified program normally reads commands interactively when run you must cause it when started running for such interactive use in the most ordinary way to print or display an announcement...

Page 69: ...he object code 4 You may not copy modify sublicense or distribute the Program except as expressly provided under this License Any attempt otherwise to copy modify sublicense or distribute the Program...

Page 70: ...e incorporates the limitation as if written in the body of this License 9 The Free Software Foundation may publish revised and or new versions of the General Public License from time to time Such new...

Page 71: ...STRIBUTE THE PROGRAM AS PERMITTED ABOVE BE LIABLE TO YOU FOR DAMAGES INCLUDING ANY GENERAL SPECIAL INCIDENTAL OR CONSEQUENTIAL DAMAGES ARISING OUT OF THE USE OR INABILITY TO USE THE PROGRAM INCLUDING...

Page 72: ...oftware and use pieces of it in new free programs and that you are informed that you can do these things To protect your rights we need to make restrictions that forbid distributors to deny you these...

Page 73: ...n by limiting the free library to free software only so we use the Lesser General Public License In other cases permission to use a particular library in non free programs enables a greater number of...

Page 74: ...s a The modified work must itself be a software library b You must cause the files modified to carry prominent notices stating that you changed the files and the date of any change c You must cause th...

Page 75: ...ies the requirement to distribute the source code even though third parties are not compelled to copy the source along with the object code 5 A program that contains no derivative of any portion of th...

Page 76: ...version that the work was made with c Accompany the work with a written offer valid for at least three years to give the same user the materials specified in Subsection 6a above for a charge no more...

Page 77: ...not permit royalty free redistribution of the Library by all those who receive copies directly or indirectly through you then the only way you could satisfy both it and this License would be to refrai...

Page 78: ...EN OTHERWISE STATED IN WRITING THE COPYRIGHT HOLDERS AND OR OTHER PARTIES PROVIDE THE LIBRARY AS IS WITHOUT WARRANTY OF ANY KIND EITHER EXPRESSED OR IMPLIED INCLUDING BUT NOT LIMITED TO THE IMPLIED WA...

Reviews: