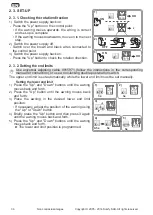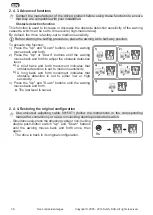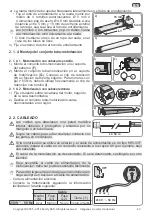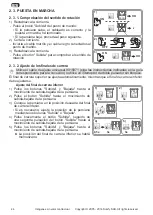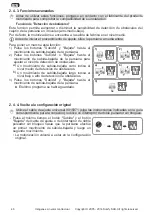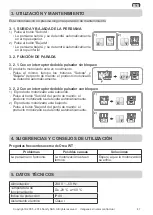
34
Copyright © 2005 - 2014 Somfy SAS. All rights reserved.
EN
Non contractual images
2. INSTALLATION
1
These instructions are
mandatory
for the home motorisation and automation professional
installing the drive.
1
Never drop, knock or puncture the drive or immerse it in liquid.
1
_ {
1
Never connect 2 control points to the same drive.
1
Check compatibility if the drive is being used with a bus system (e.g.: a "
" system).
2. 1. ASSEMBLY
1
}{ { {
1
Make sure that the drive used is suitable for the size of the awning to prevent damage to
the awning and/or the Somfy product.
Please consult the awning manufacturer or Somfy for information on the compatibility of
the drive with the awning and its accessories.
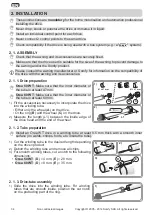
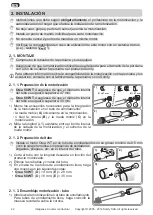
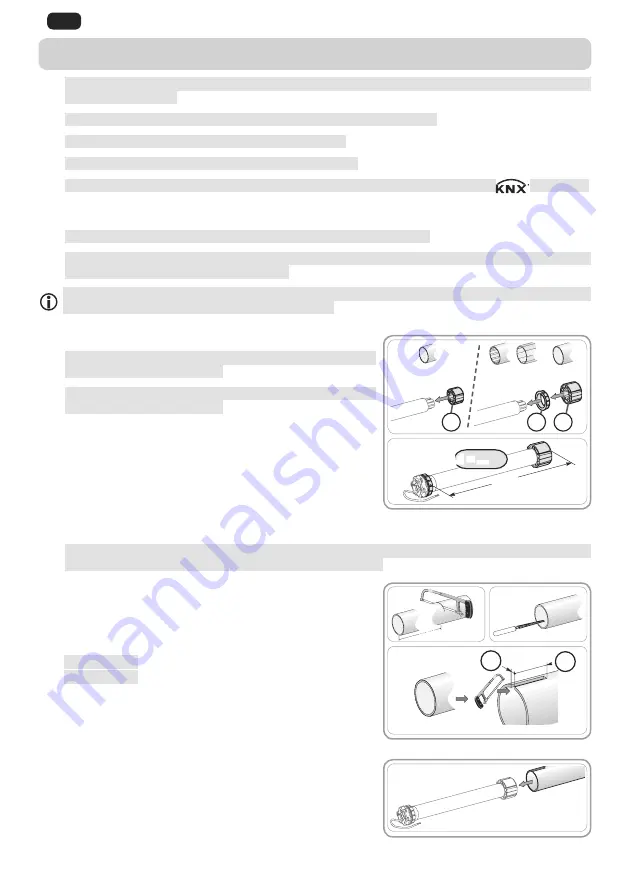
2. 1. 1. Drive preparation
1
Orea 50 WT
: Make sure that the inner diameter of
the tube is at least 47 mm.
1
Orea 60 WT
: Make sure that the inner diameter of
the tube is at least 60 mm.
1)
Fit the accessories necessary to incorporate the drive
into the winding tube:
+
Either only the wheel (
A
) on the drive.
+
Or the ring (
B
) and the wheel (
C
) on the drive.
2)
Measure the length (L1) between the inside edge of
the drive head and the end of the wheel.
2. 1. 2. Tube preparation
1
_ ¢¤£ [G { { {
surface (no welds, crimps, folds, etc. inside the tube).
1)
Cut the winding tube to the desired length depending
on the driven product.
2)
Deburr the winding tube and remove all chips.
3)
For smooth winding tubes, cut a notch to the following
dimensions:
+
Orea 50 WT
: (
D
) = 4 mm; (
E
) = 28 mm.
+
Orea 60 WT
: (
D
) = 8 mm; (
E
) = 35 mm.
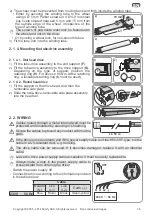
2. 1. 3. Drive-tube assembly
1)
Slide the drive into the winding tube. For winding
tubes that are smooth inside, position the cut notch
on the protruding part of the ring.
1)
L1
L1 = …
2)
Ø > 47 mm
C
B
Ø = 47 mm
A
3)
1)
2)
D
E
1)
Summary of Contents for HOME MOTION Orea WT Series
Page 2: ......

