18
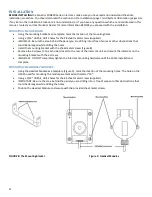
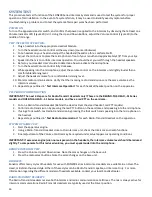
For each headset, the user can activate or deactivate the squelch for that headset. A user will probably desire squelch
for wired headsets, to keep breathing noises and small background noises from entering the system. Squelch is not
necessary for Wireless Bases since these already have squelch built in.
Figure 18
Squelch
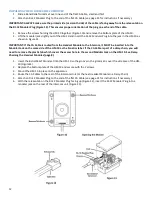
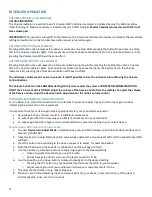
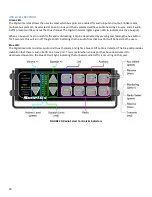
The Squelch is a system wide squelch adjust. All headsets that have squelch enabled will respond to changes in the
squelch level. To change the Squelch level, press the Squelch up or Squelch down buttons to increase or decrease the
squelch level. Higher squelch levels are needed for higher noise environments.
Tech Note:
For wireless base stations, it is suggested that you disable squelch for the headset port which you have plugged your
wireless base into.
Headset Squelch Enable/Disable
1.
To enter
Headset Squelch Adjust Mode
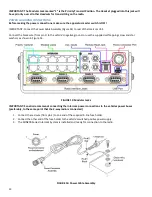
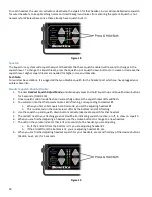
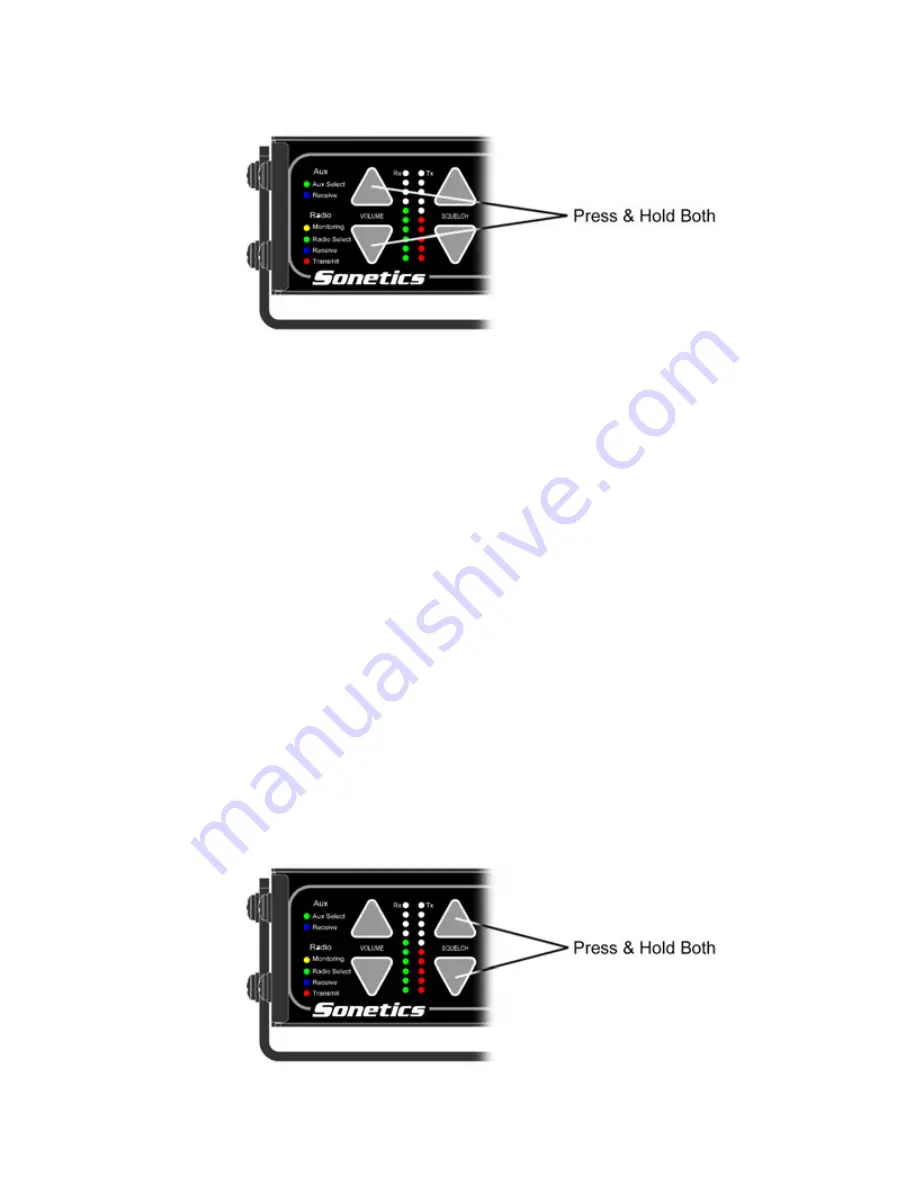
, simultaneously press and hold Squelch up and Squelch down buttons
for 5 seconds. (FIGURE 19)
2.
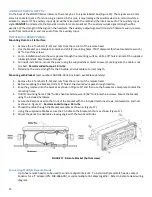
Once squelch control mode has been successfully entered, the squelch level LEDs will flash.
3.
You will also note that the lowest volume LED is flashing, corresponding to Headset #1
a.
When you first enter squelch control mode, you will be adjusting headset #1.
b.
This is indicated on the volume level LEDs by the bottom most LED flashing
4.
Use the squelch up and squelch down buttons activate/deactivate squelch for that headset
5.
The red LED next to your flashing green LED will be lit, indicating squelch is active, or off, to show no squelch.
6.
When you are finished adjusting a headset, use the volume buttons to change to a new headset.
7.
The LED on the volume indicator that is lit corresponds to the headset you are adjusting
a.
So, if the 2nd LED from the bottom is lit, you are adjusting headset #2
b.
If the 3rd LED from the bottom is lit, you are adjusting headset #3, etc.
8.
When you are finished adjusting headset squelch for your headsets, press and hold any of the devices buttons
(Radio1, Aux1, etc.) for 5 seconds.
Figure 19

